Begone plague!
We are in the midst of a plague so I decided to finish this post about the mask I made to keep the miasma away. Well, not really – this mask won’t help protect you against this plague but it will help you get into an Edwardian Ball.
The first time I went to the said ball, I was very impressed by how much effort people had put into their costumes so I decided to up my costume game too. The idea I had would work really well with a plague doctor mask and I found several really well-made ones on Etsy. The ones made by Tom Banwell were particularly impressive – with an equally impressive price tag. There was no way I could spend that much on a mask. Oh how I was mistaken. It ended up costing me more than that to make it myself but I enjoyed the process and learned new techniques along the way.
The material of choice was going to be medium-weight vegetable-tanned leather, just like the OG masks. I had heard of wet-molded leather and always wanted to try and use it for this mask. But I had never made a mask before, not even papier-mâché, and I had no idea where to begin. Being an engineer, my first thought was to design the mask in some 3D modeling software, splice it up and cut leather accordingly. But I didn’t wanna hassle myself with an extra step before I start working with my hands.
Canvass the design
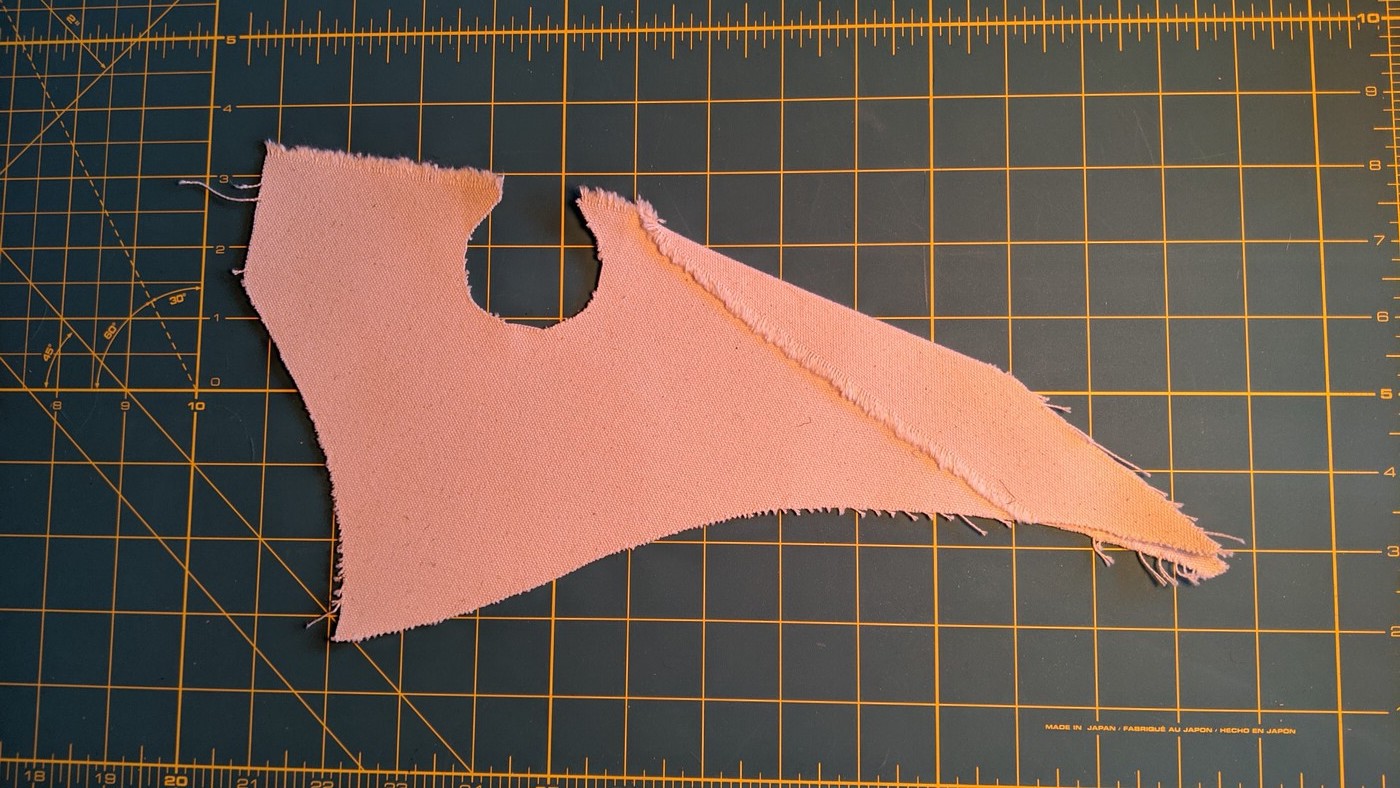
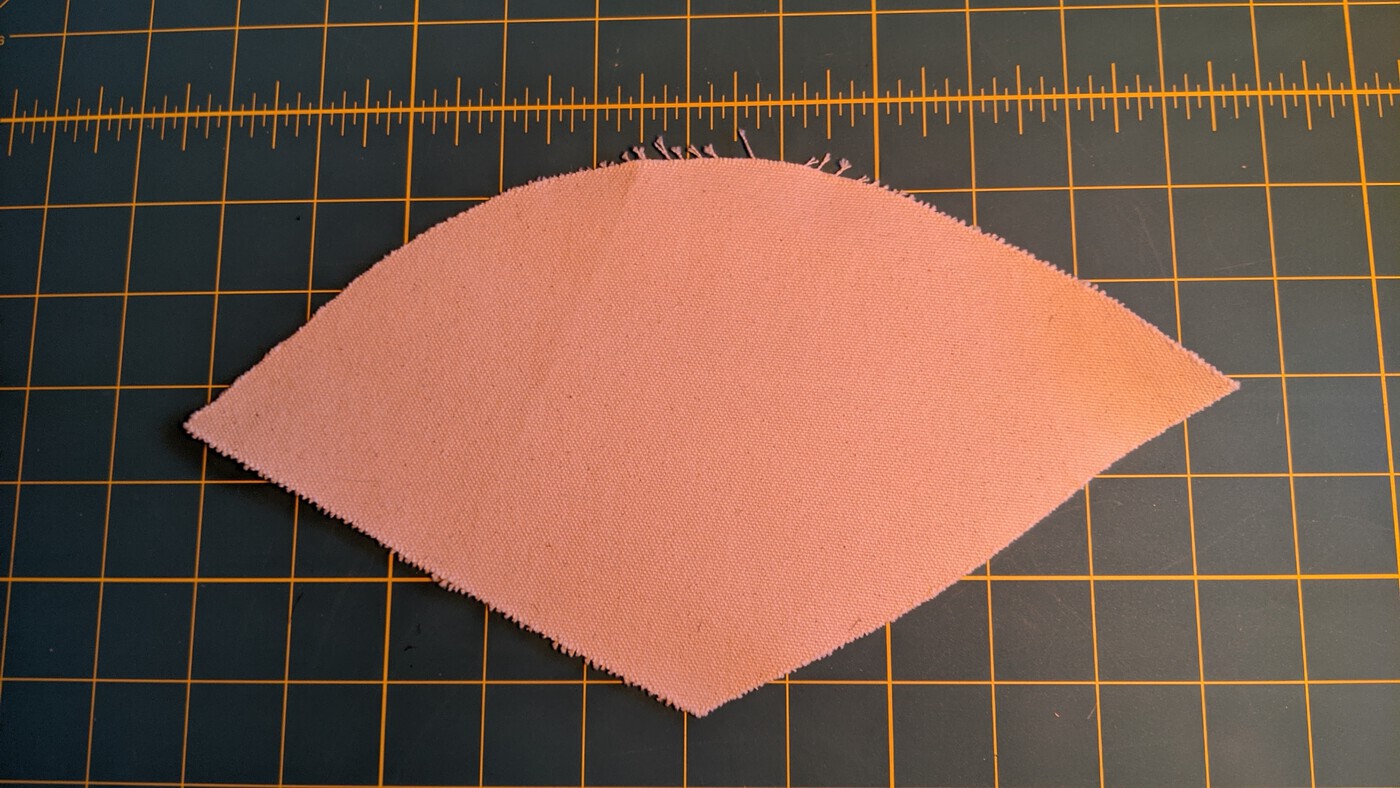
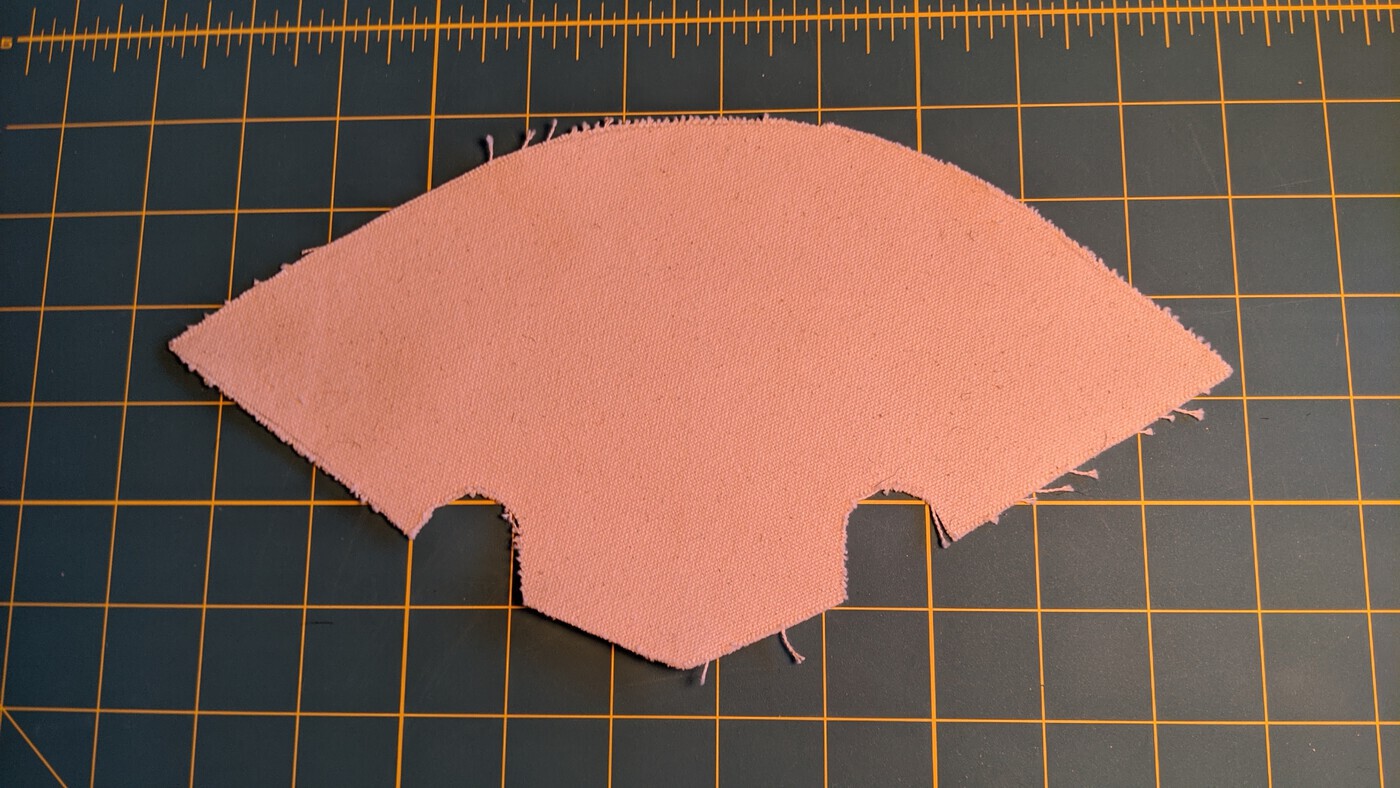
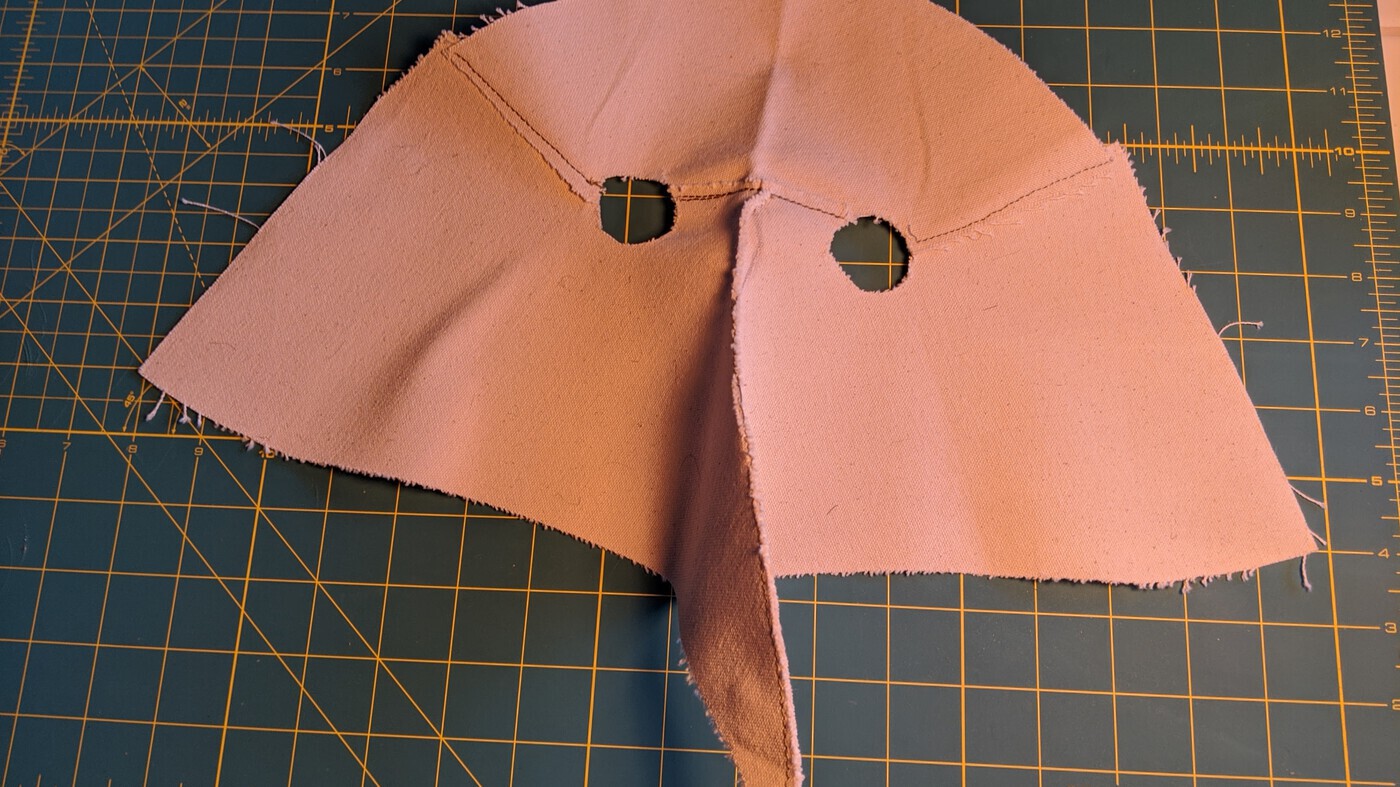
I started right away with what I imagined the side-profile of the mask to look like. In particular, I wanted the beak to look just right. I had spare canvas fabric lying around from another project that I decided to use. The idea was to cut out templates for the various pieces I was going to stitch together. As an aside, I later discovered the medium to heavy weight canvas I was using was not great for this purpose – it frayed very easily at the edges. I traced and cut out several shapes for the side-profile from the canvas. Here’s how it progressed as I played with the shape:
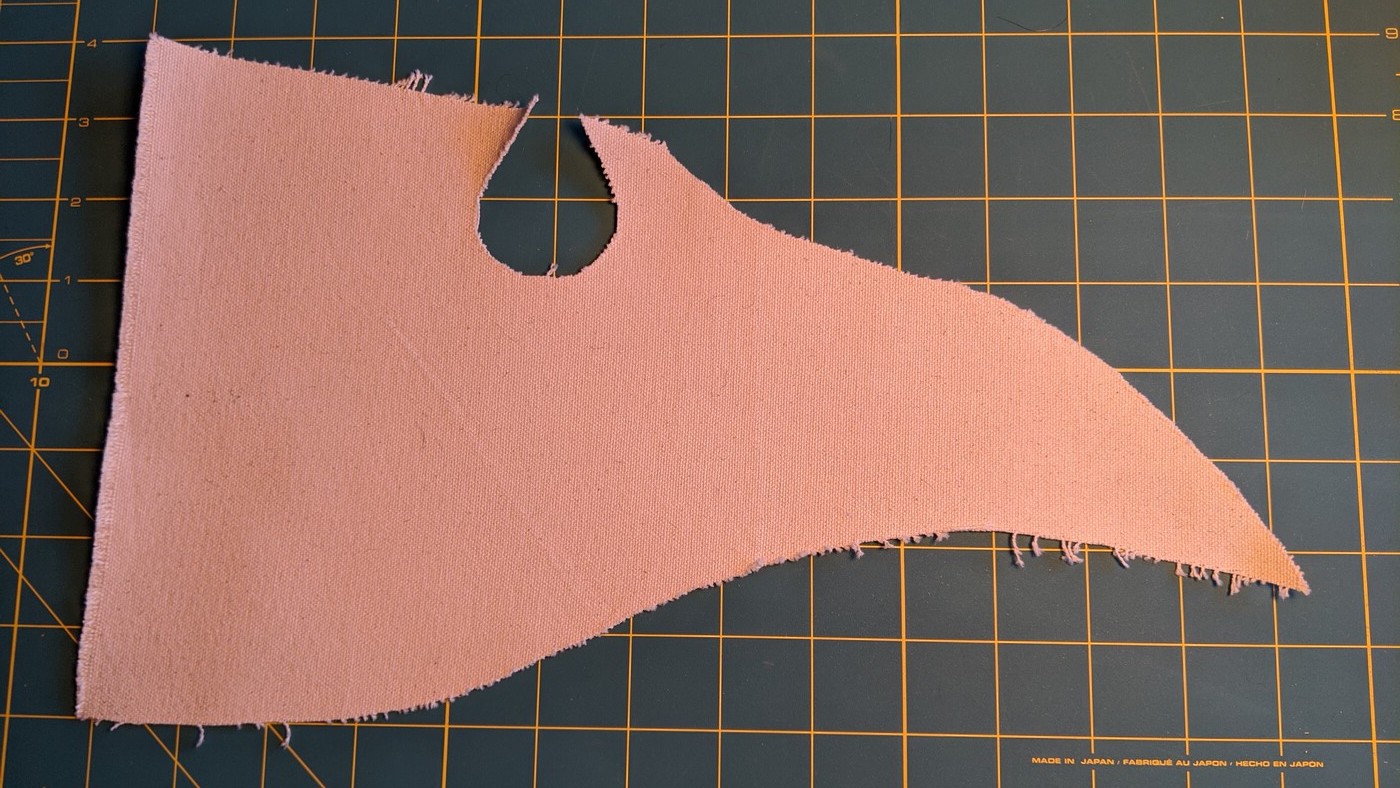
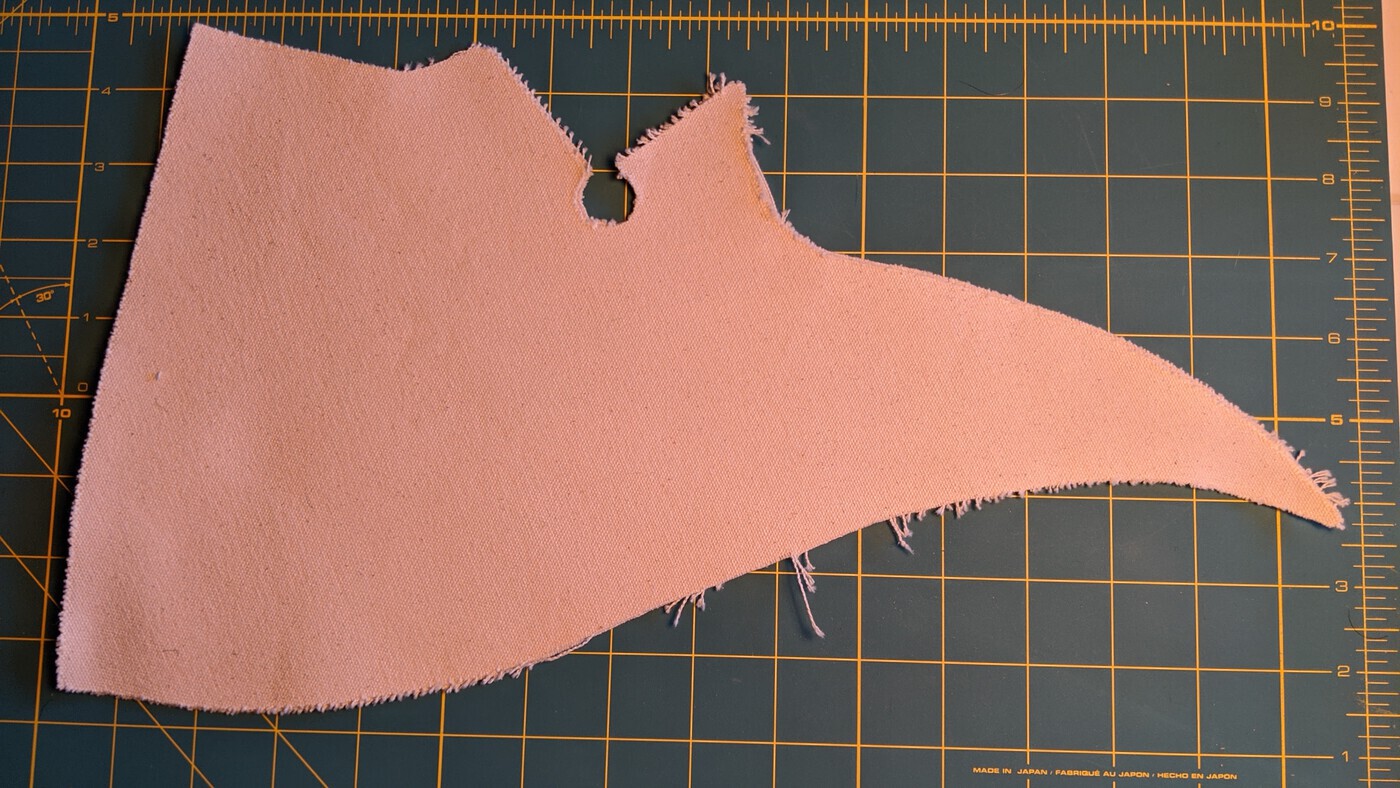
The fifth iteration is also very close to the final leather cutouts I made. There’s extra fabric to allow me to make alterations after cutting. Plus, I needed the extra fabric to stitch things together to see what it might look like when it’s done. The actual stitch lines are annotated on an image further down.
The way I mentally “connected” these various pieces together was to find points which intersect between the various pieces. Eyes, for example. The eye hole in one piece had to intersect with the eye hole in another piece. Given the eye position as an anchoring point, I can adjust and shape the pieces around it. I also had to cut out the forehead piece which I also iterated on a few times before I settled on a shape and eye positioning.
Sew me rough
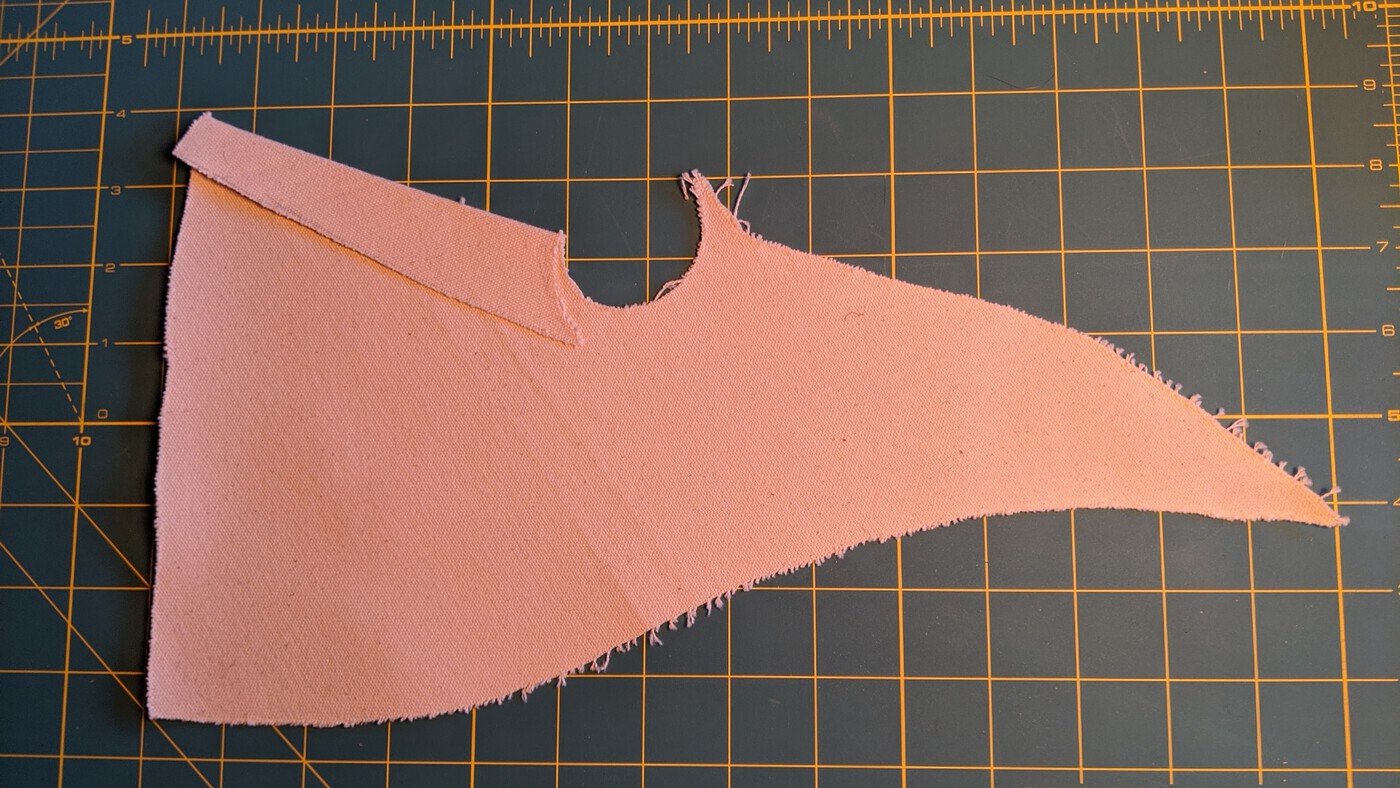
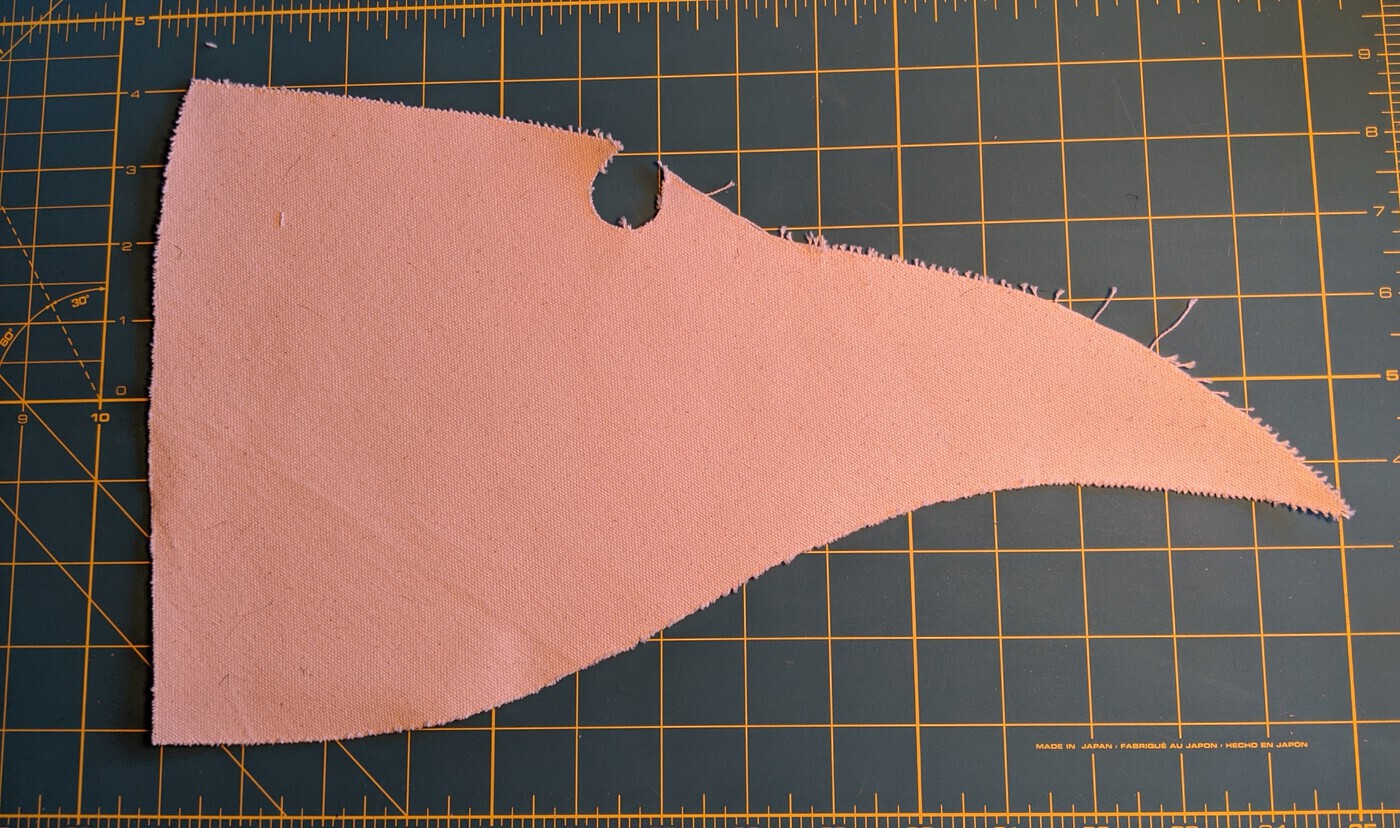
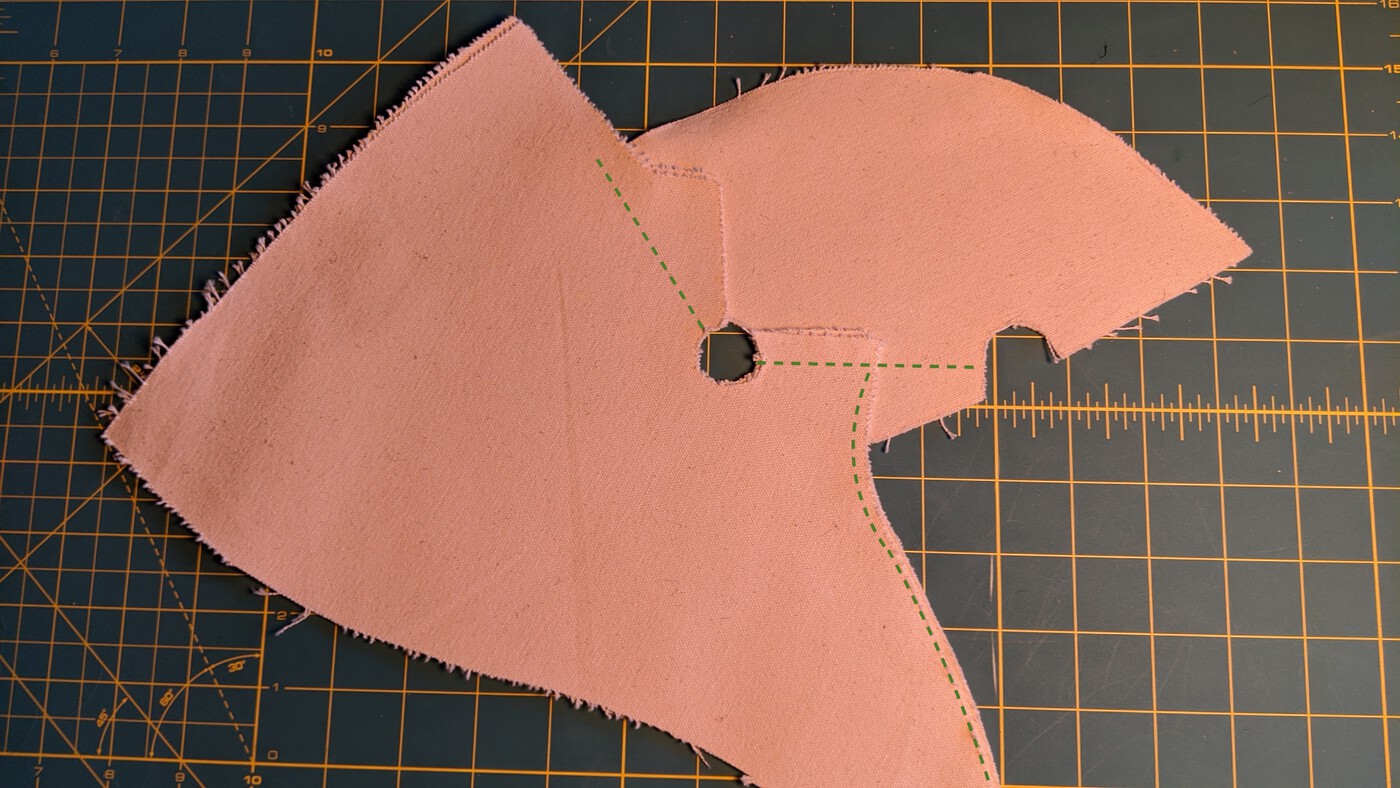
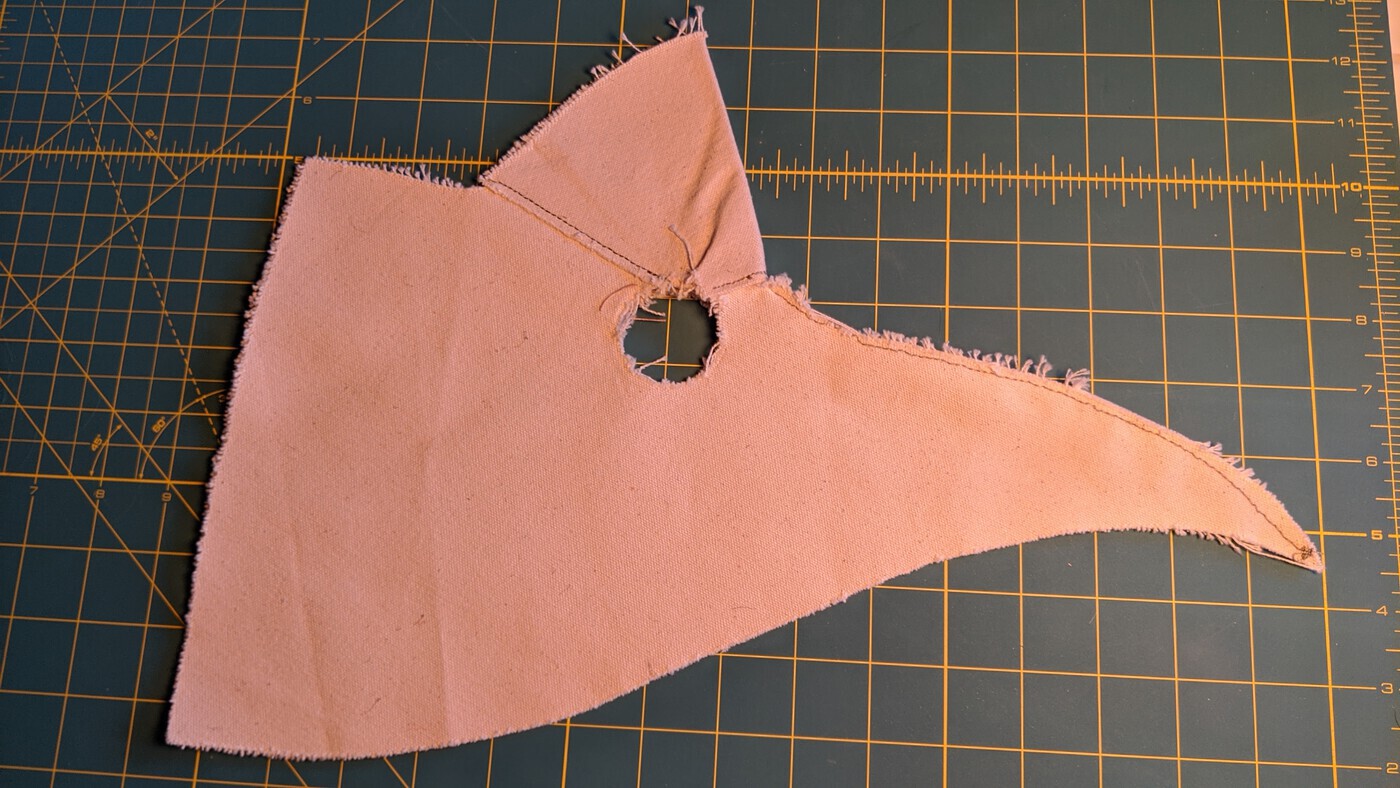
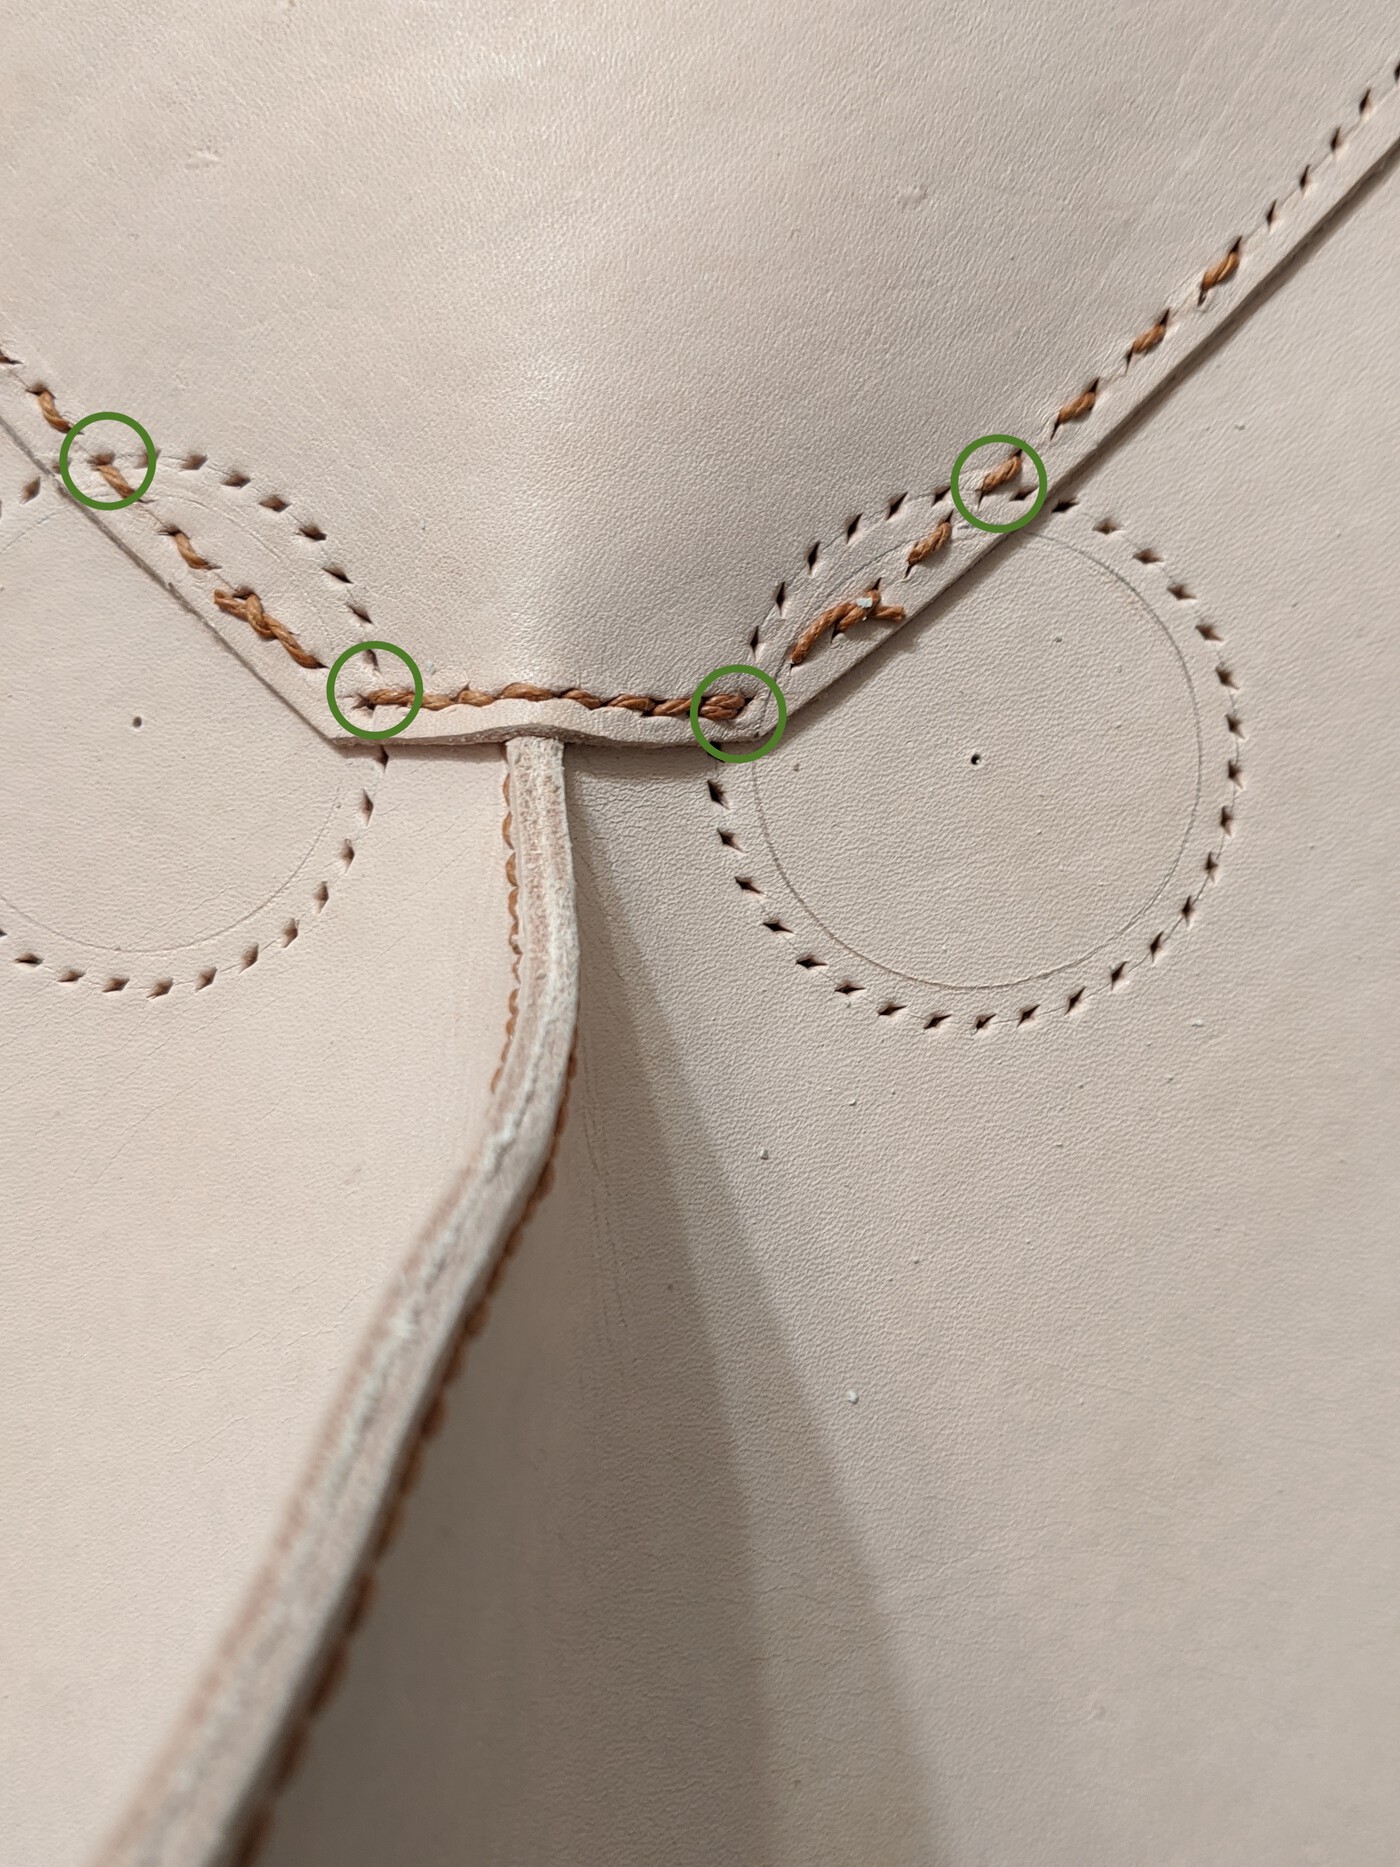
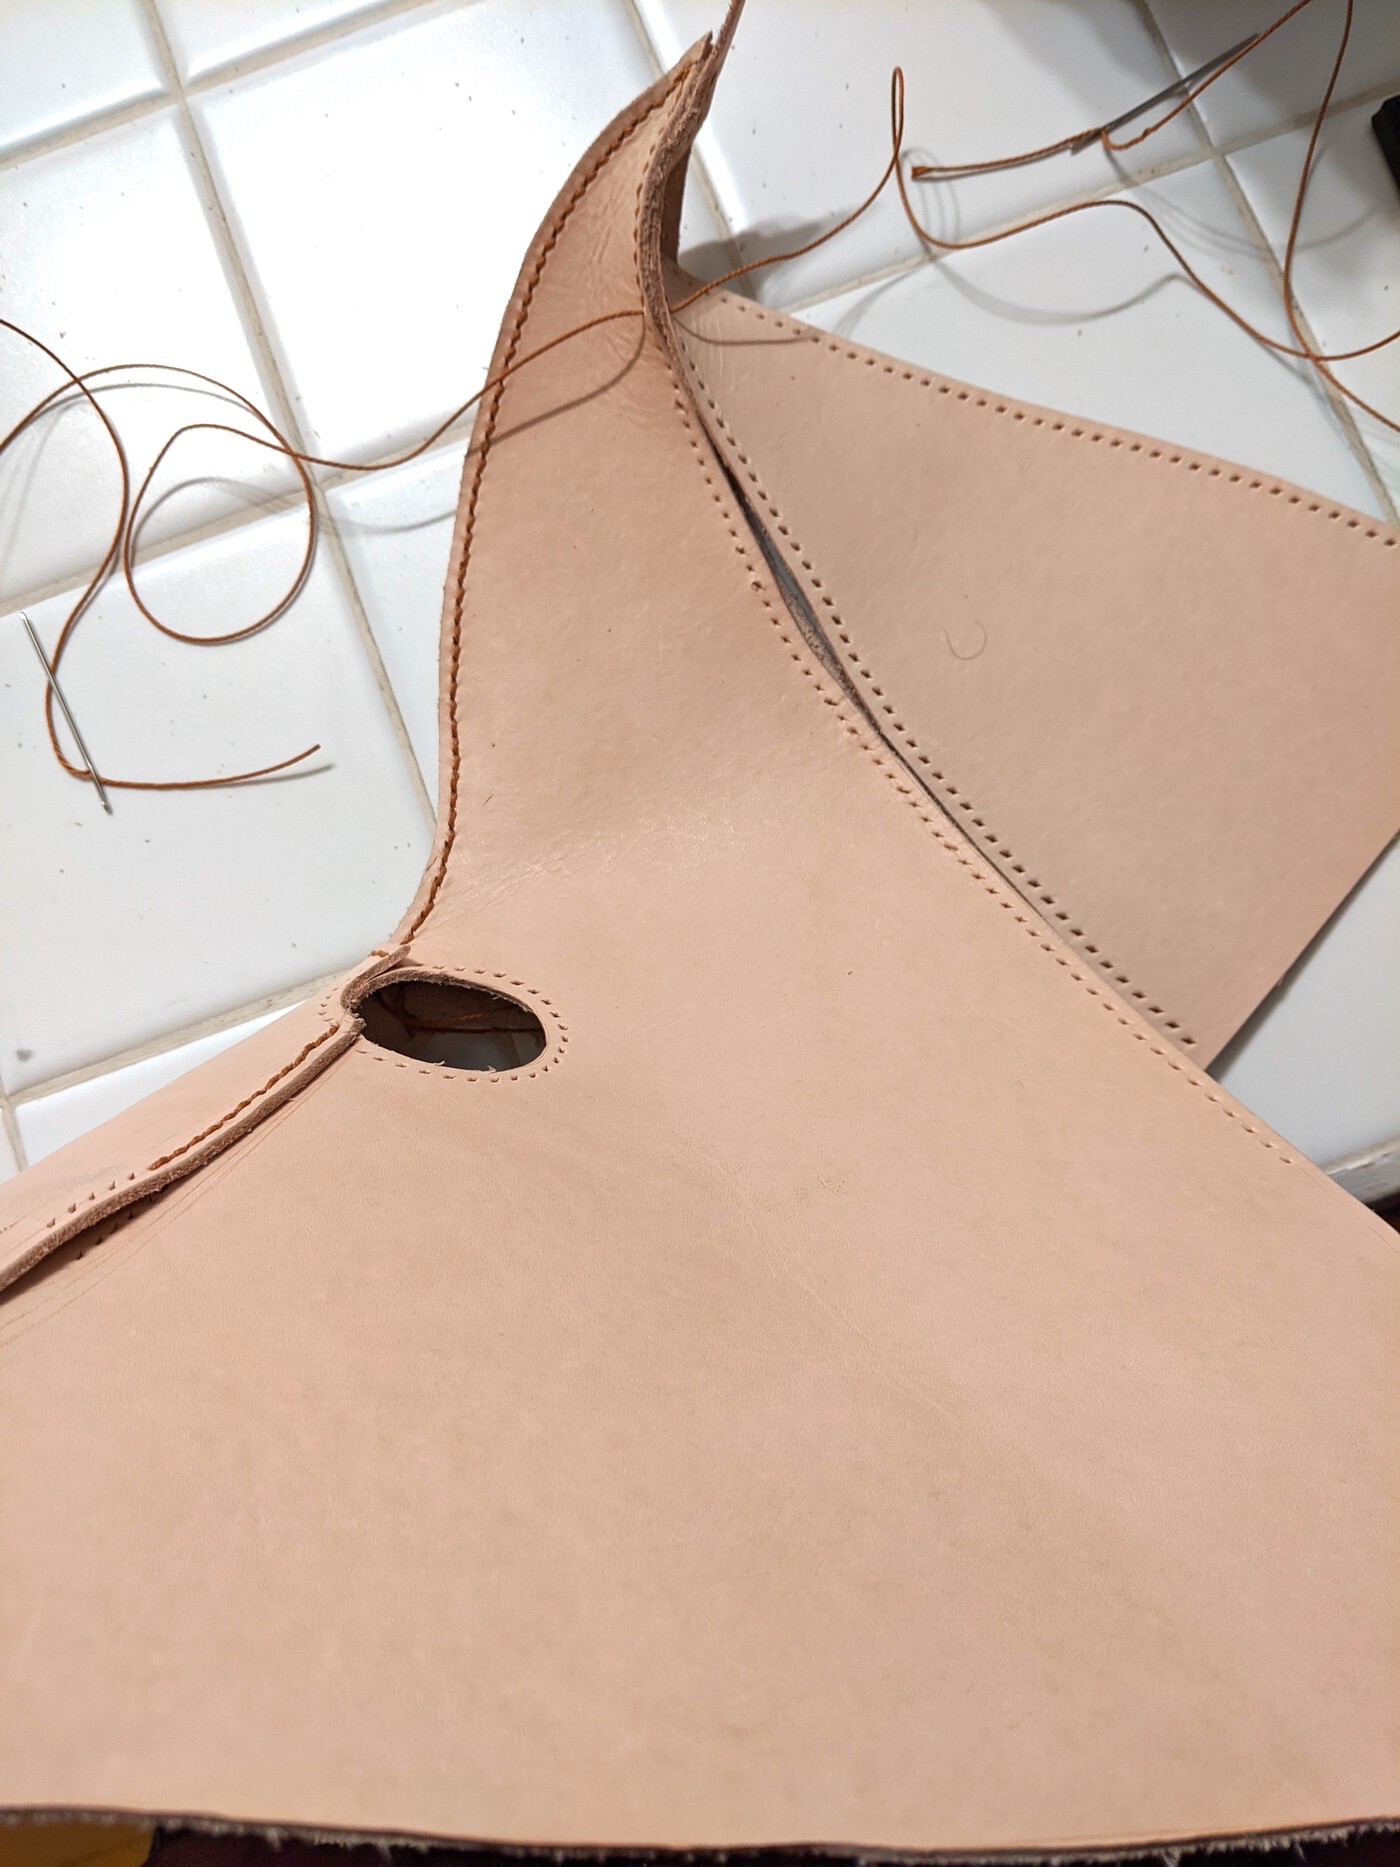
By cutting, roughly aligning, and superposing the pieces, I got a rough idea of how I would sew the pieces together. The green dashed lines show the stitch lines. Note that the bottom piece is still something I haven’t thought about much or cut out at this point. I guessed it would simply be a joining piece once the rest of it is done based on how wide I want the mask to be. It turned out to not be so simple but more on that later.
Before I went further and started cutting up the precious leather, I wanted to stitch the canvas pieces together to see if the end result looked right. I stitched several of the iterations but here are two iterations. It’s quite an improvement between the first and the second mask below. The shape is much more to my liking in the second one, which is very close to the leather mask I ended up making in the end. I also held up the masks against my face to see if it worked for my face. The beak in the first mask, for example, was too “droopy” and wide. It looked quite silly honestly. The last one however was much more refined, the length was just right and the beak was sharper and more pronounced with a more “menacing” look I was going for.

Leather me up!
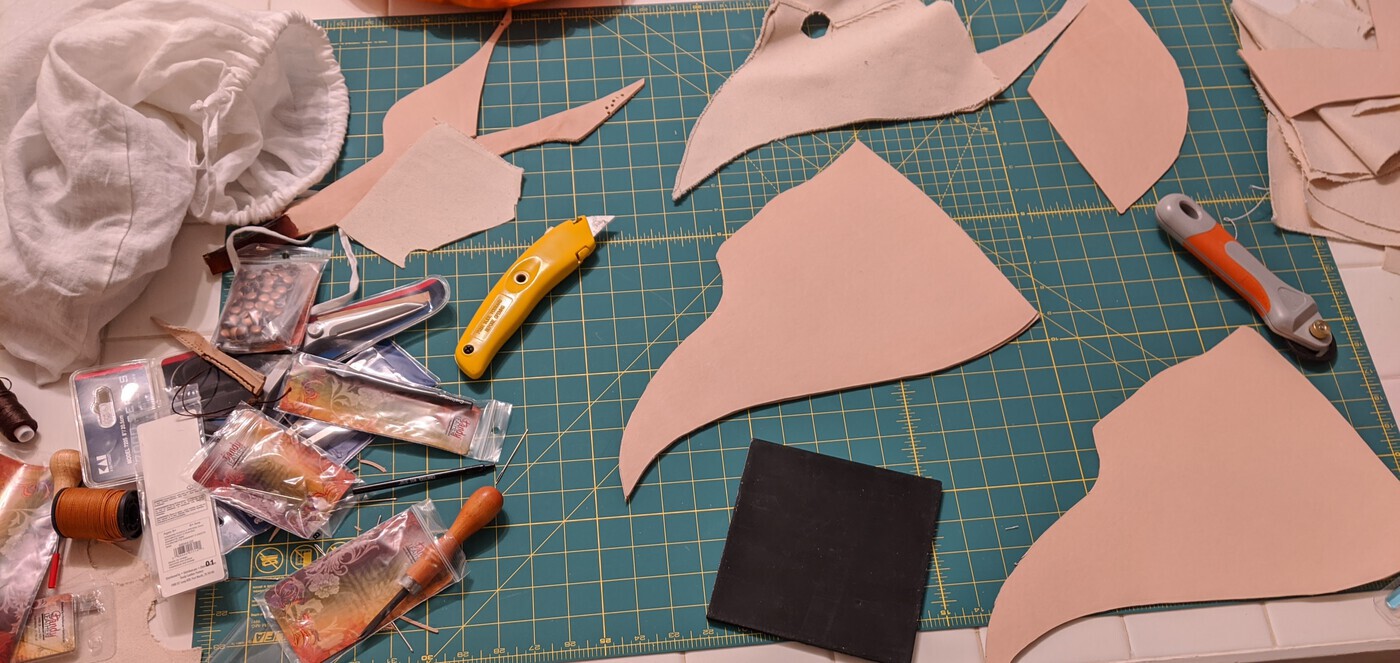
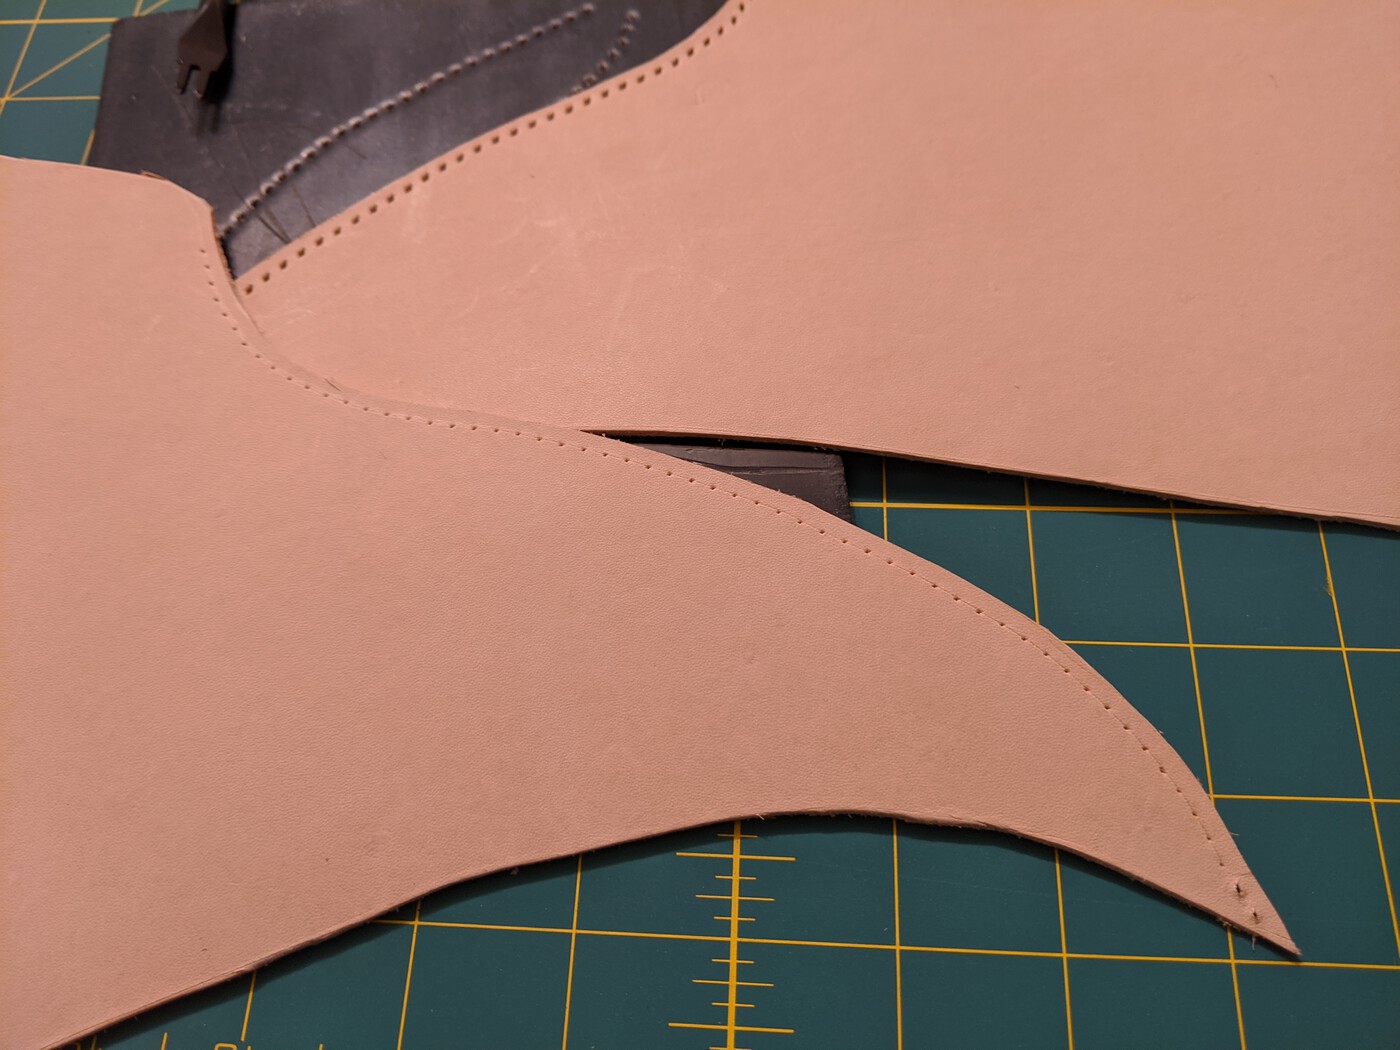
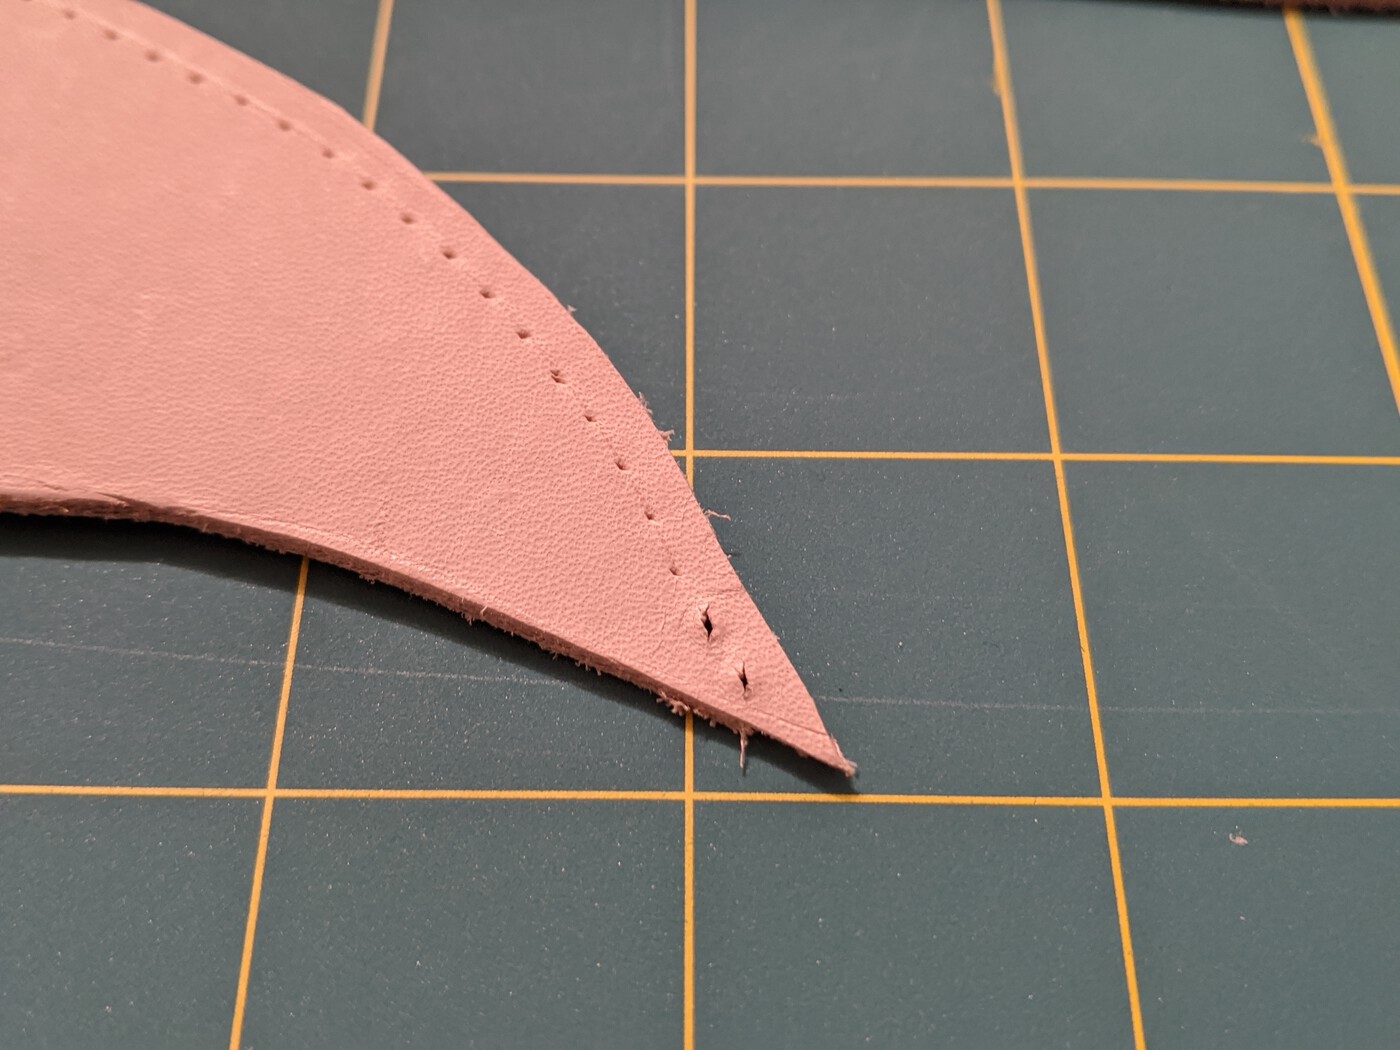
Hesitantly and with caution, I starting cutting out the leather pieces (below). Some of you might have caught the silly mistake I made – I had cut two of the same piece instead two pieces being mirror images of each other. I had created achiral cutouts when I should have made chiral cutouts so I could sew them along the mirror plane. Arrgghhh! I had to make another cutout. This wasn’t a problem with the canvas because both sides of the canvas are essentially the same, unlike leather that has a smooth and a rough side.
Punch me through
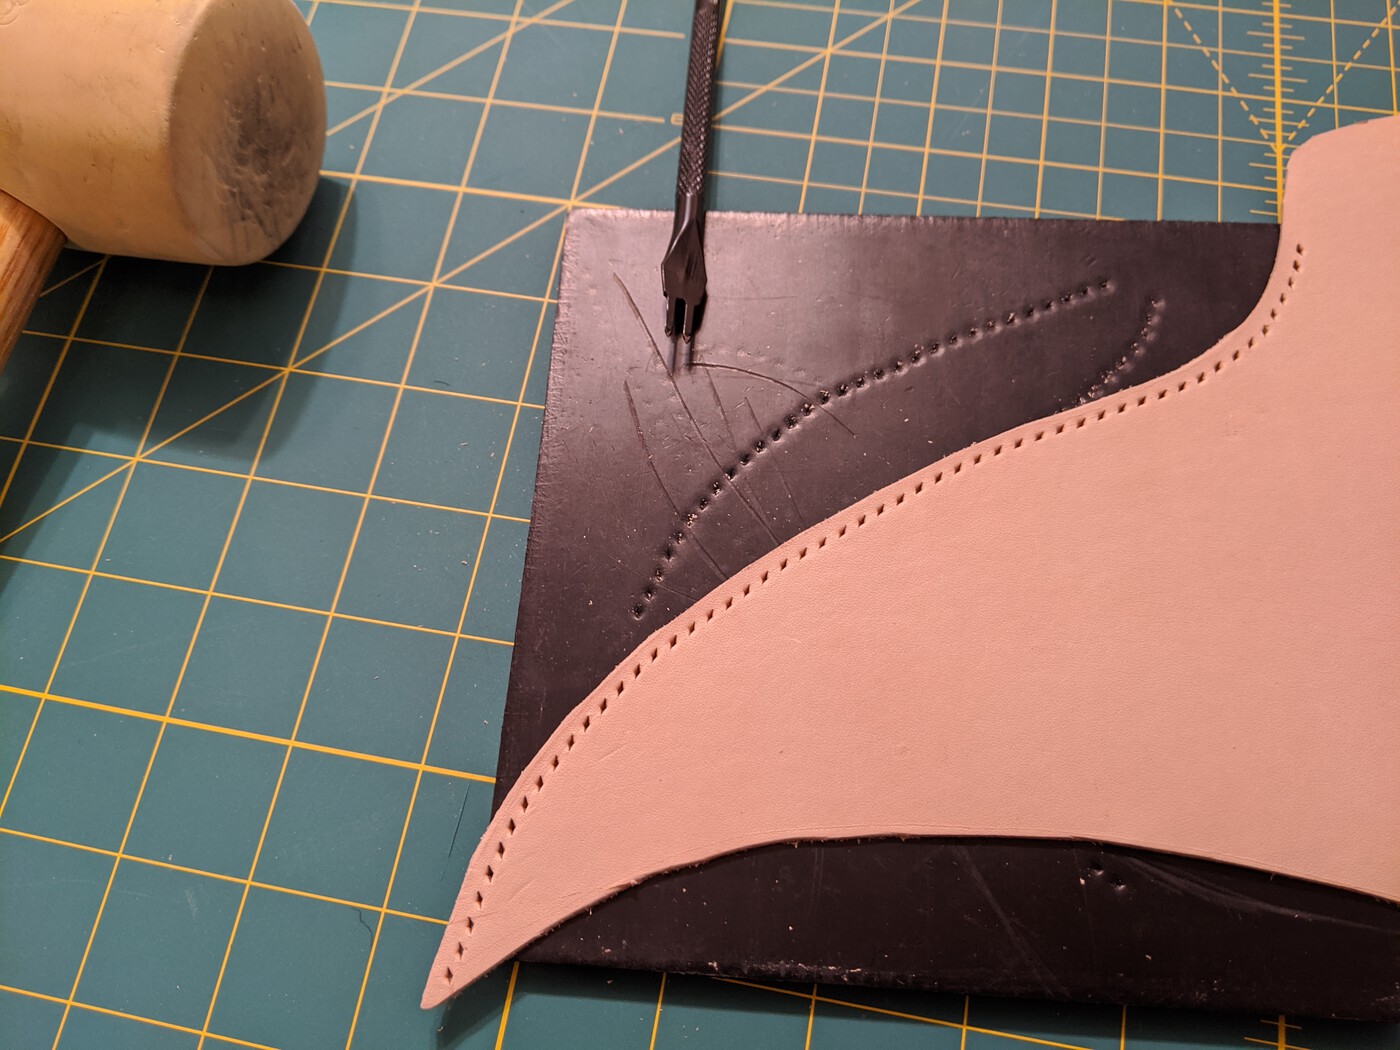
I used the leather punch to first mark the sewing holes (without fully punching through) on one of the pieces. Marking provides an anchor so the punch doesn’t move when you go to make the sewing holes. Then I lined the two pieces up and punched through both to mark the alignment point on the second piece. Starting from the alignment markings, I made the remaining marks on the second piece, all using a 2mm diamond punch:
Stitch and sinew
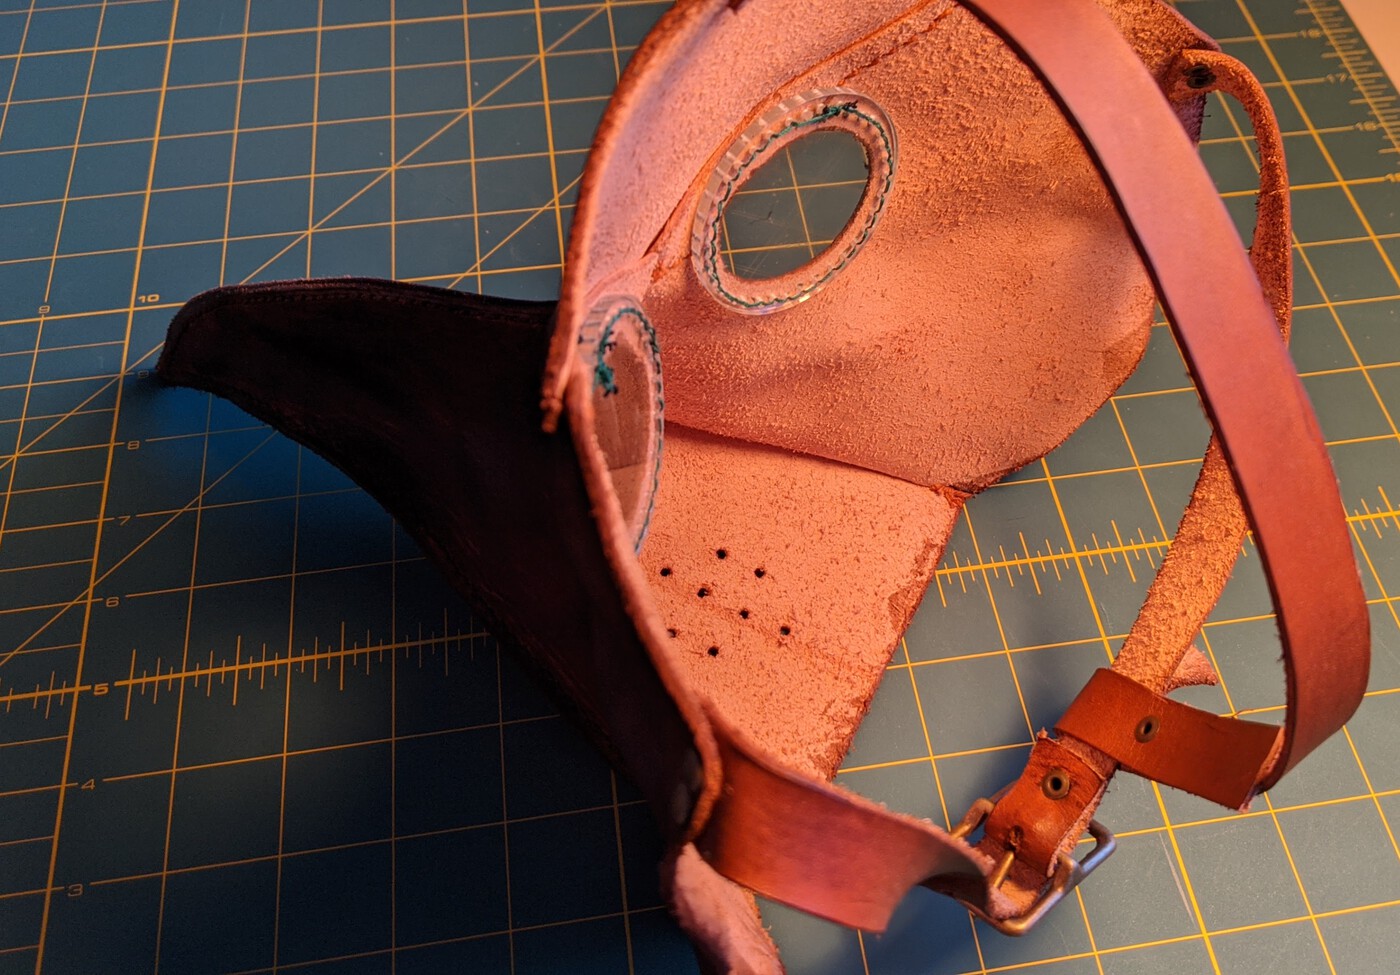
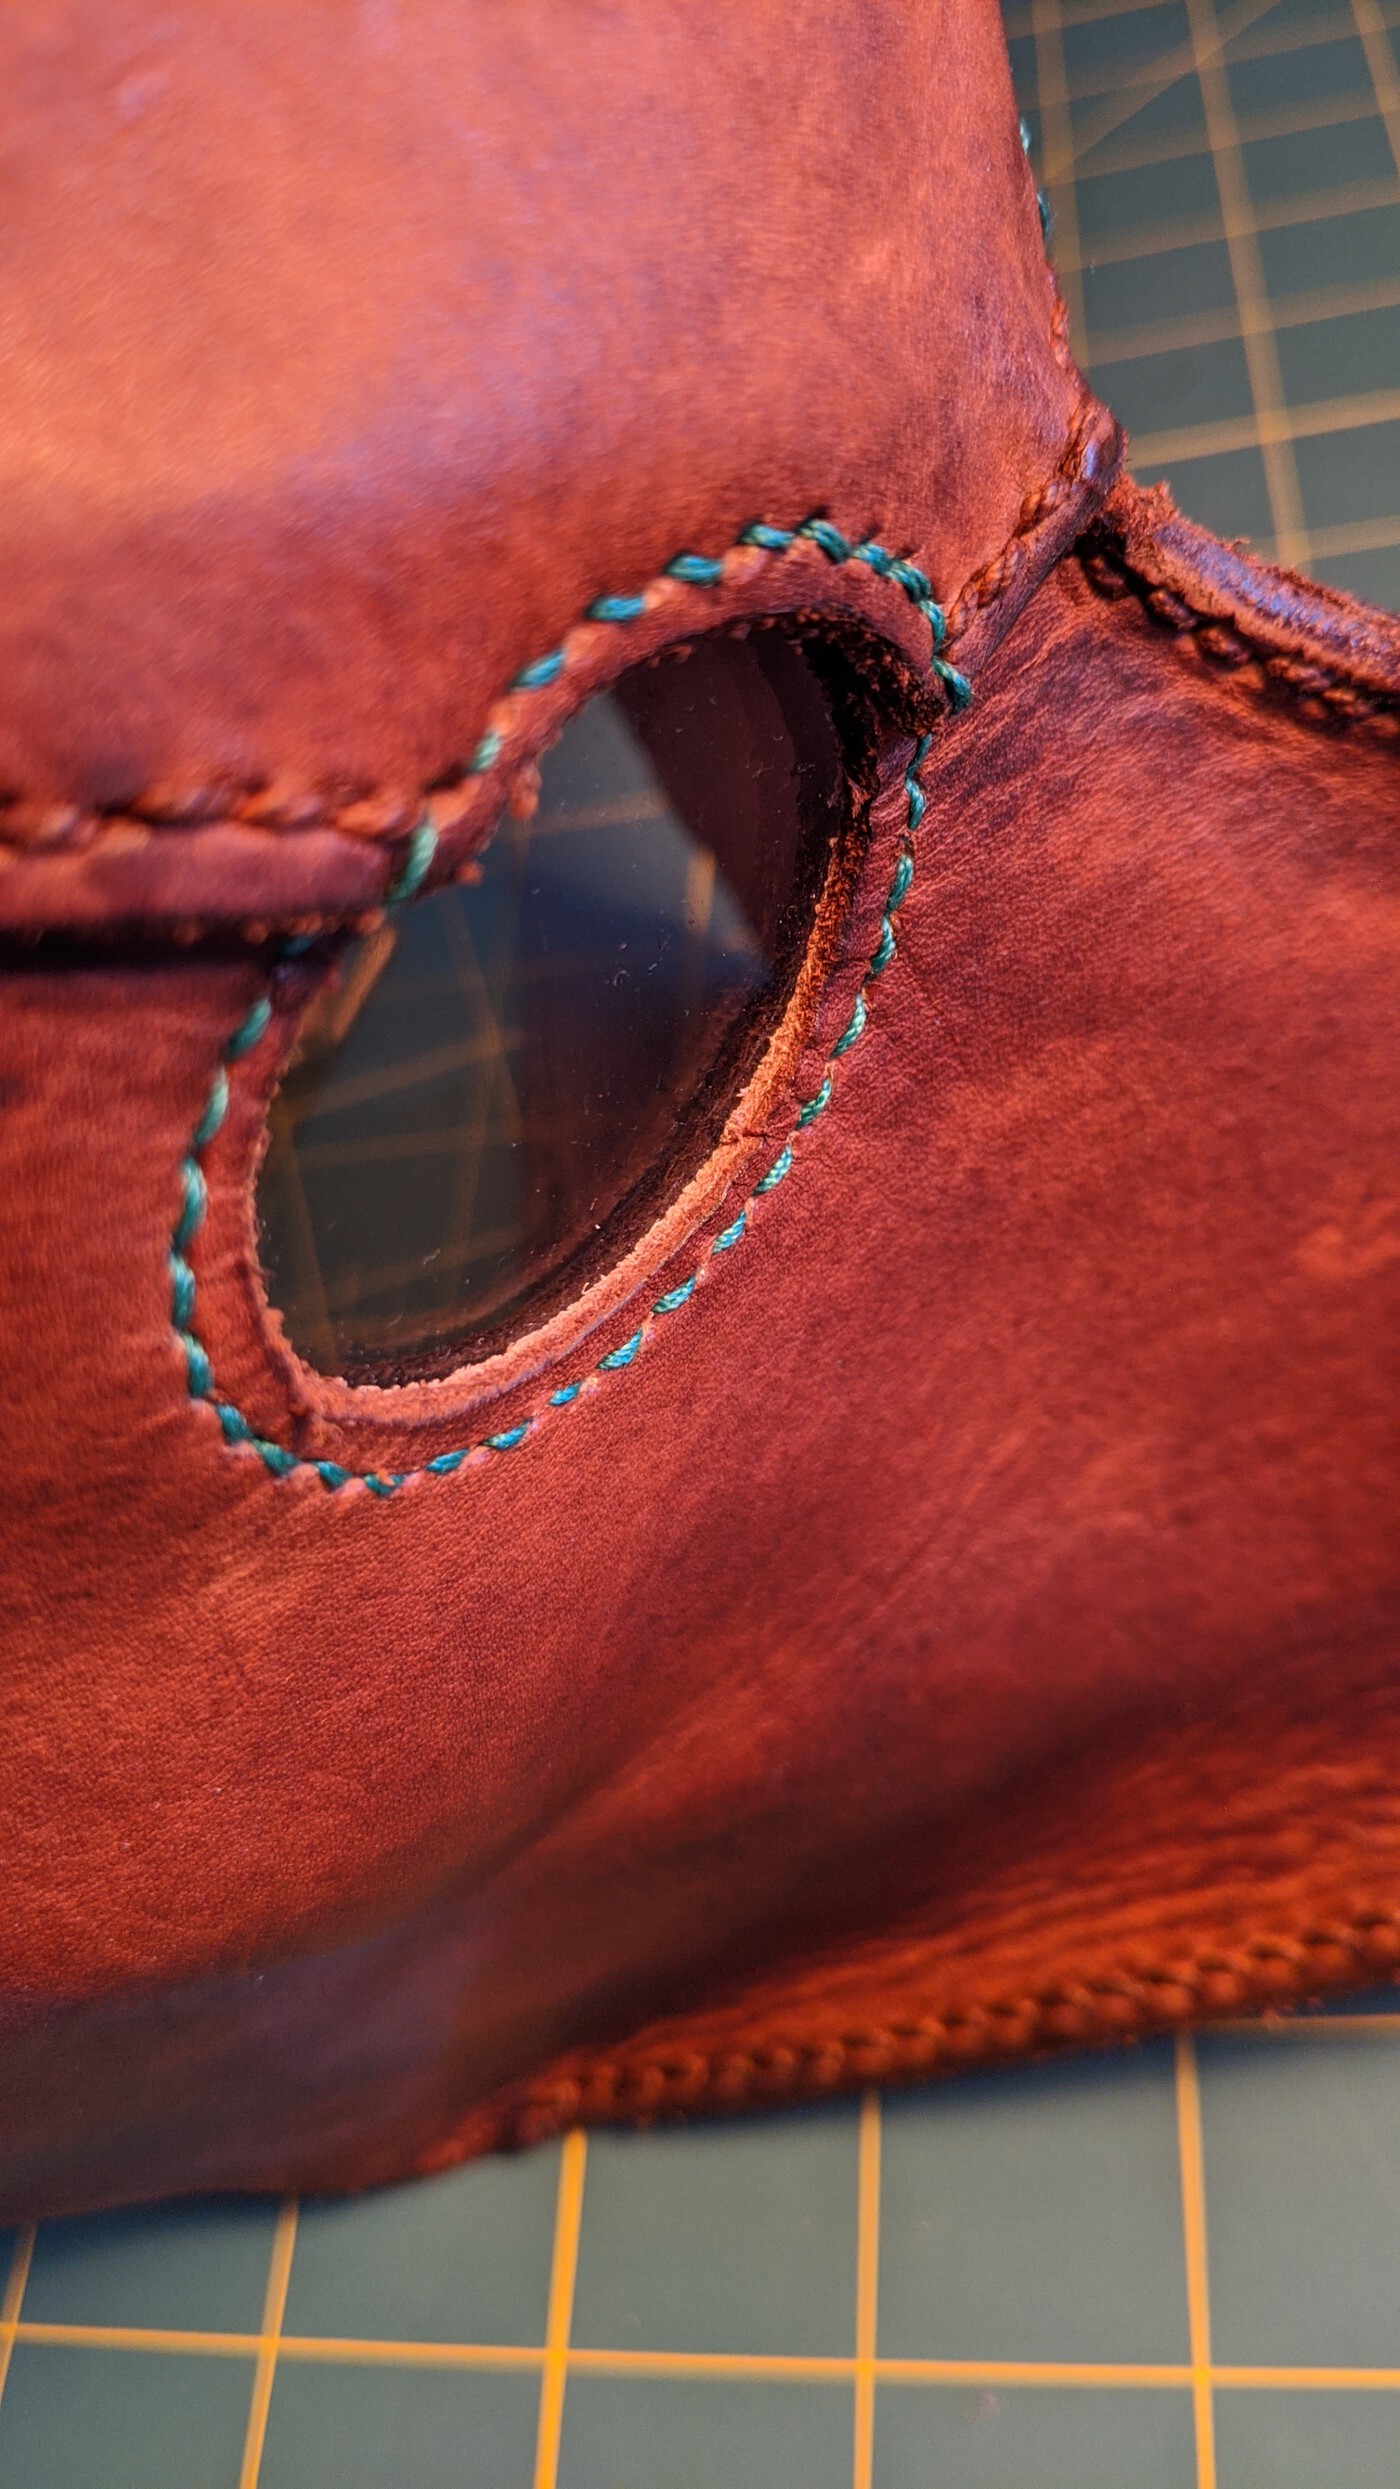
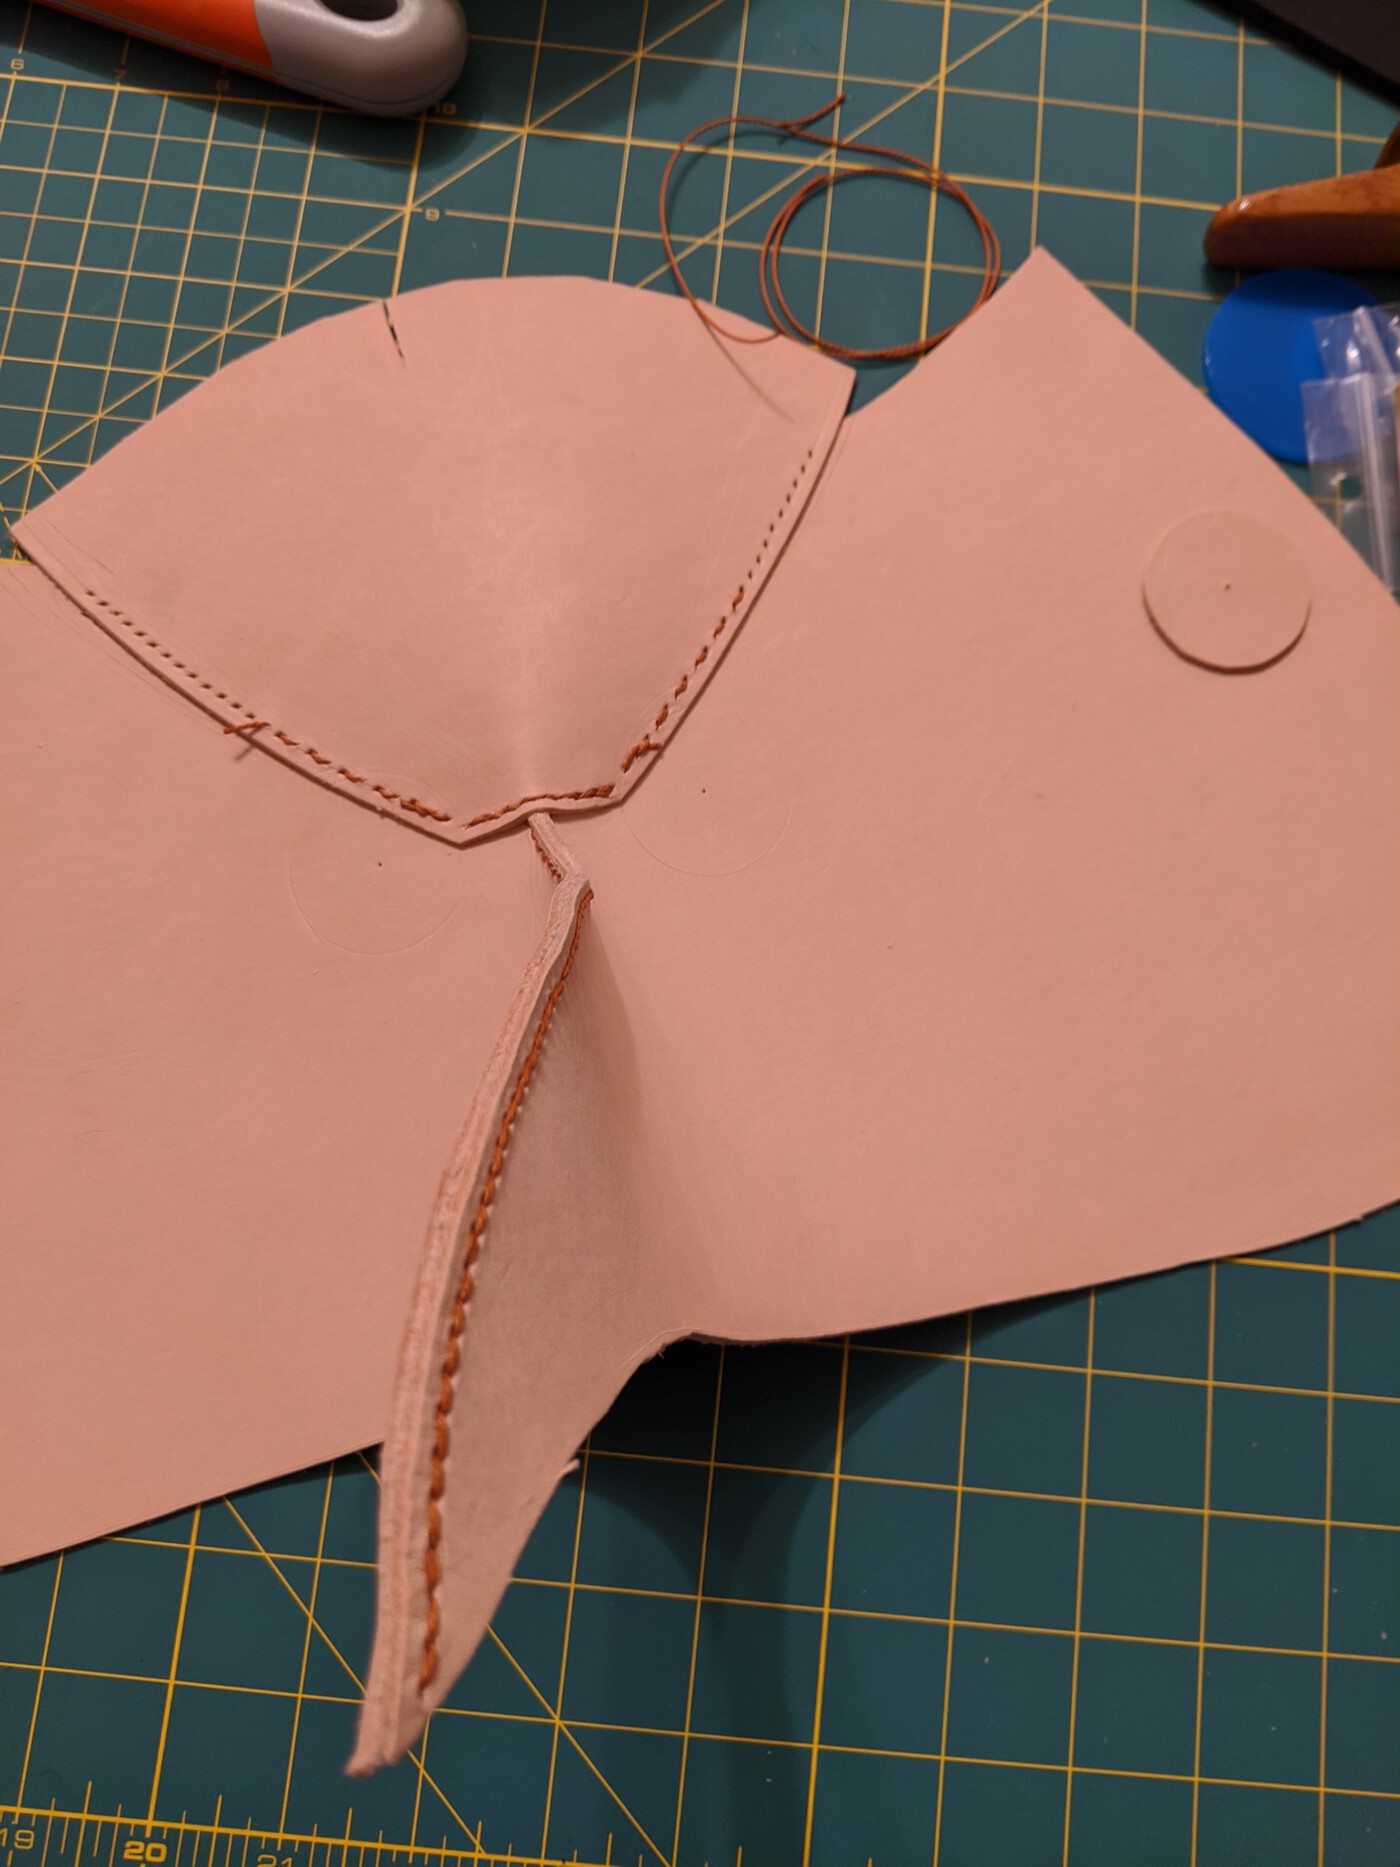
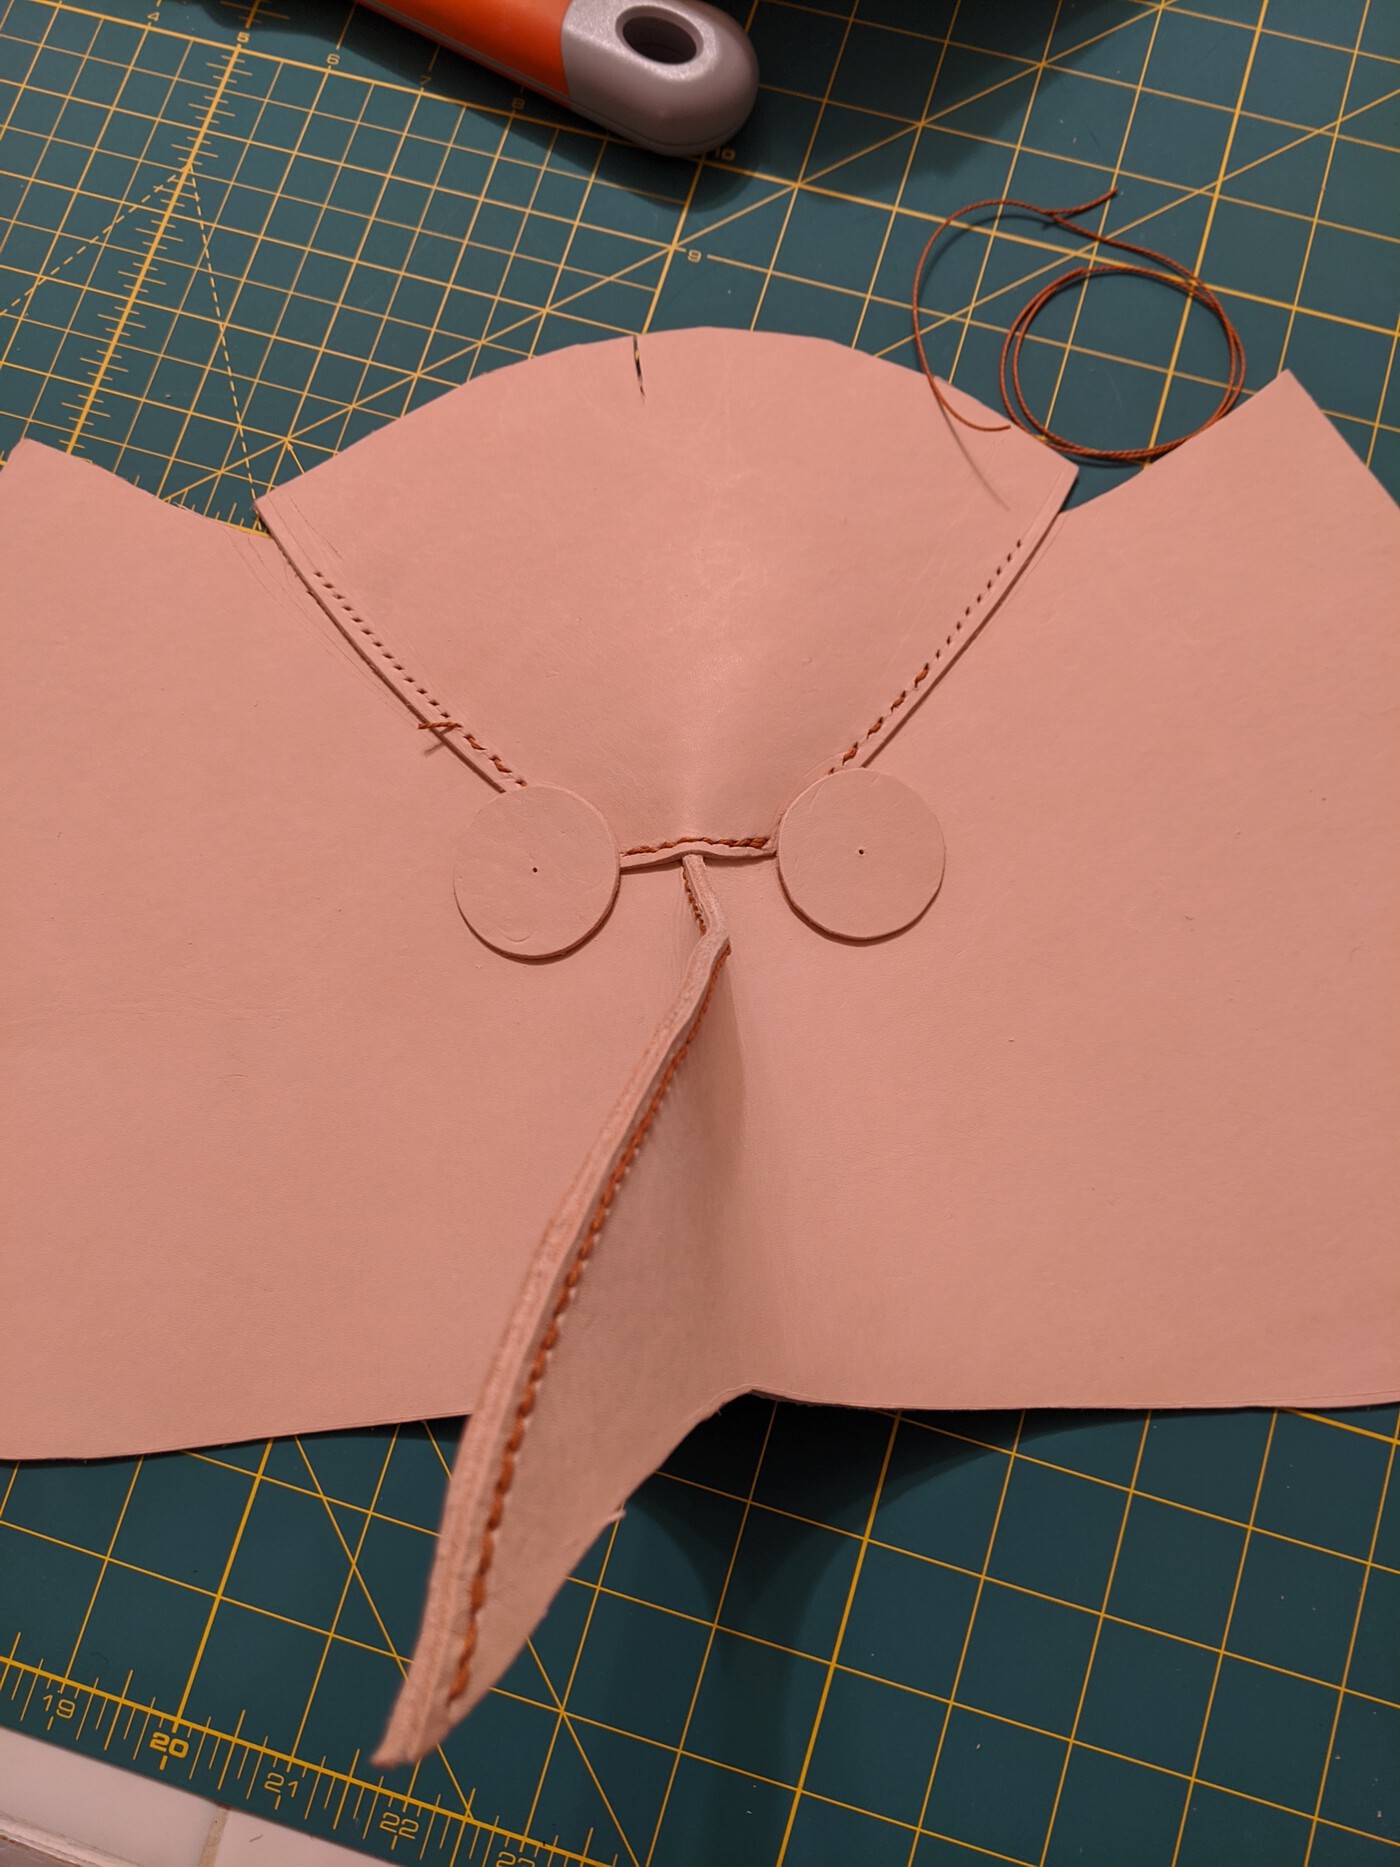
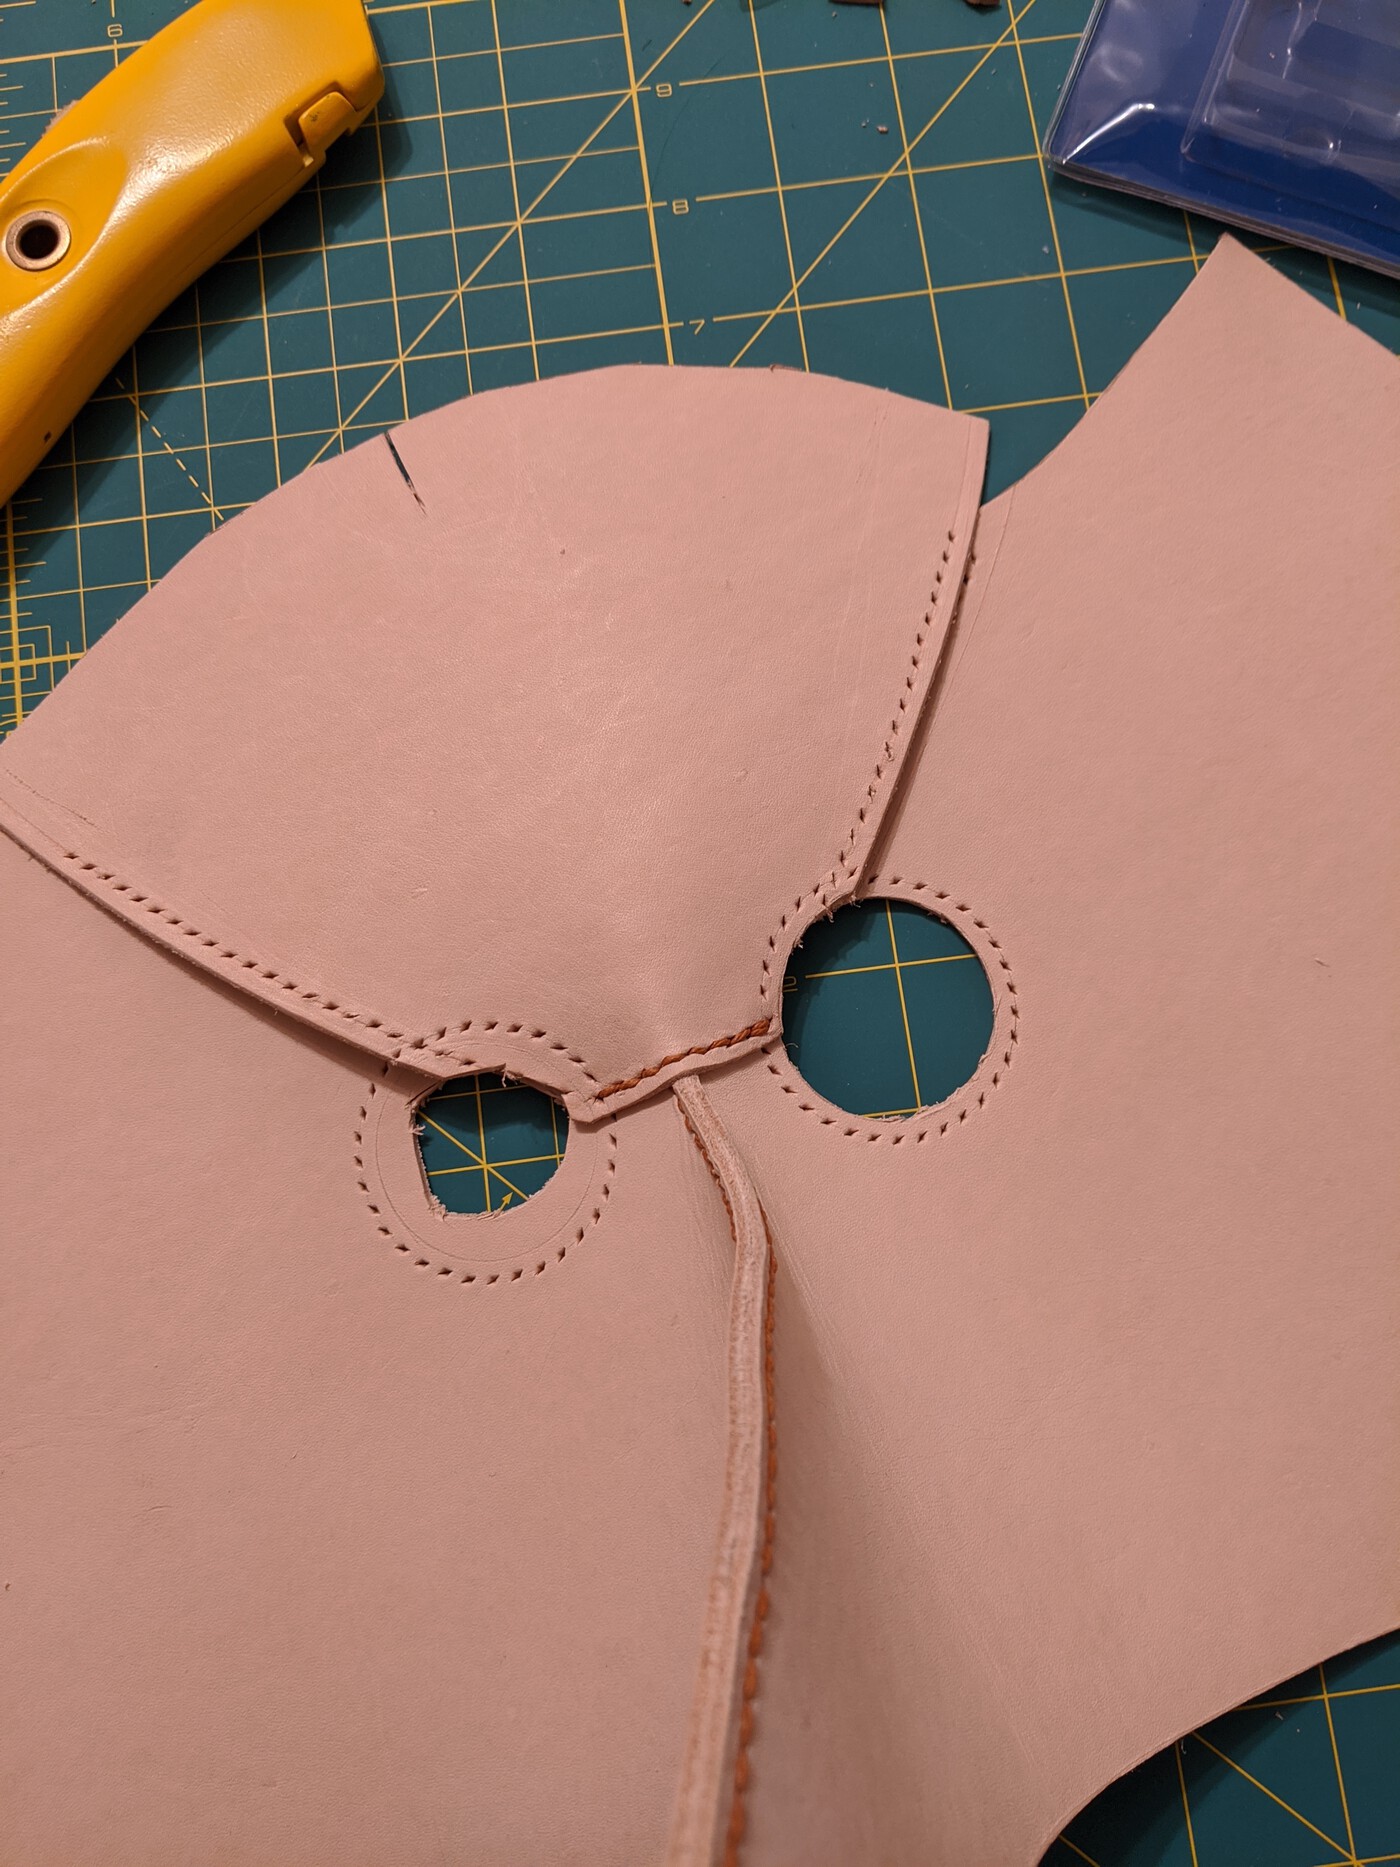
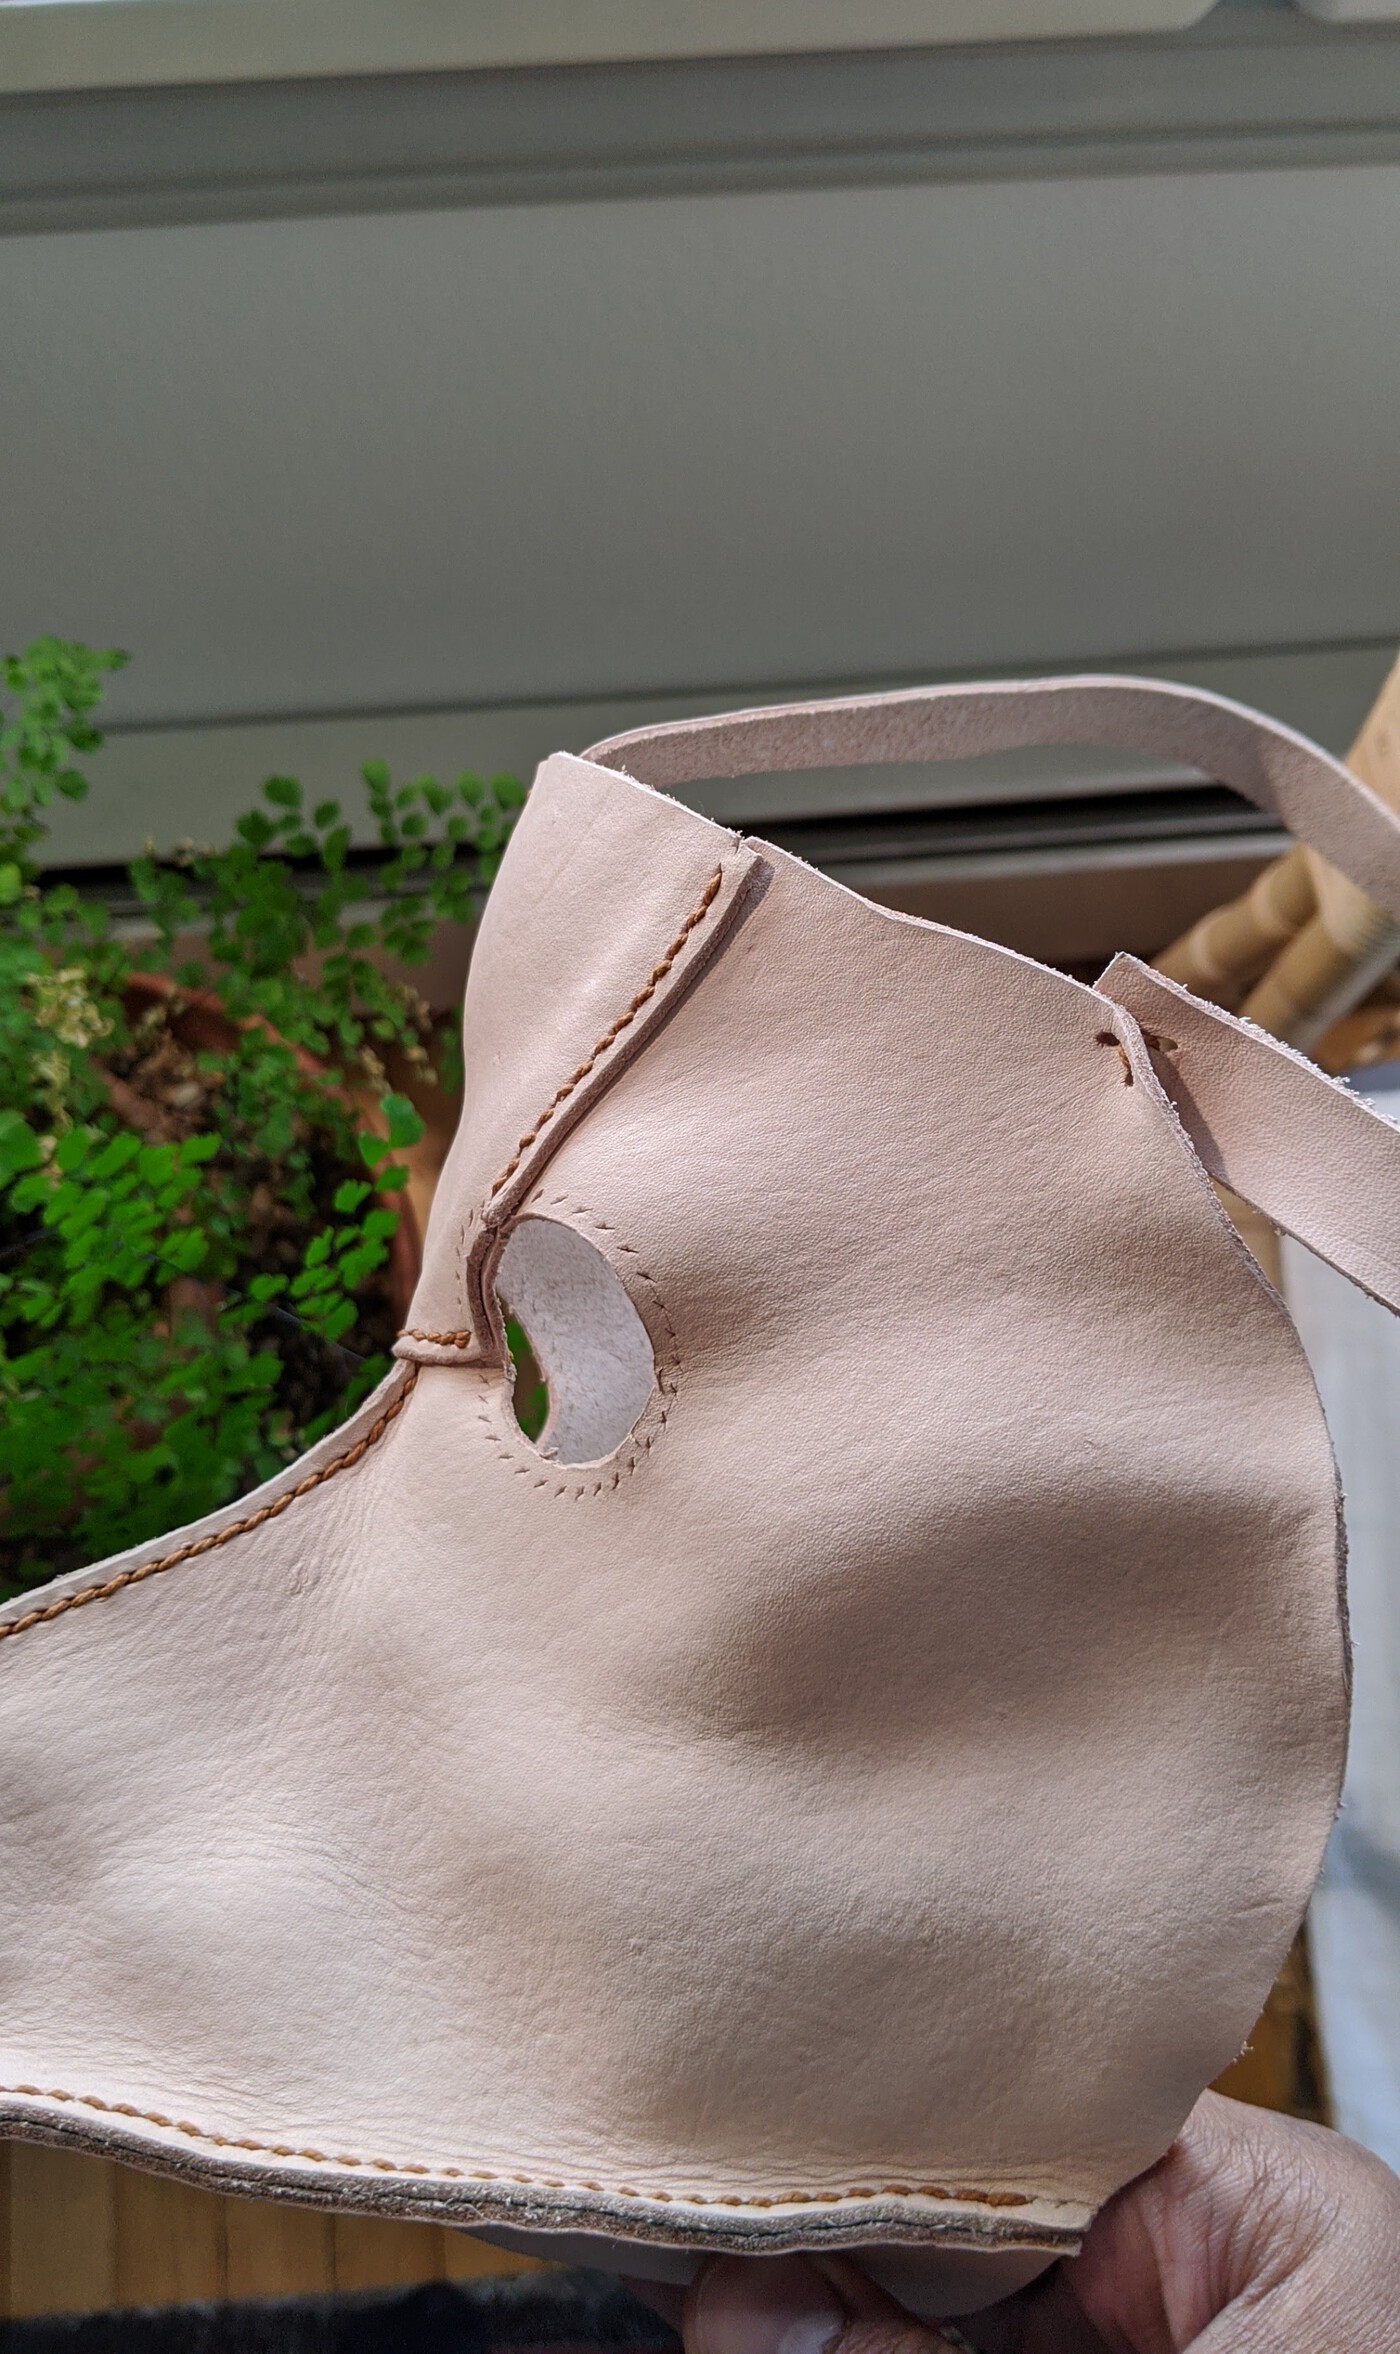
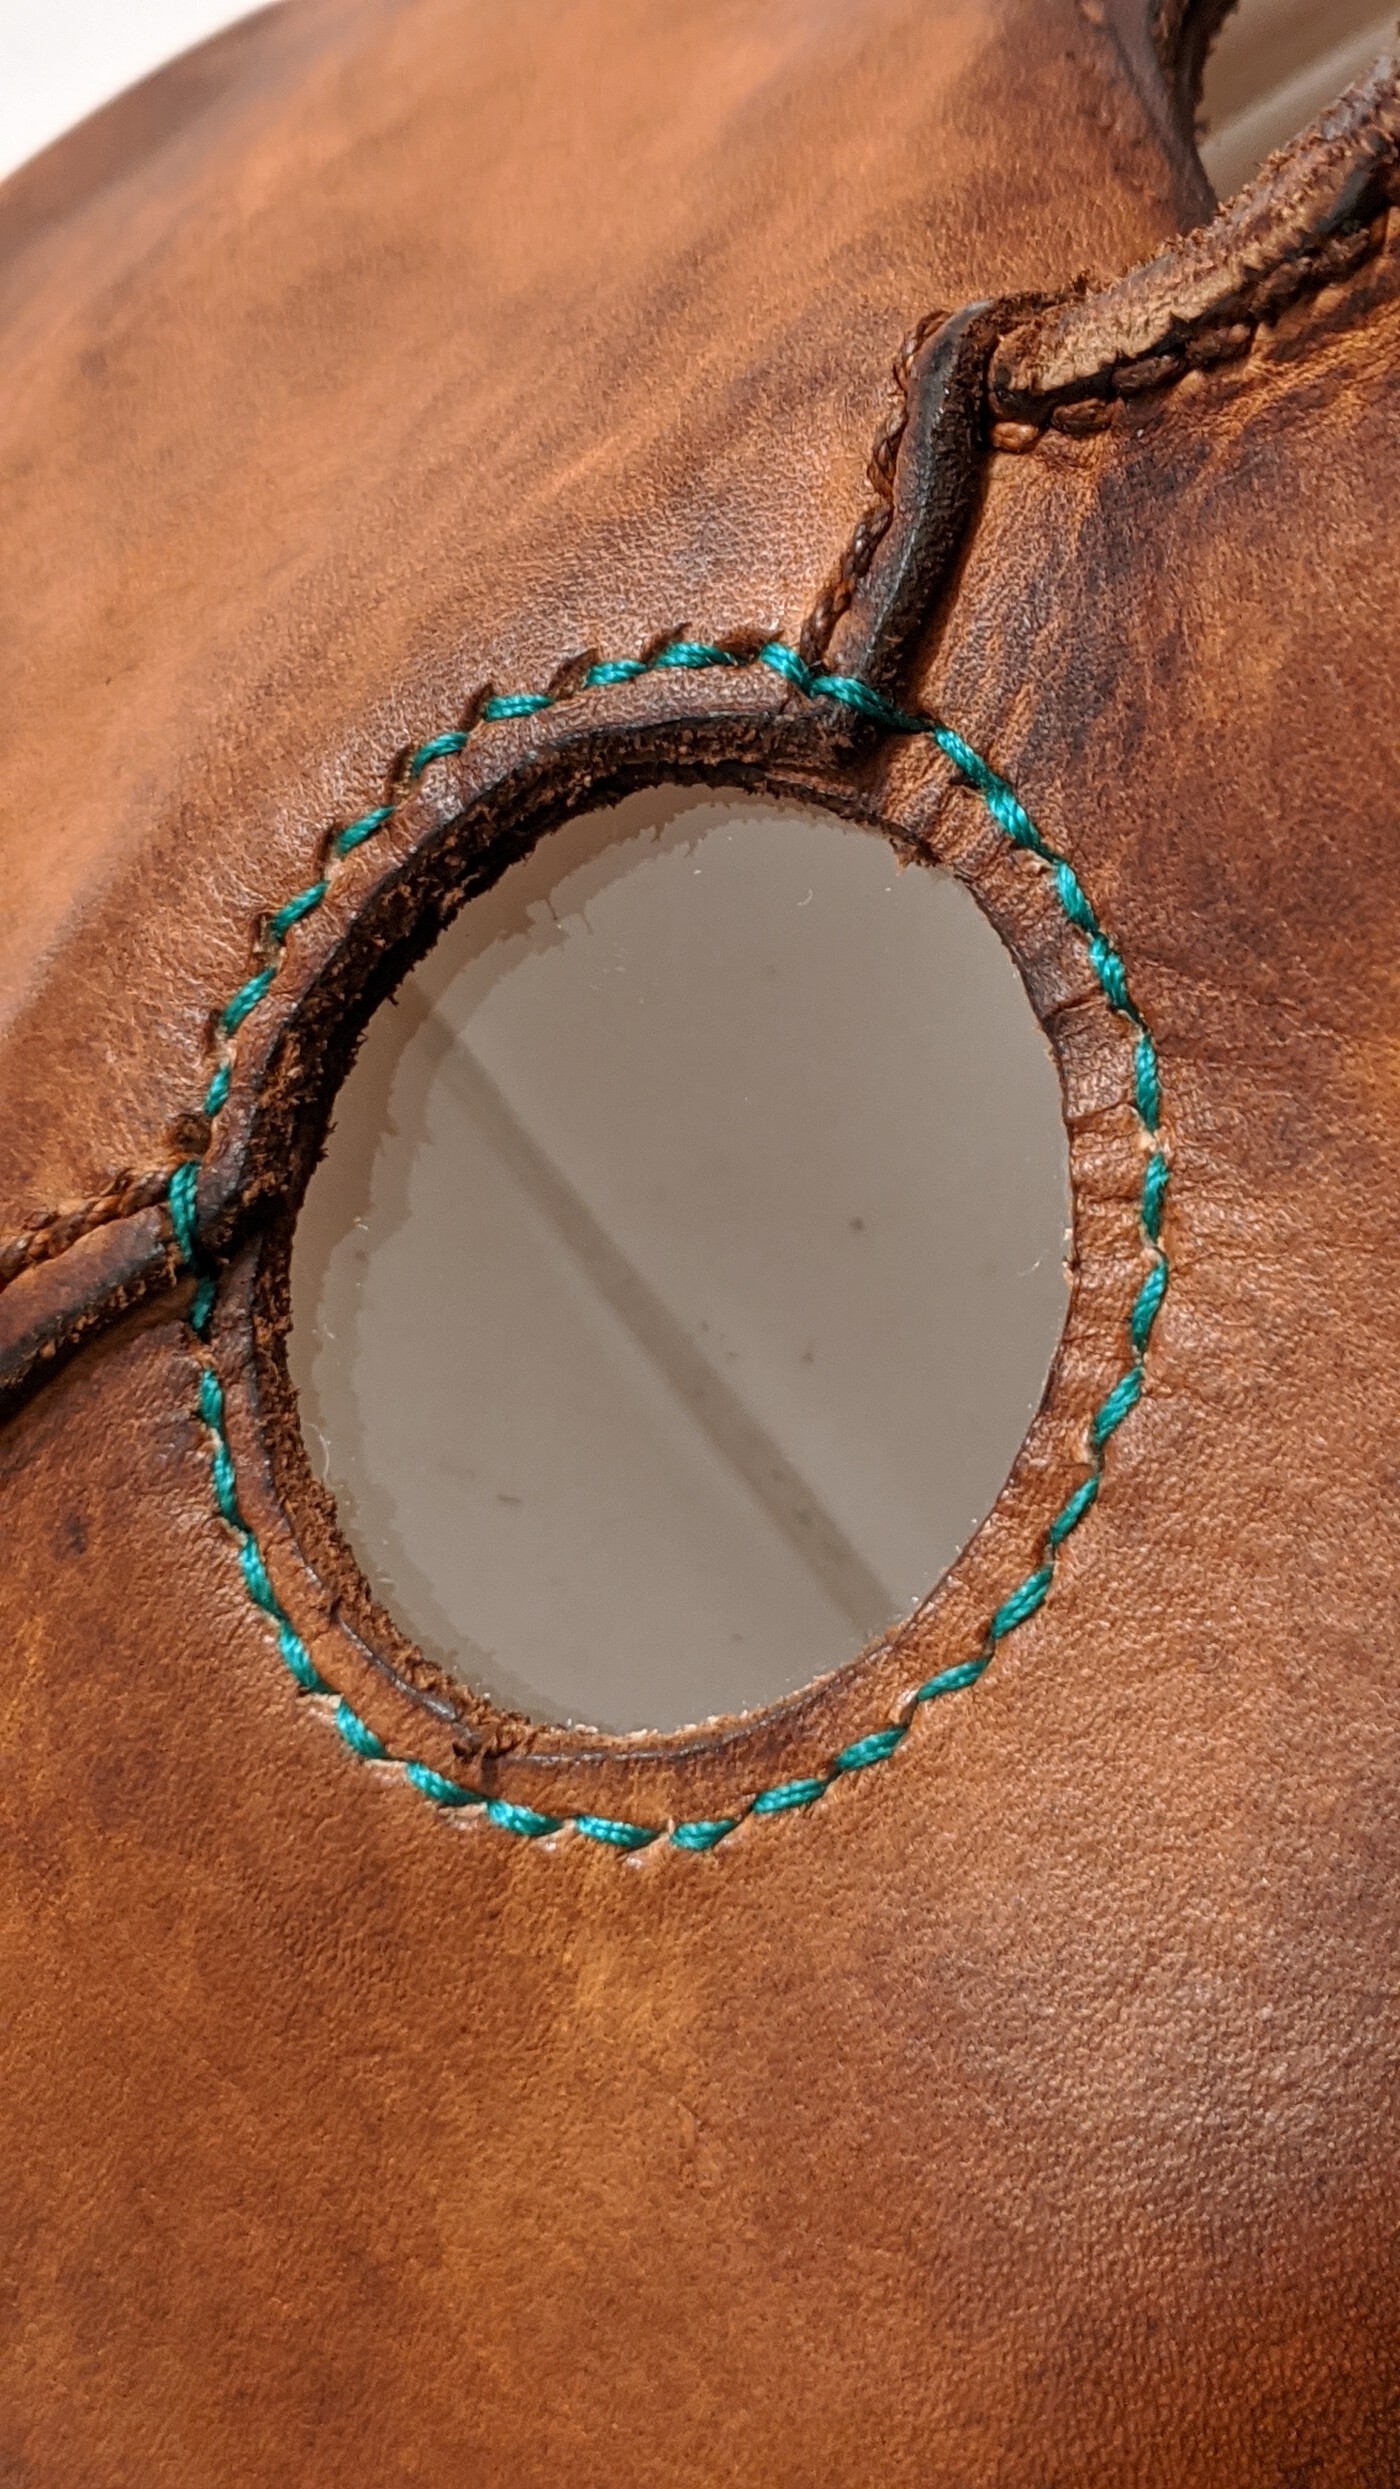
I used a heavy-weight hemp string and saddle-stitched the two pieces together. I wish I had used sinew to give the section title some more weight hah. The forehead piece was also (roughly) sewn in to try to get an idea of the shape and eye hole placement. For the eyes, I bought 1.5” acrylic disks at a local plastics store. The eye hole itself was going to be 1.25” with the remaining .25” for the stitching.
Cut me skinny
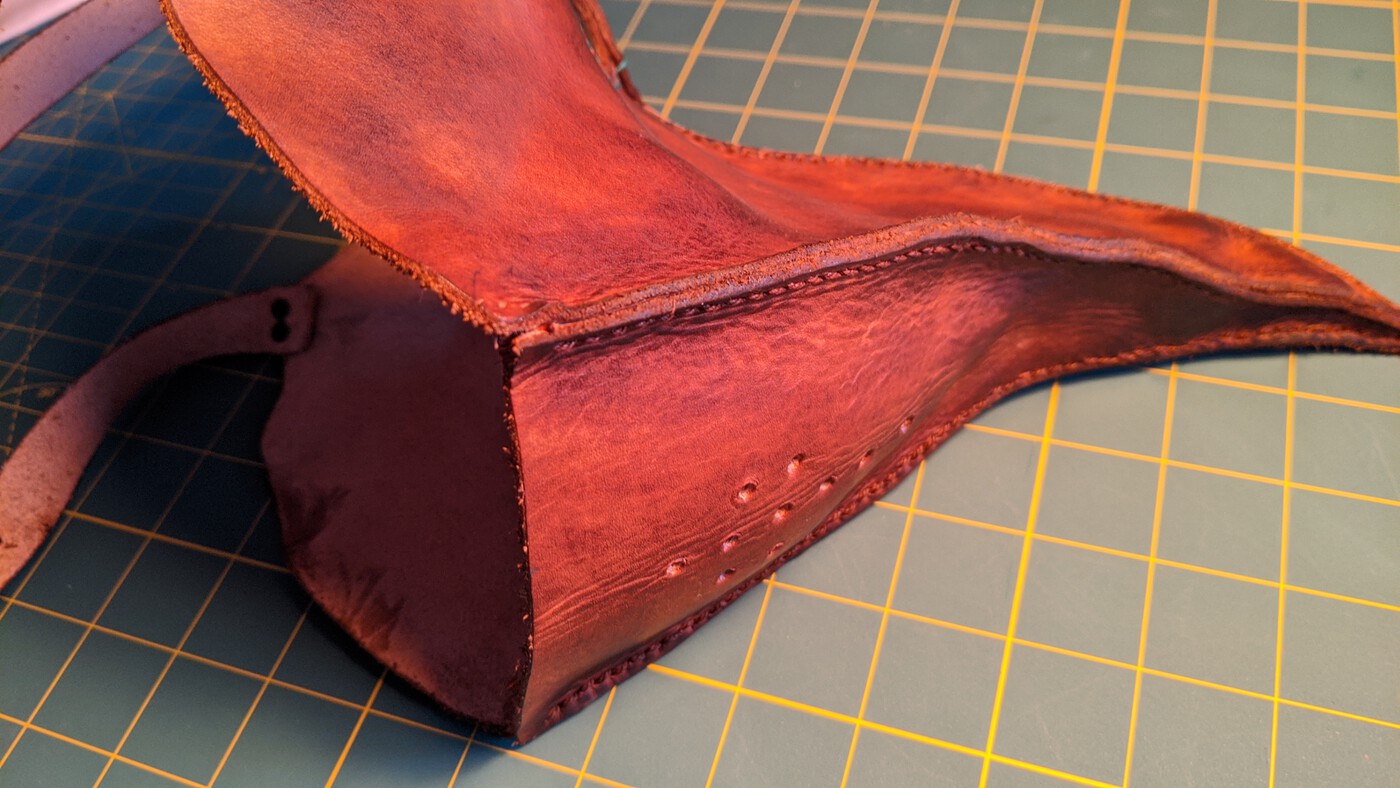
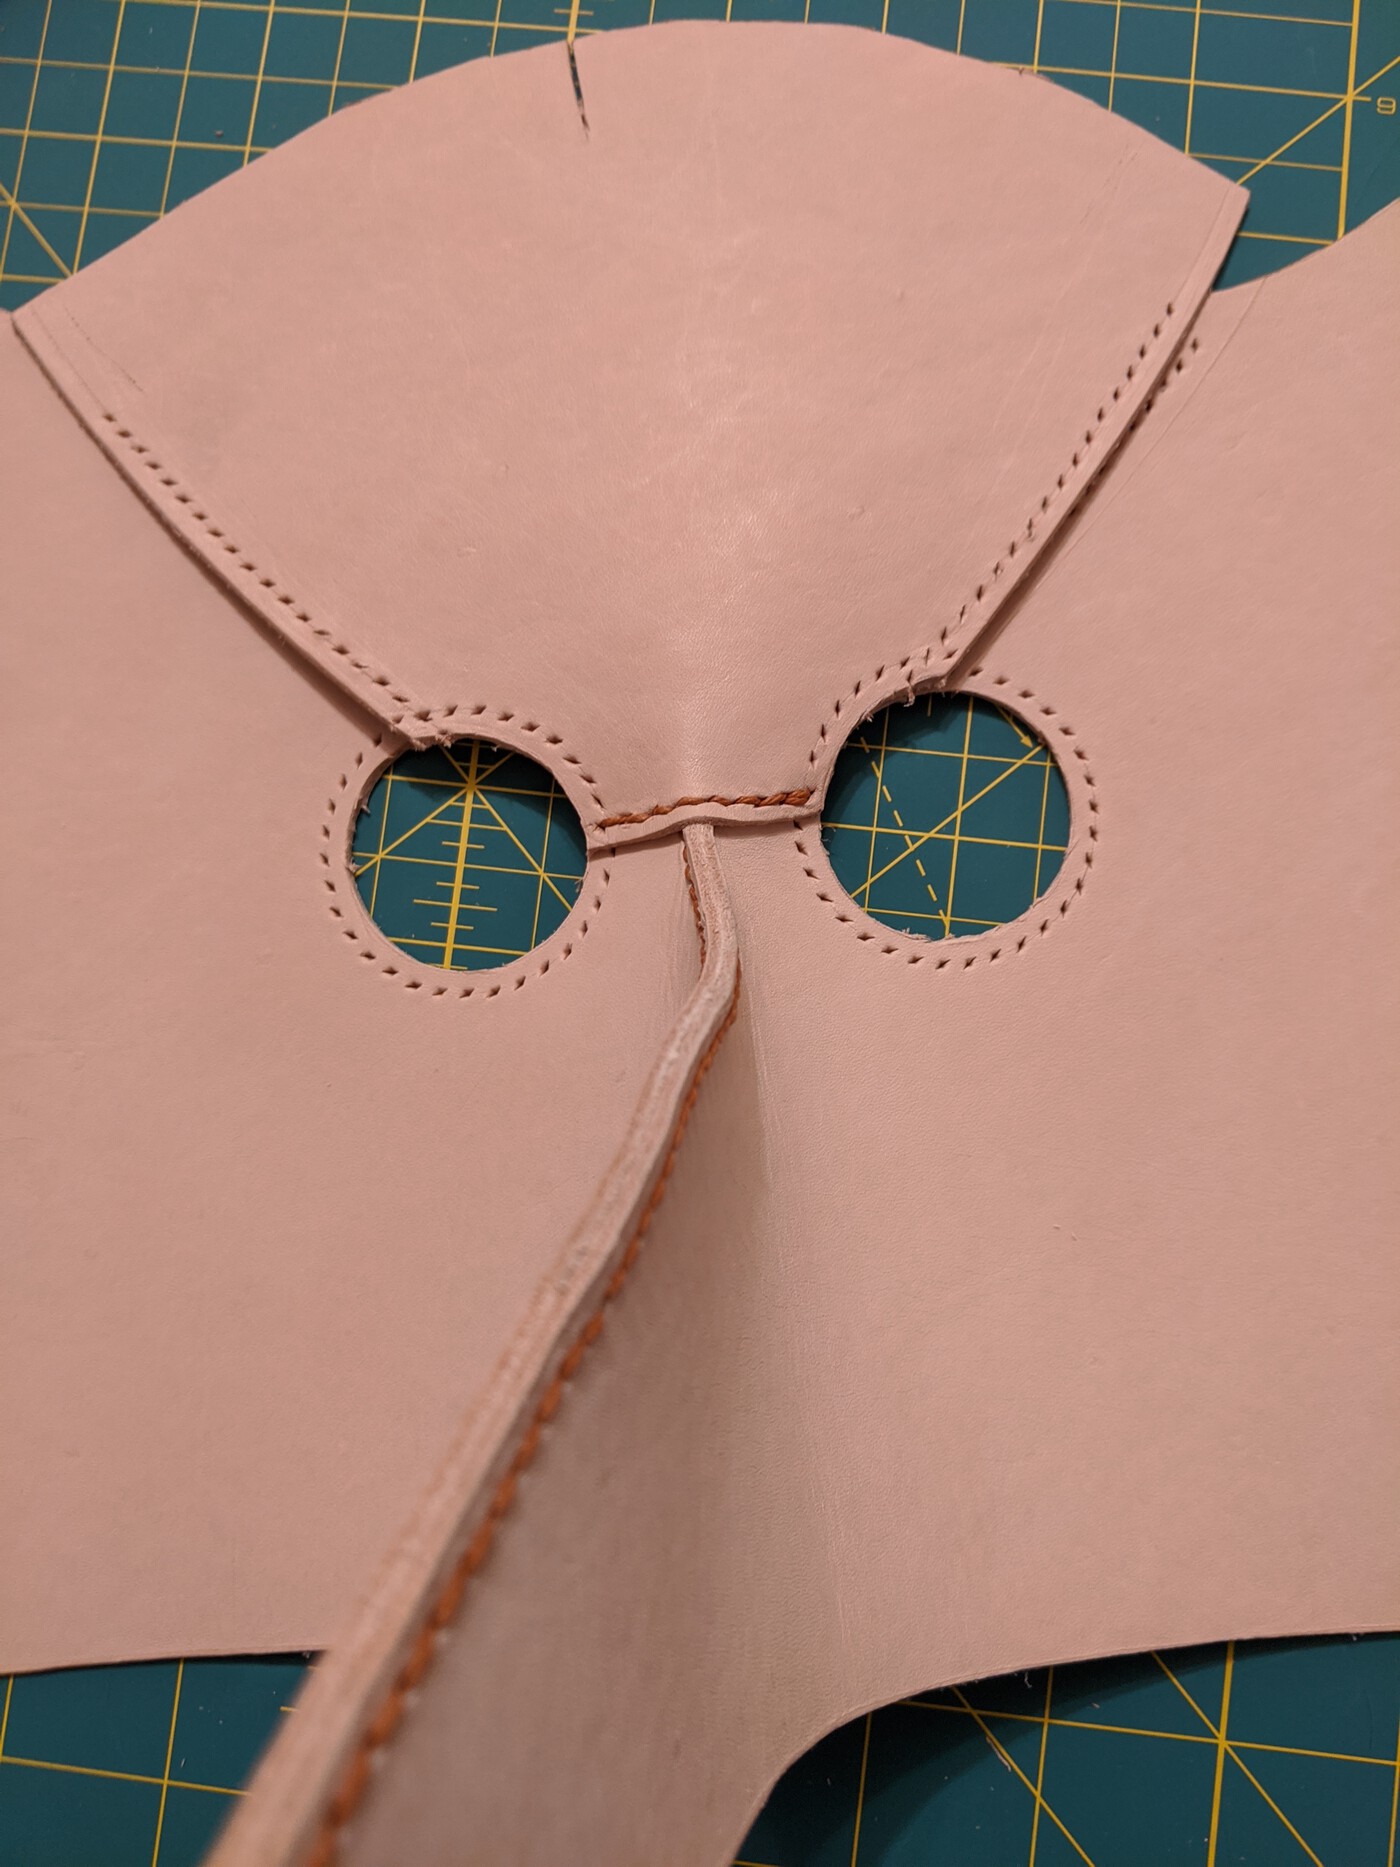
Before putting everything together for the final time and cutting off the extra leather, I wanted to finish the bottom joining piece. I made several versions of that too before I settled on one. It turned out to be harder than I thought and affected the final shape of the mask more significantly than I thought it would. But I picked a shape that would allow me to bend the beak panels inwards enough to keep it looking menacing and for it to fit around my head comfortably.
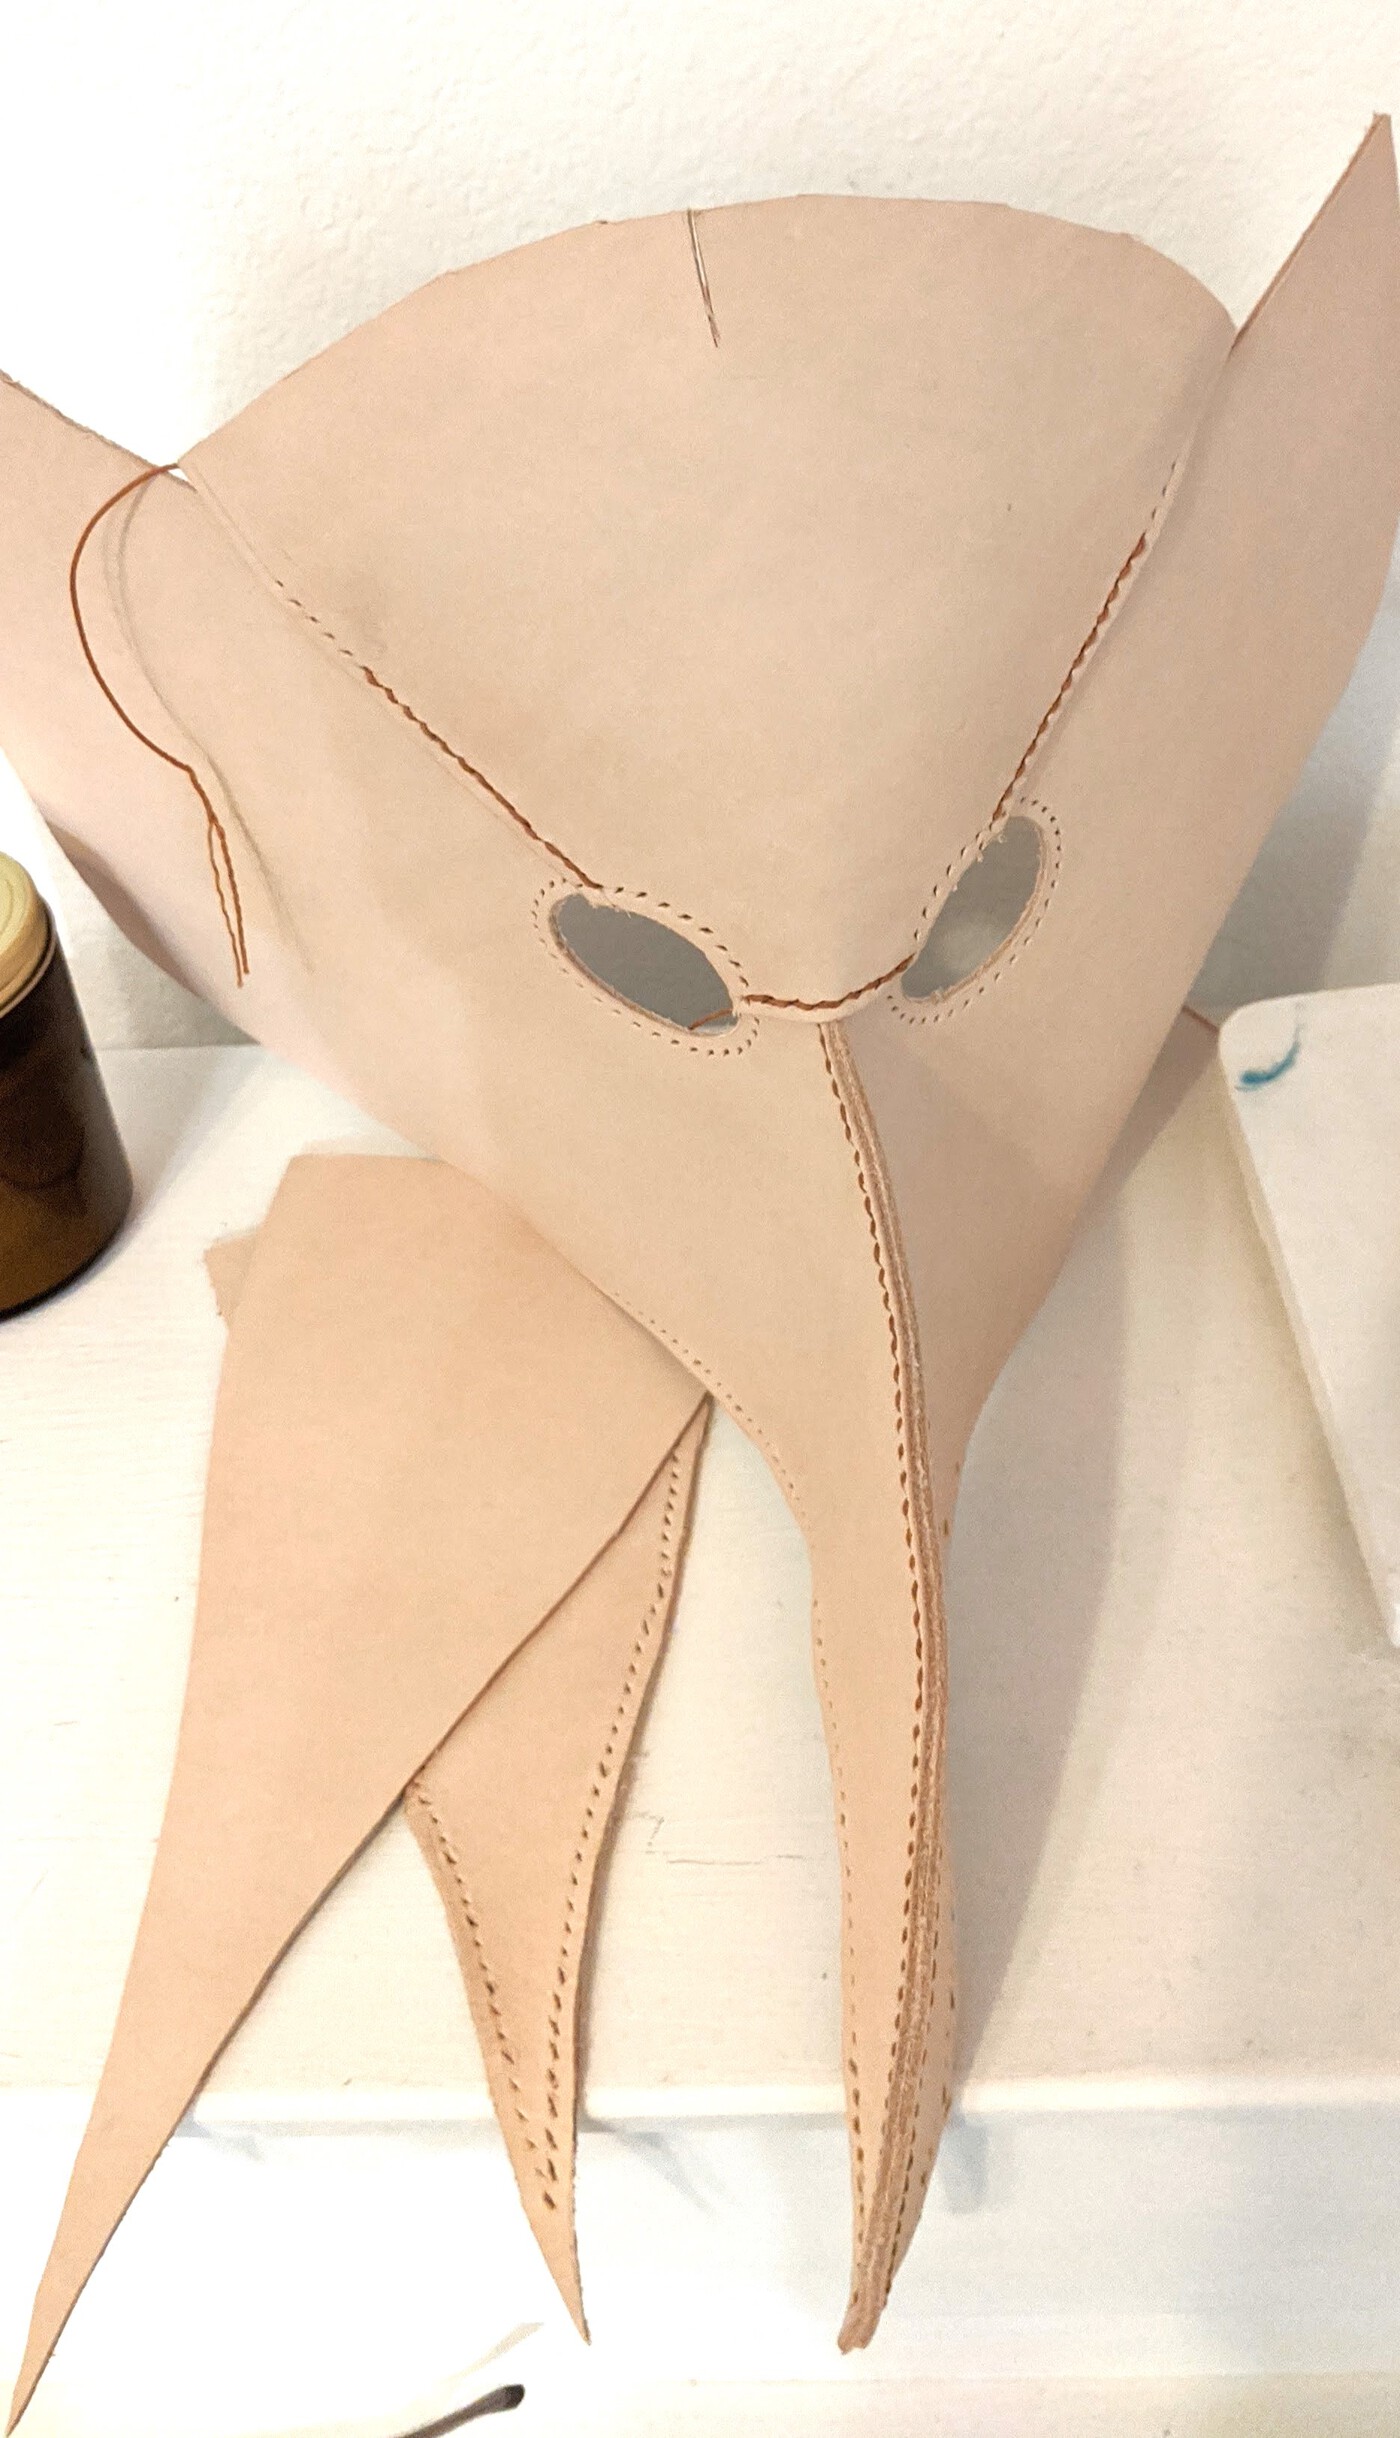
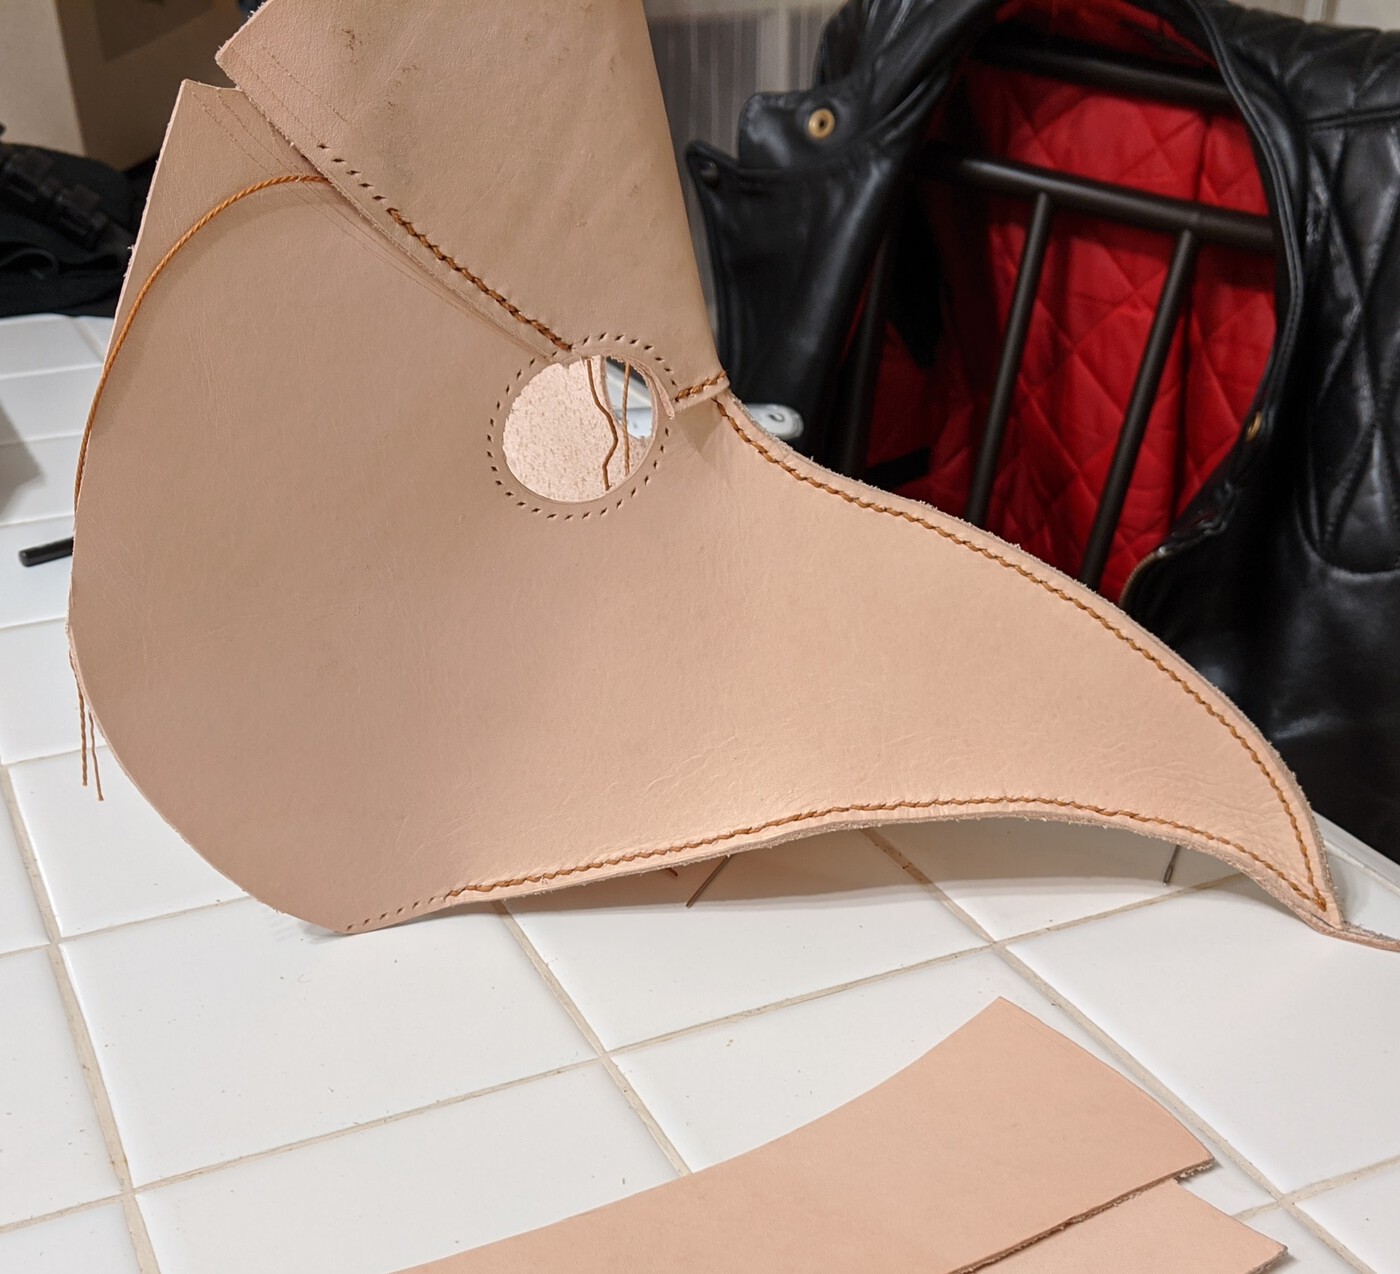
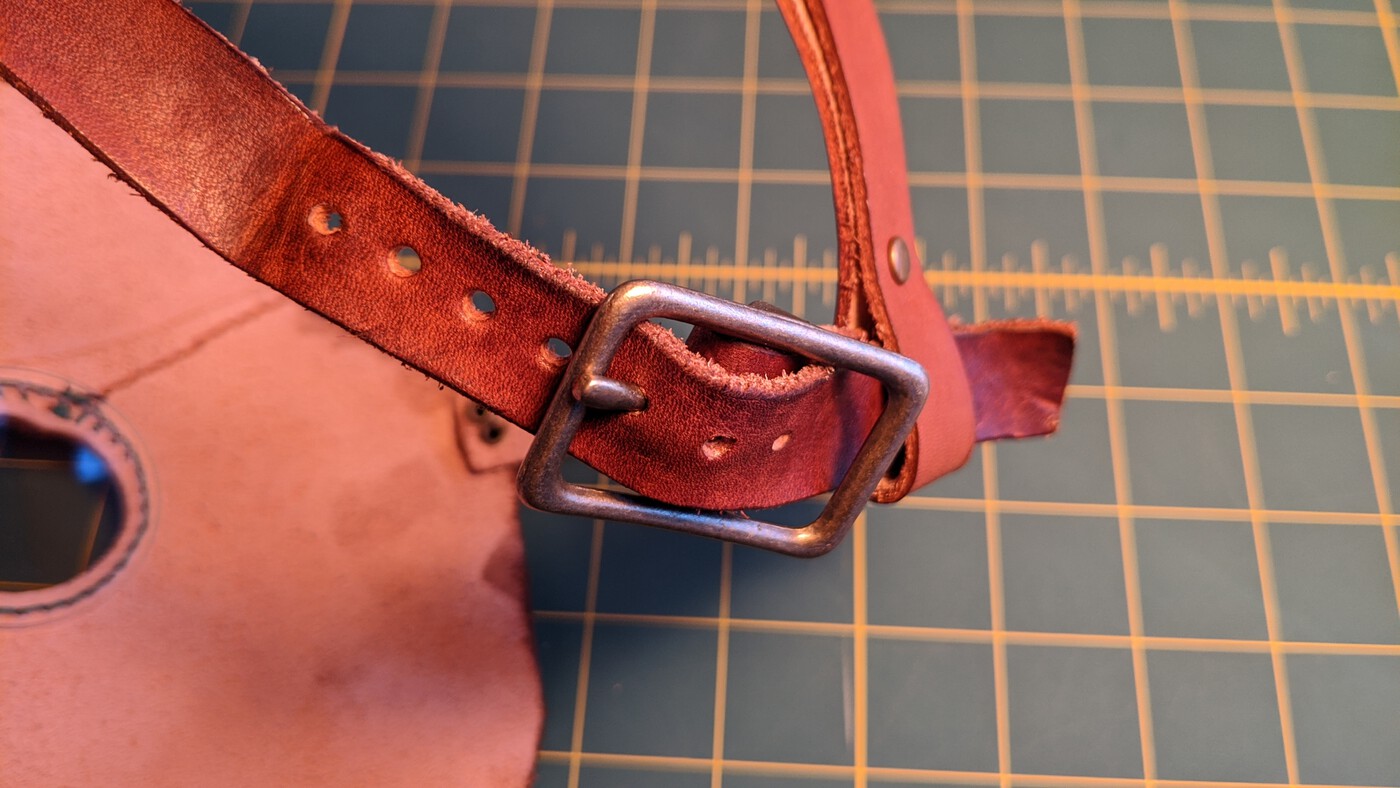
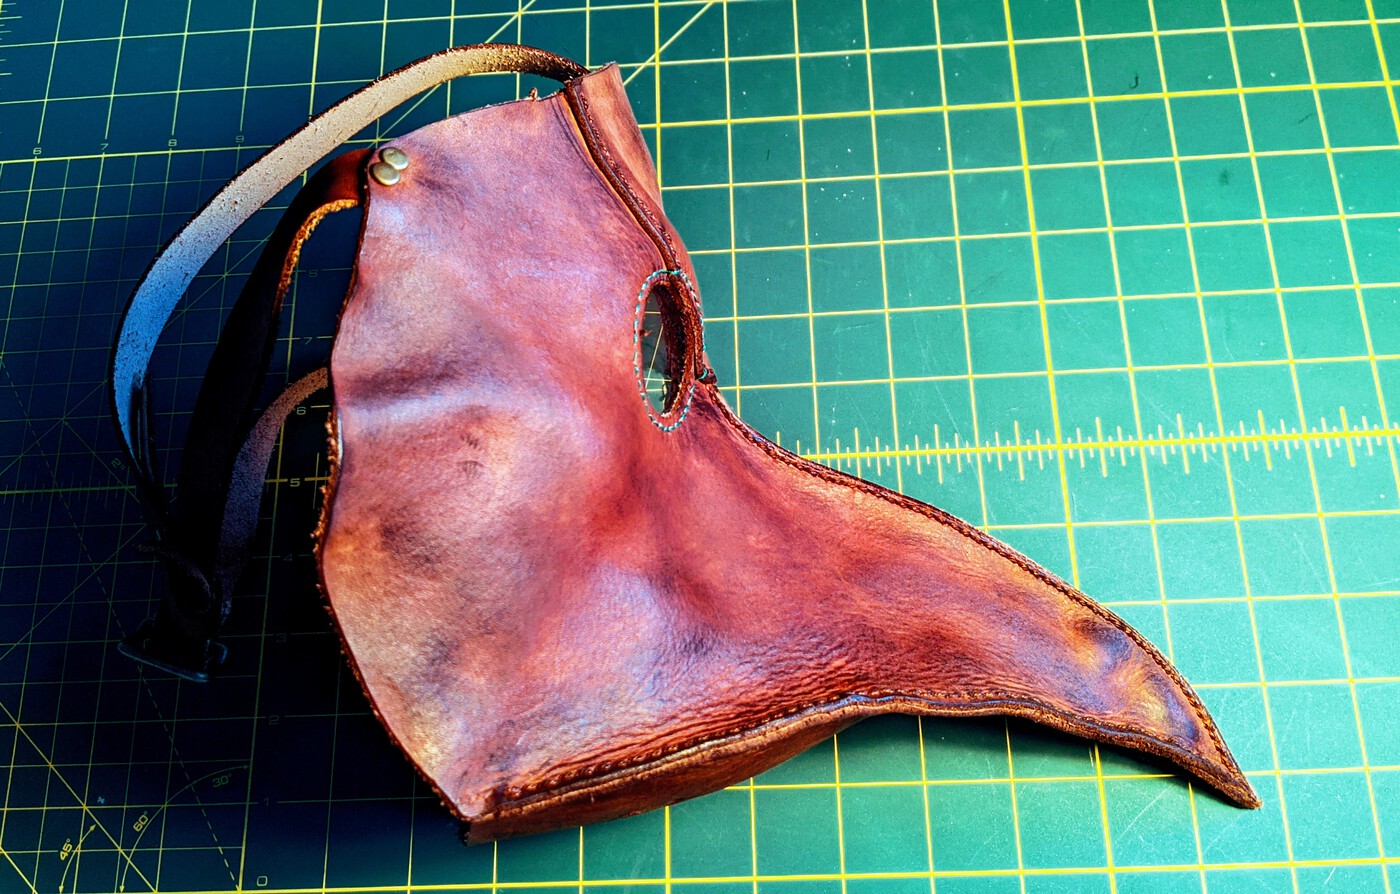
Once the bottom piece was stitched in, I could hold it up to my face to see how it fits, figure out where to cut off the excess leather, where to put in the straps, and where to make the holes for the straps. I did all that and it was all starting to come together and the shape was just hole I wanted it. I also roughly stitched in the straps to help hold it against my face for the next step: wet-molding the leather to my face shape.
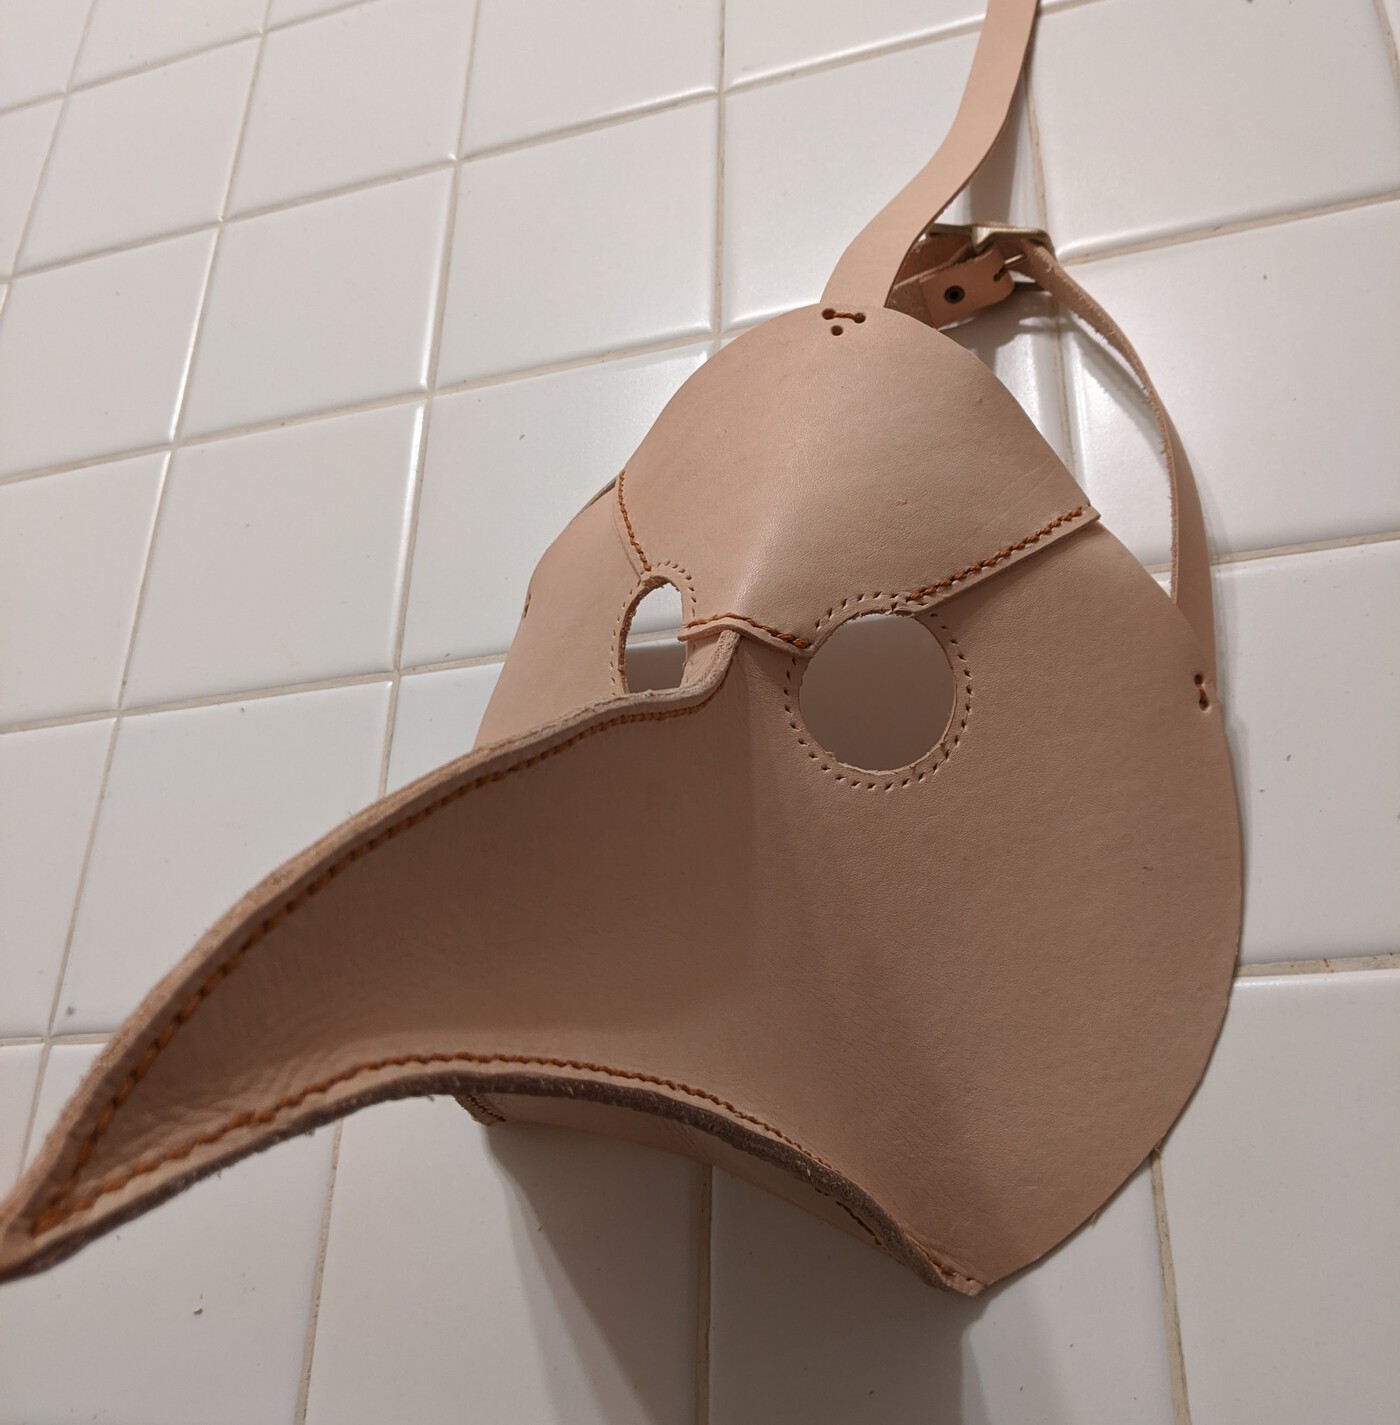
Wash me down, shape me anew
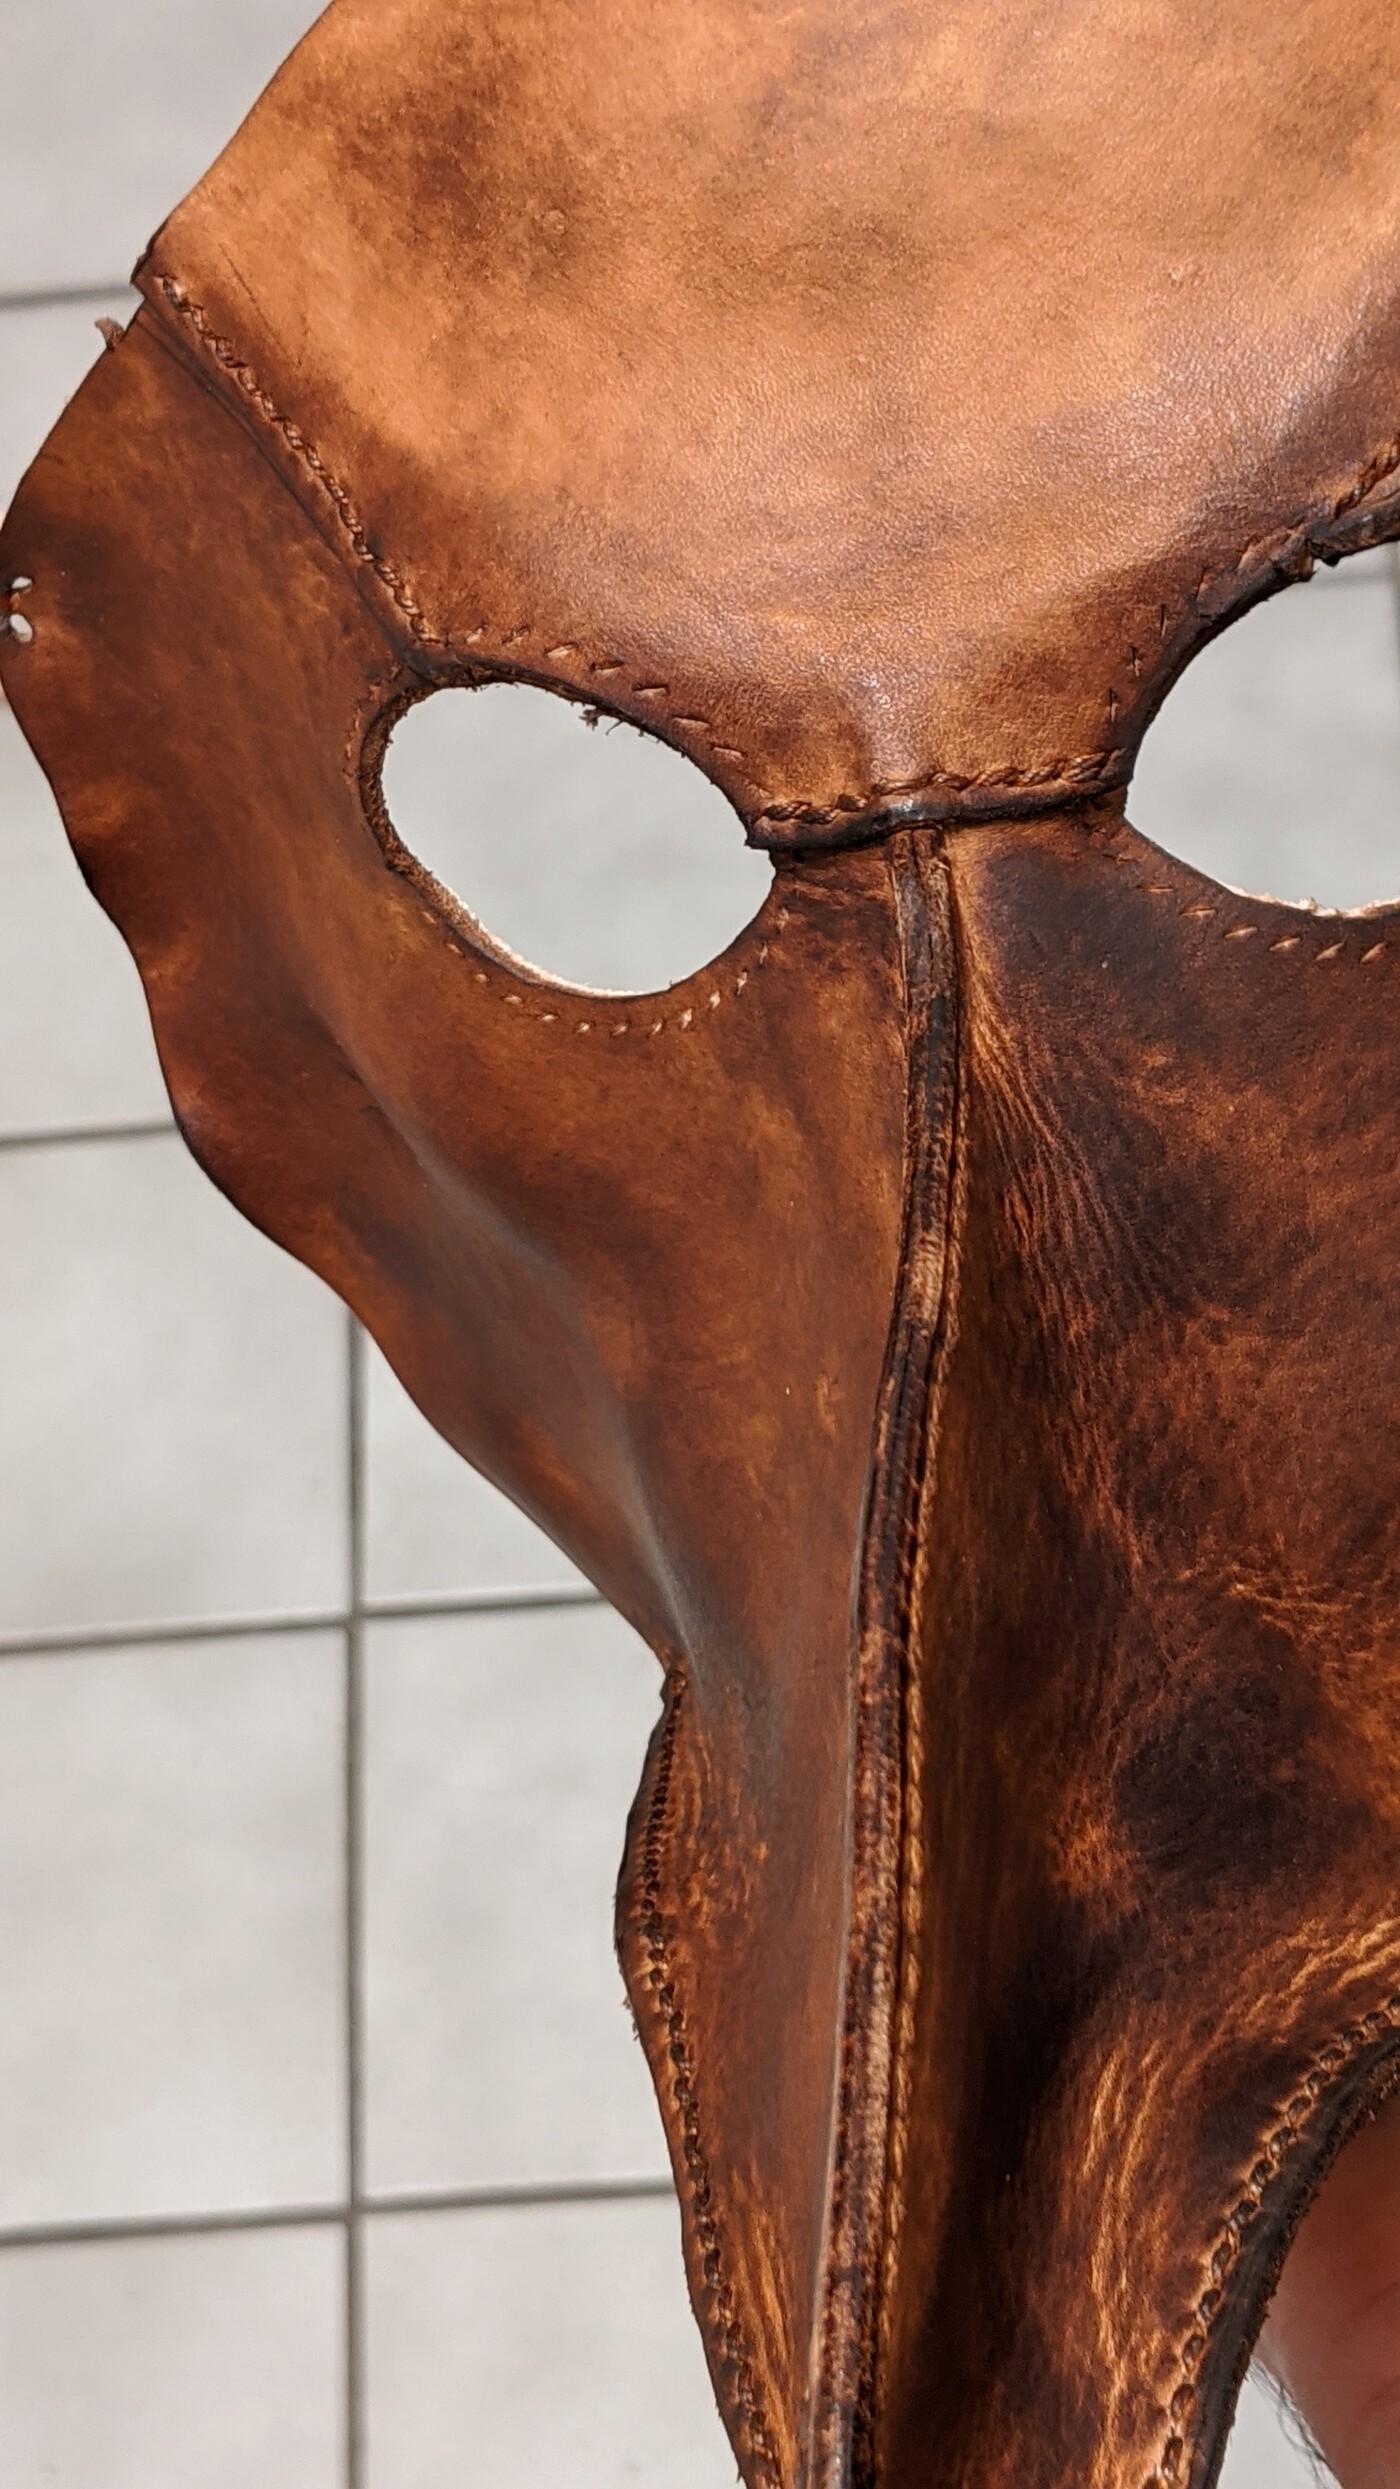
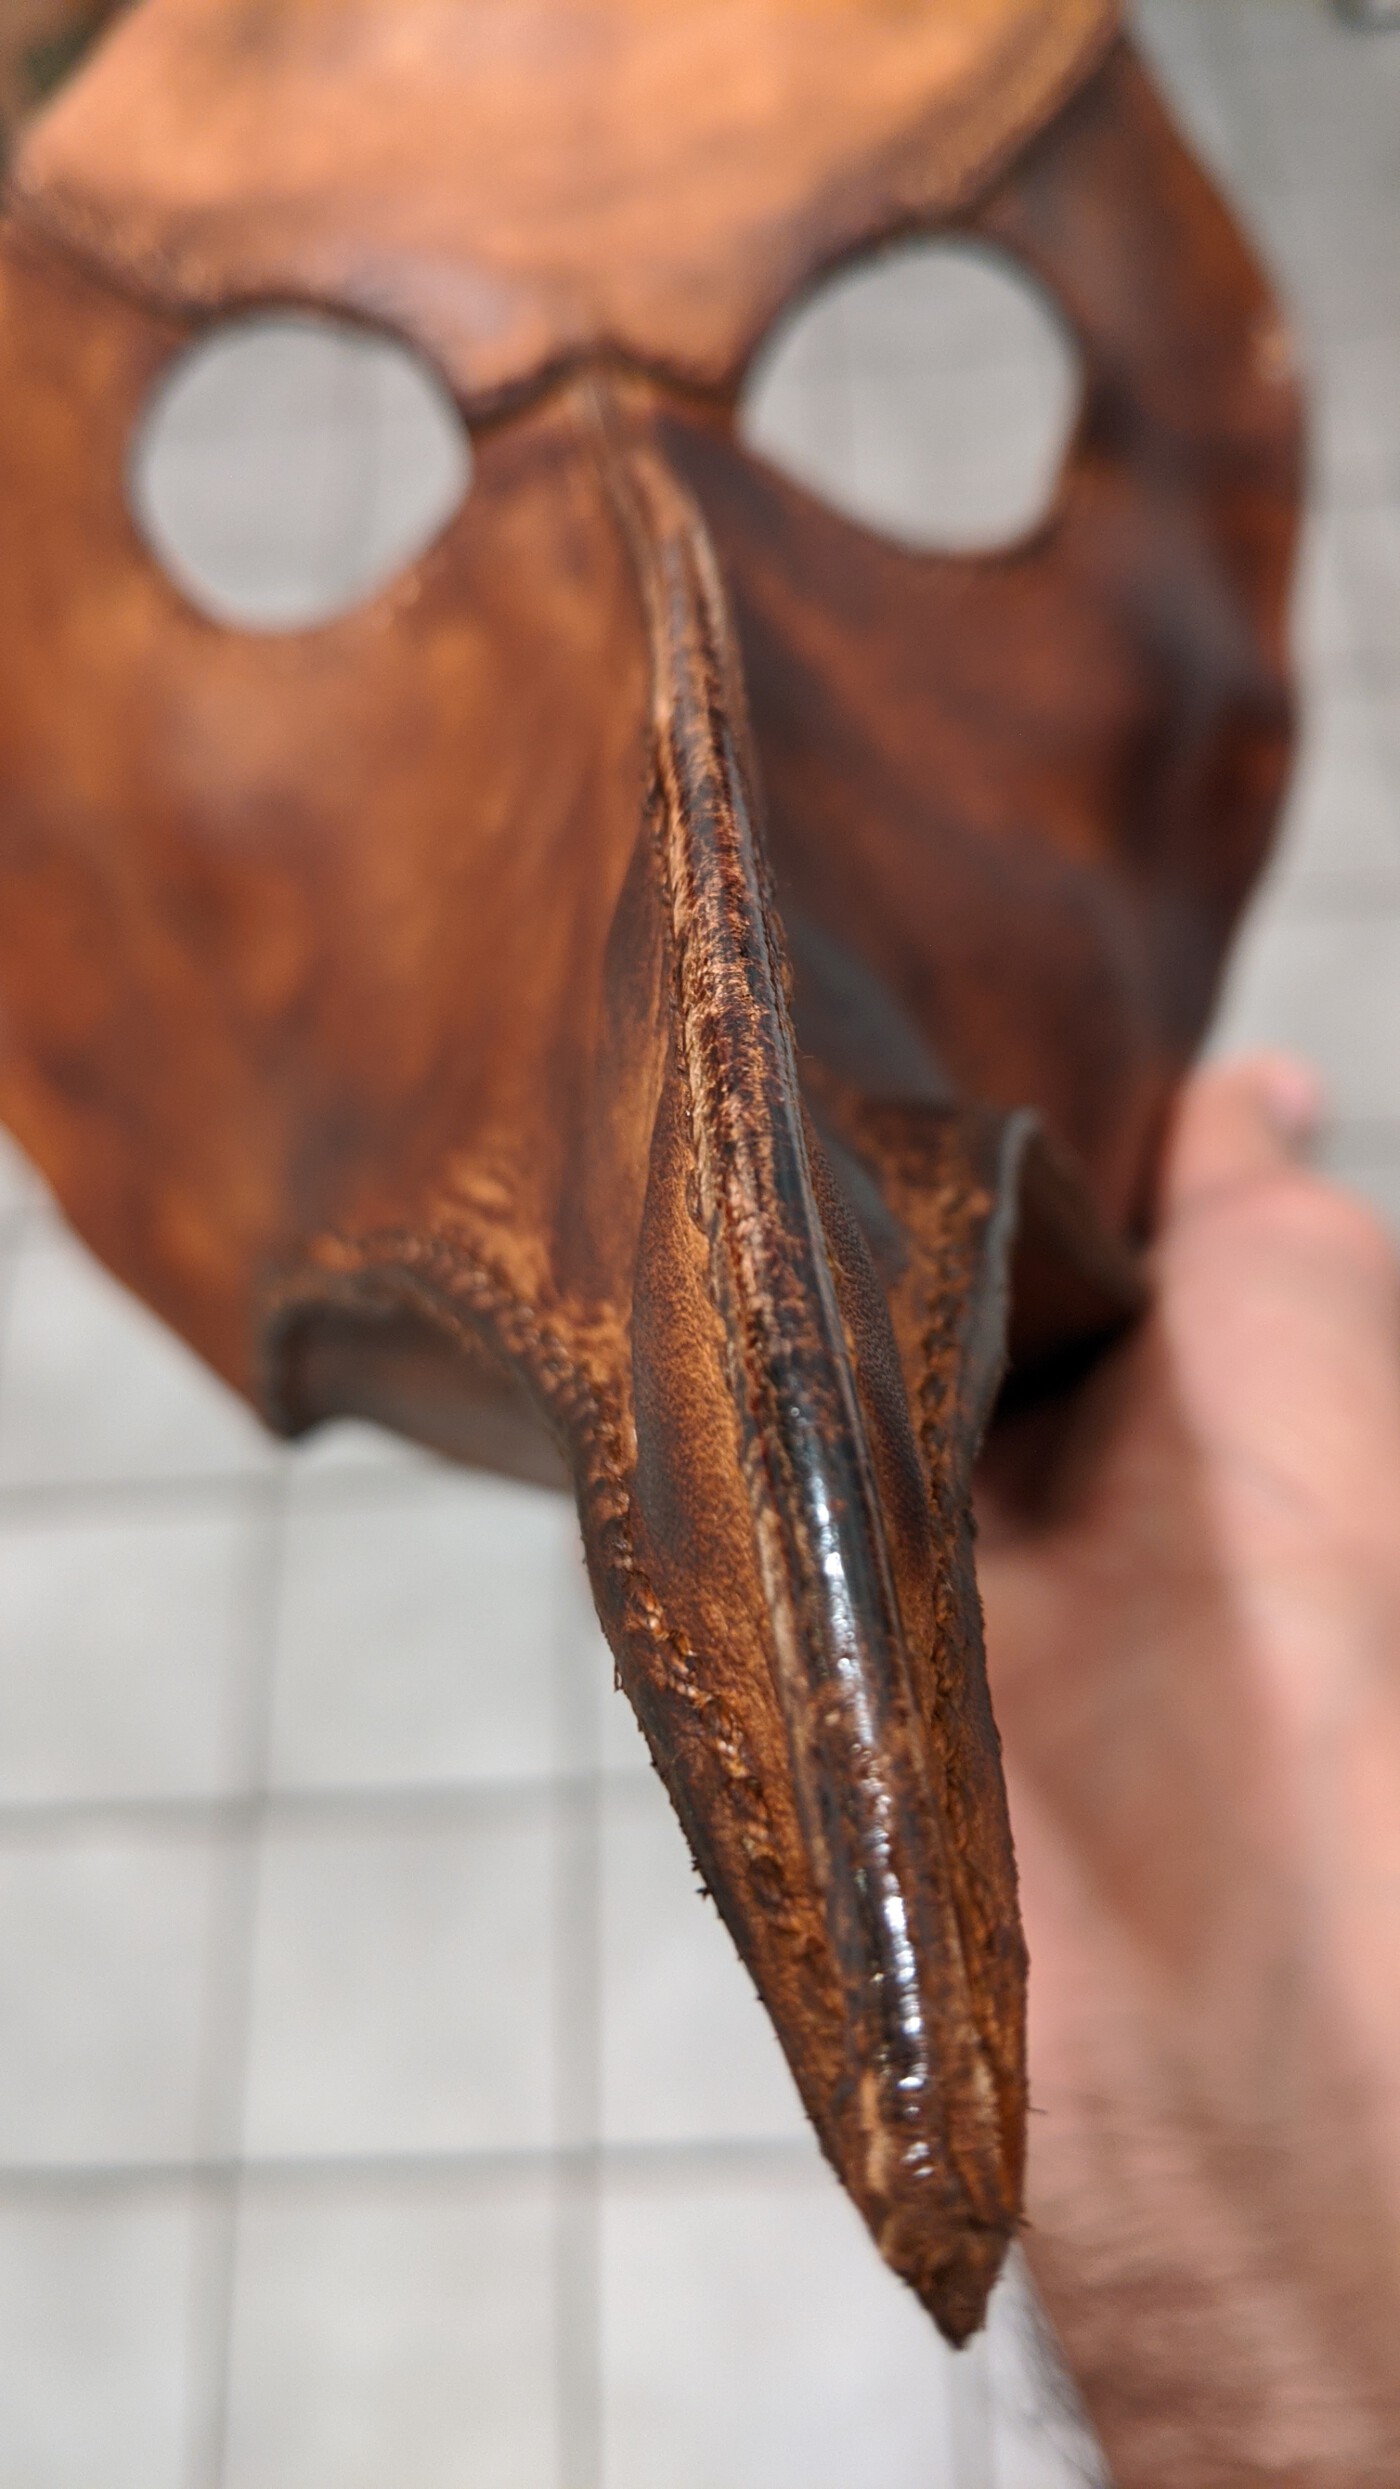
The process of wet-molding was both fun and a frustrating. Frustrating because I had to hold this wet piece of leather against my face pacing around the house and smelling leather and being a creep. I soaked the leather in lukewarm water for a few minutes to soften the leather. The beak, surprisingly, still kept its shape when wet. Pressing in around my forehead, cheek bones, and eye sockets an helped the mask form to that shape. I had to repeat the pressing a few times as the mask slowly dried to really set in the shape. I also shaped the beak a bit more while it was wet. It was left to dry in front of a fan for a day or two after that:
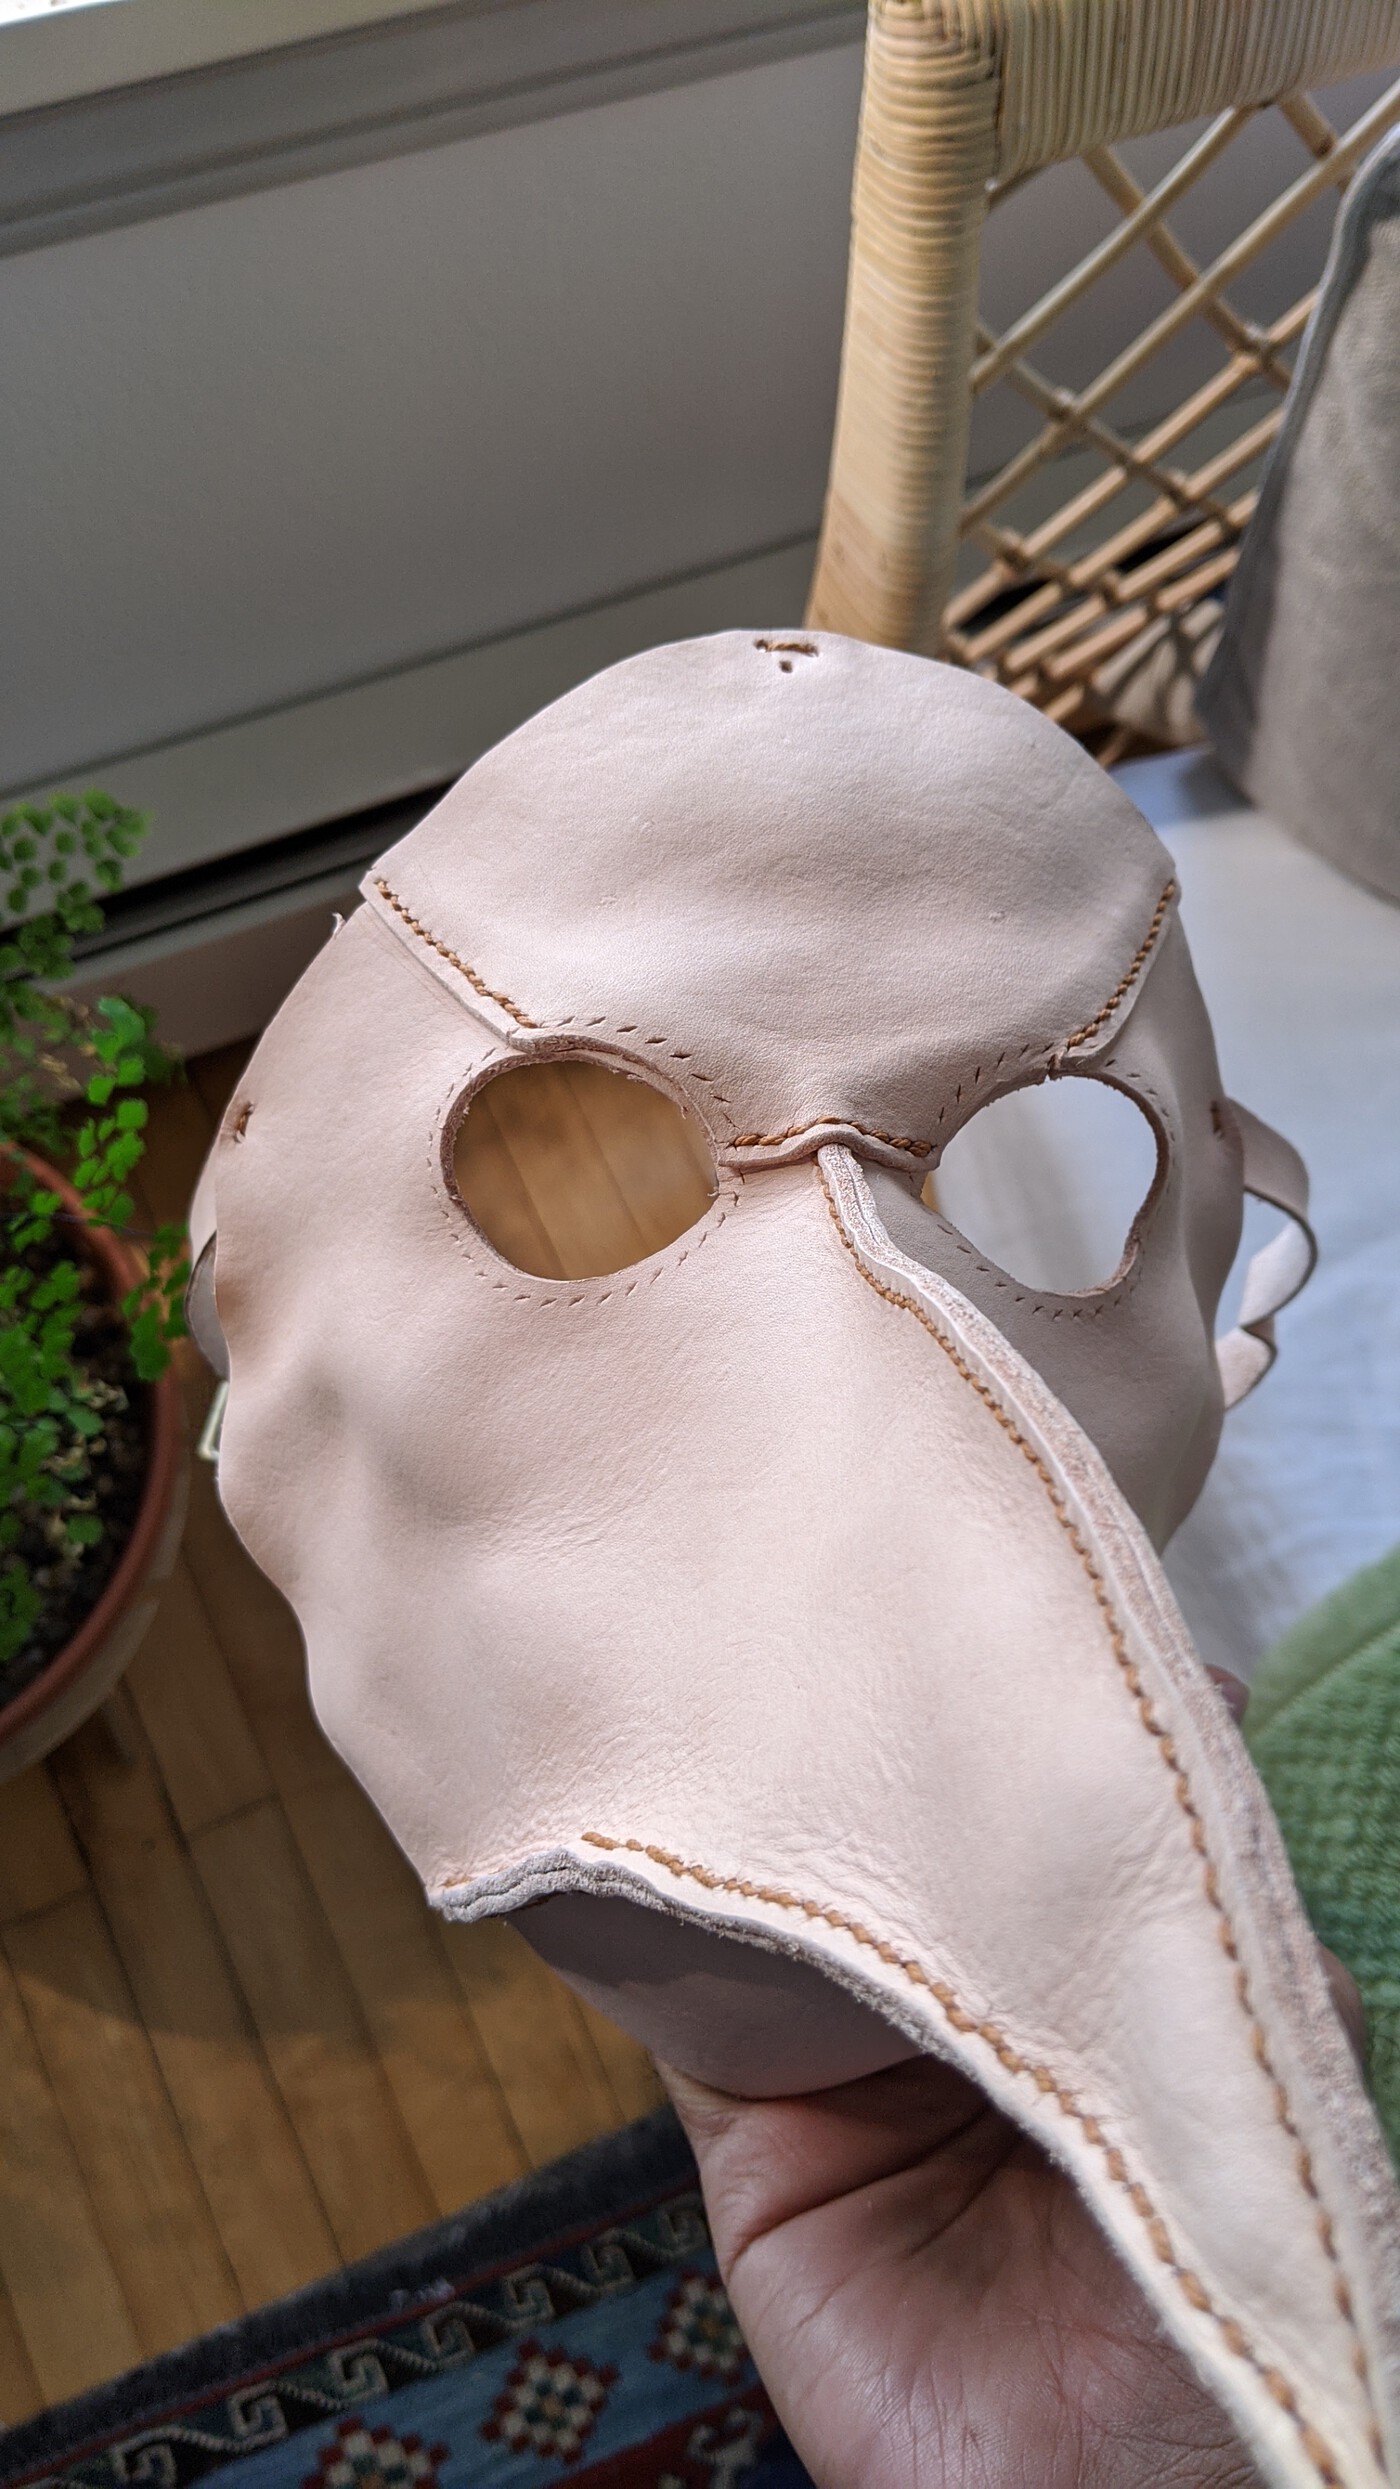
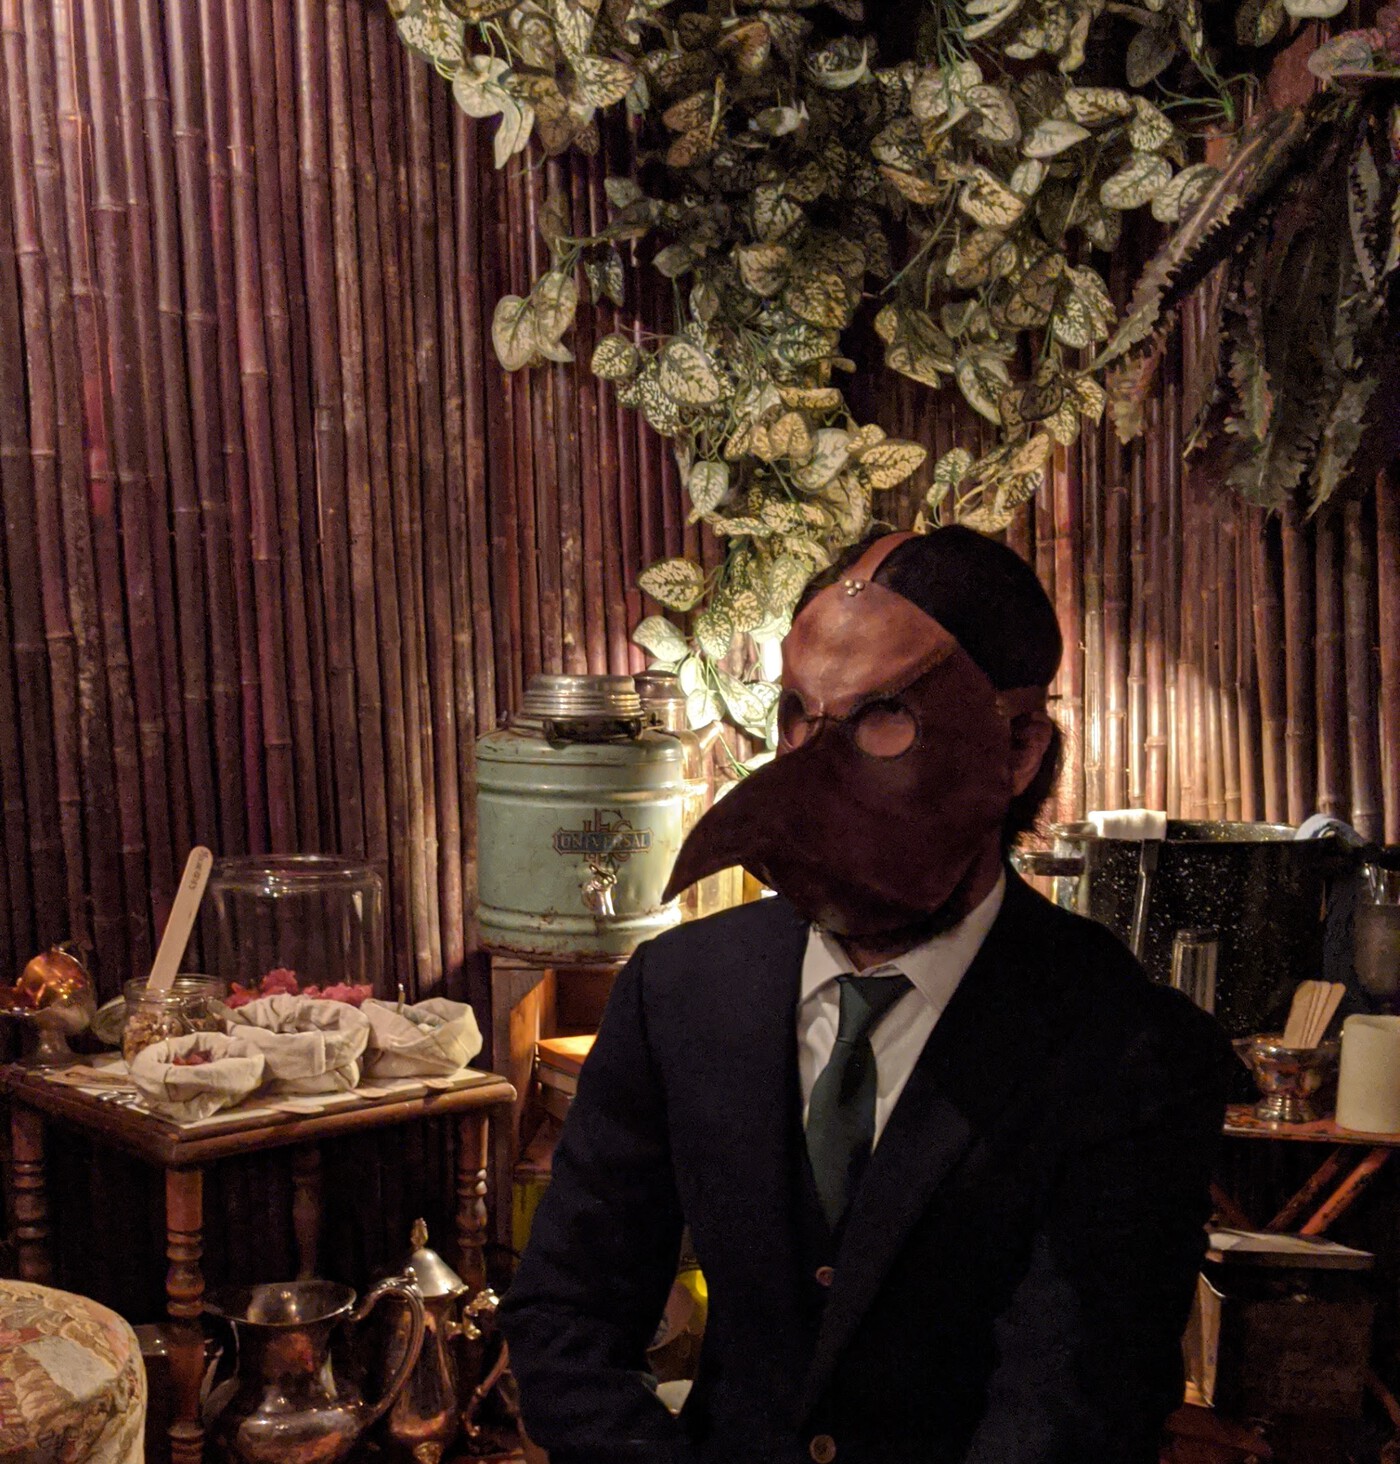
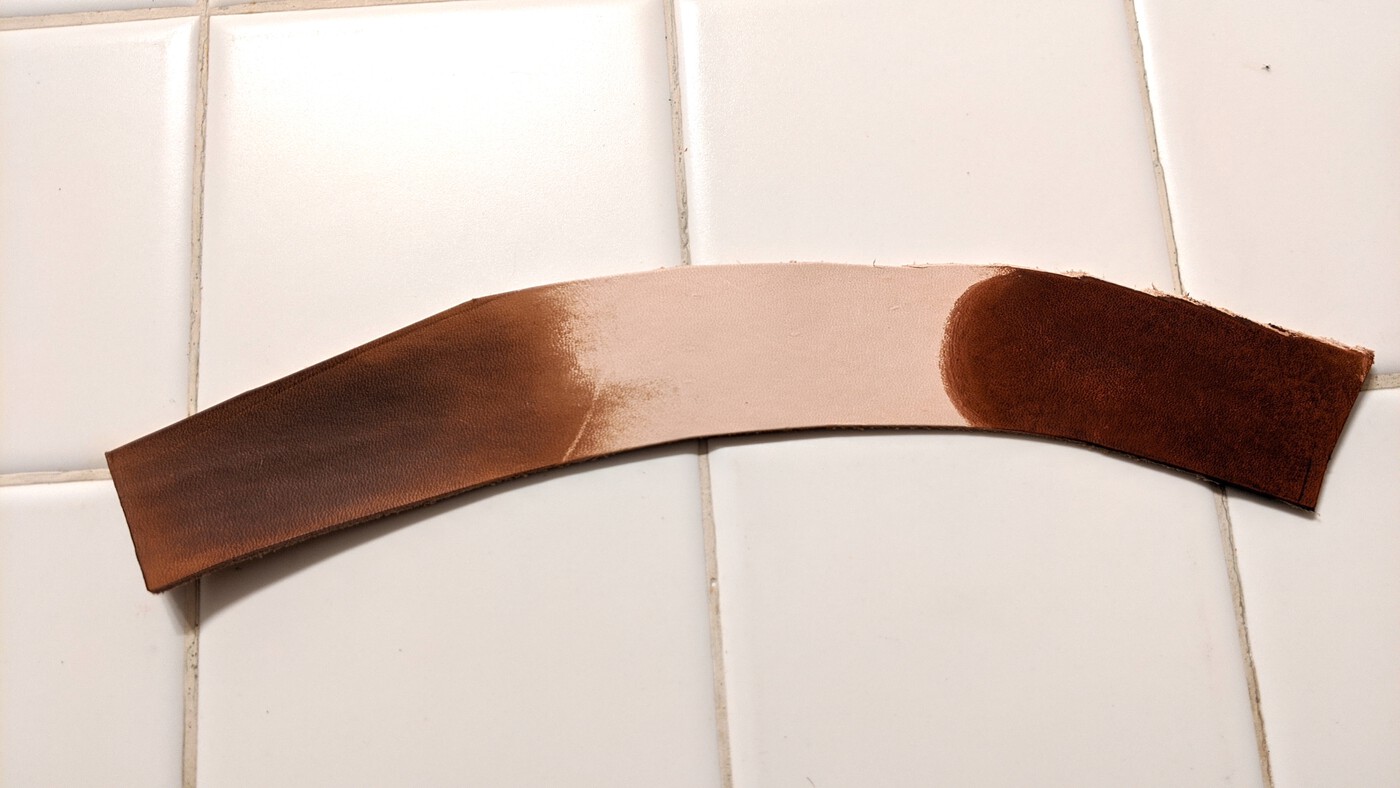
Paint me dead, give me sight
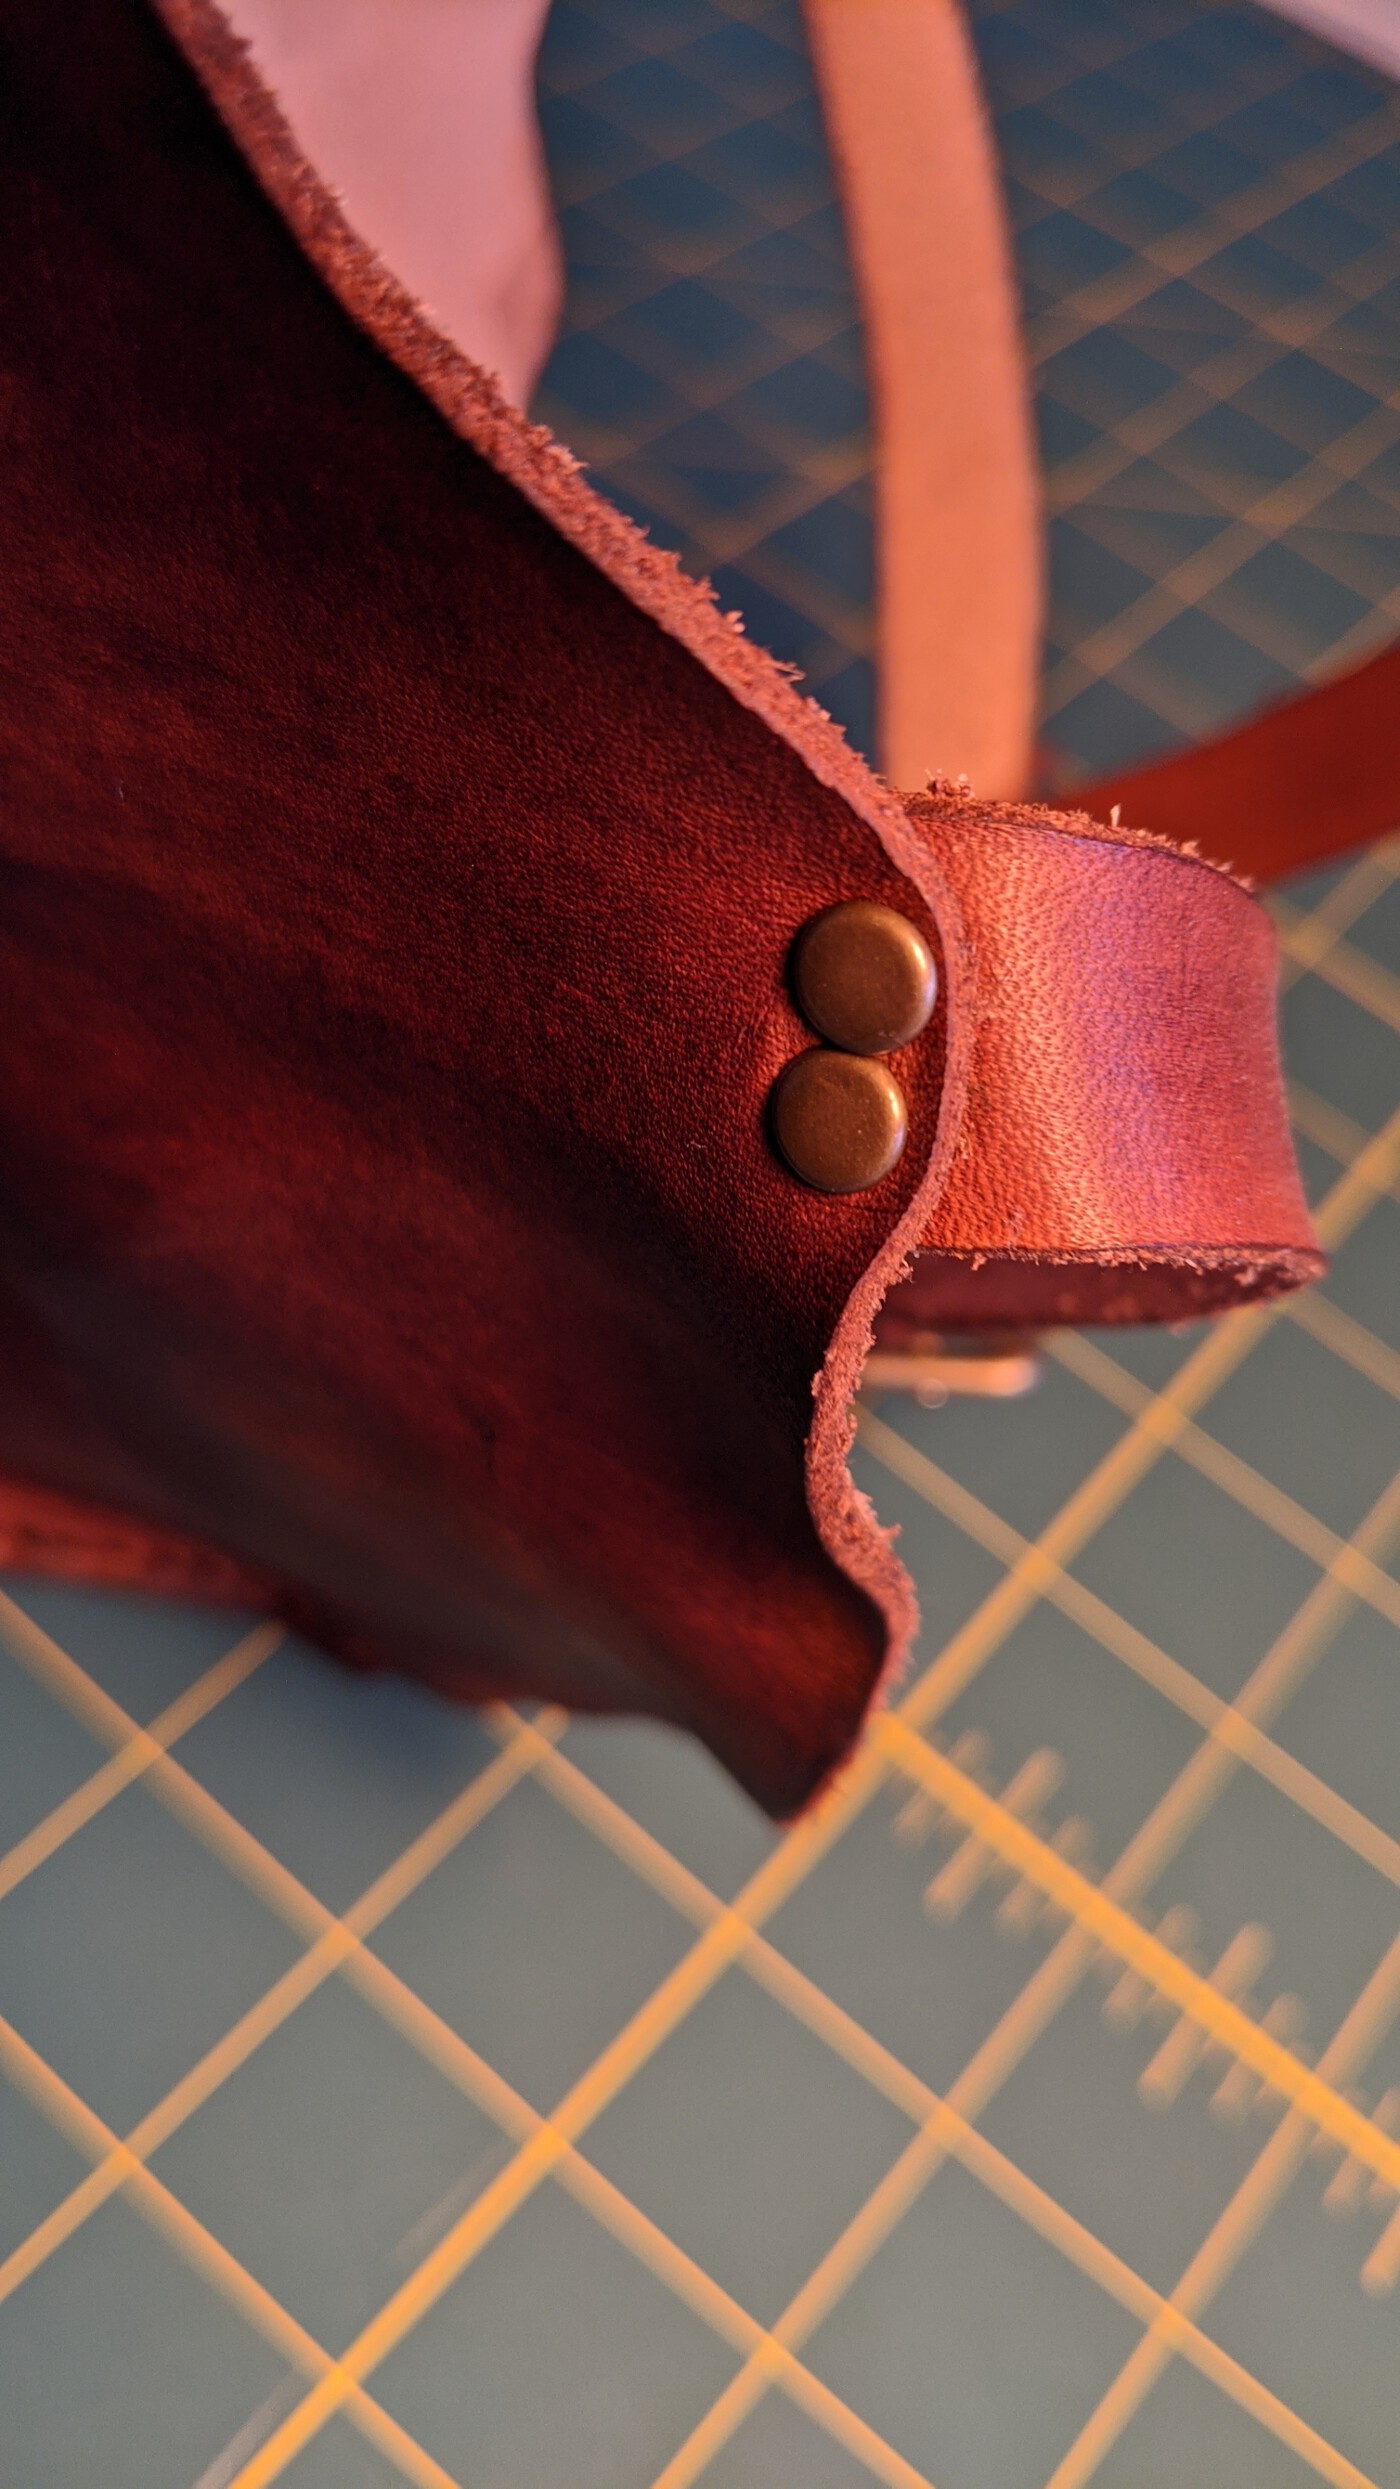
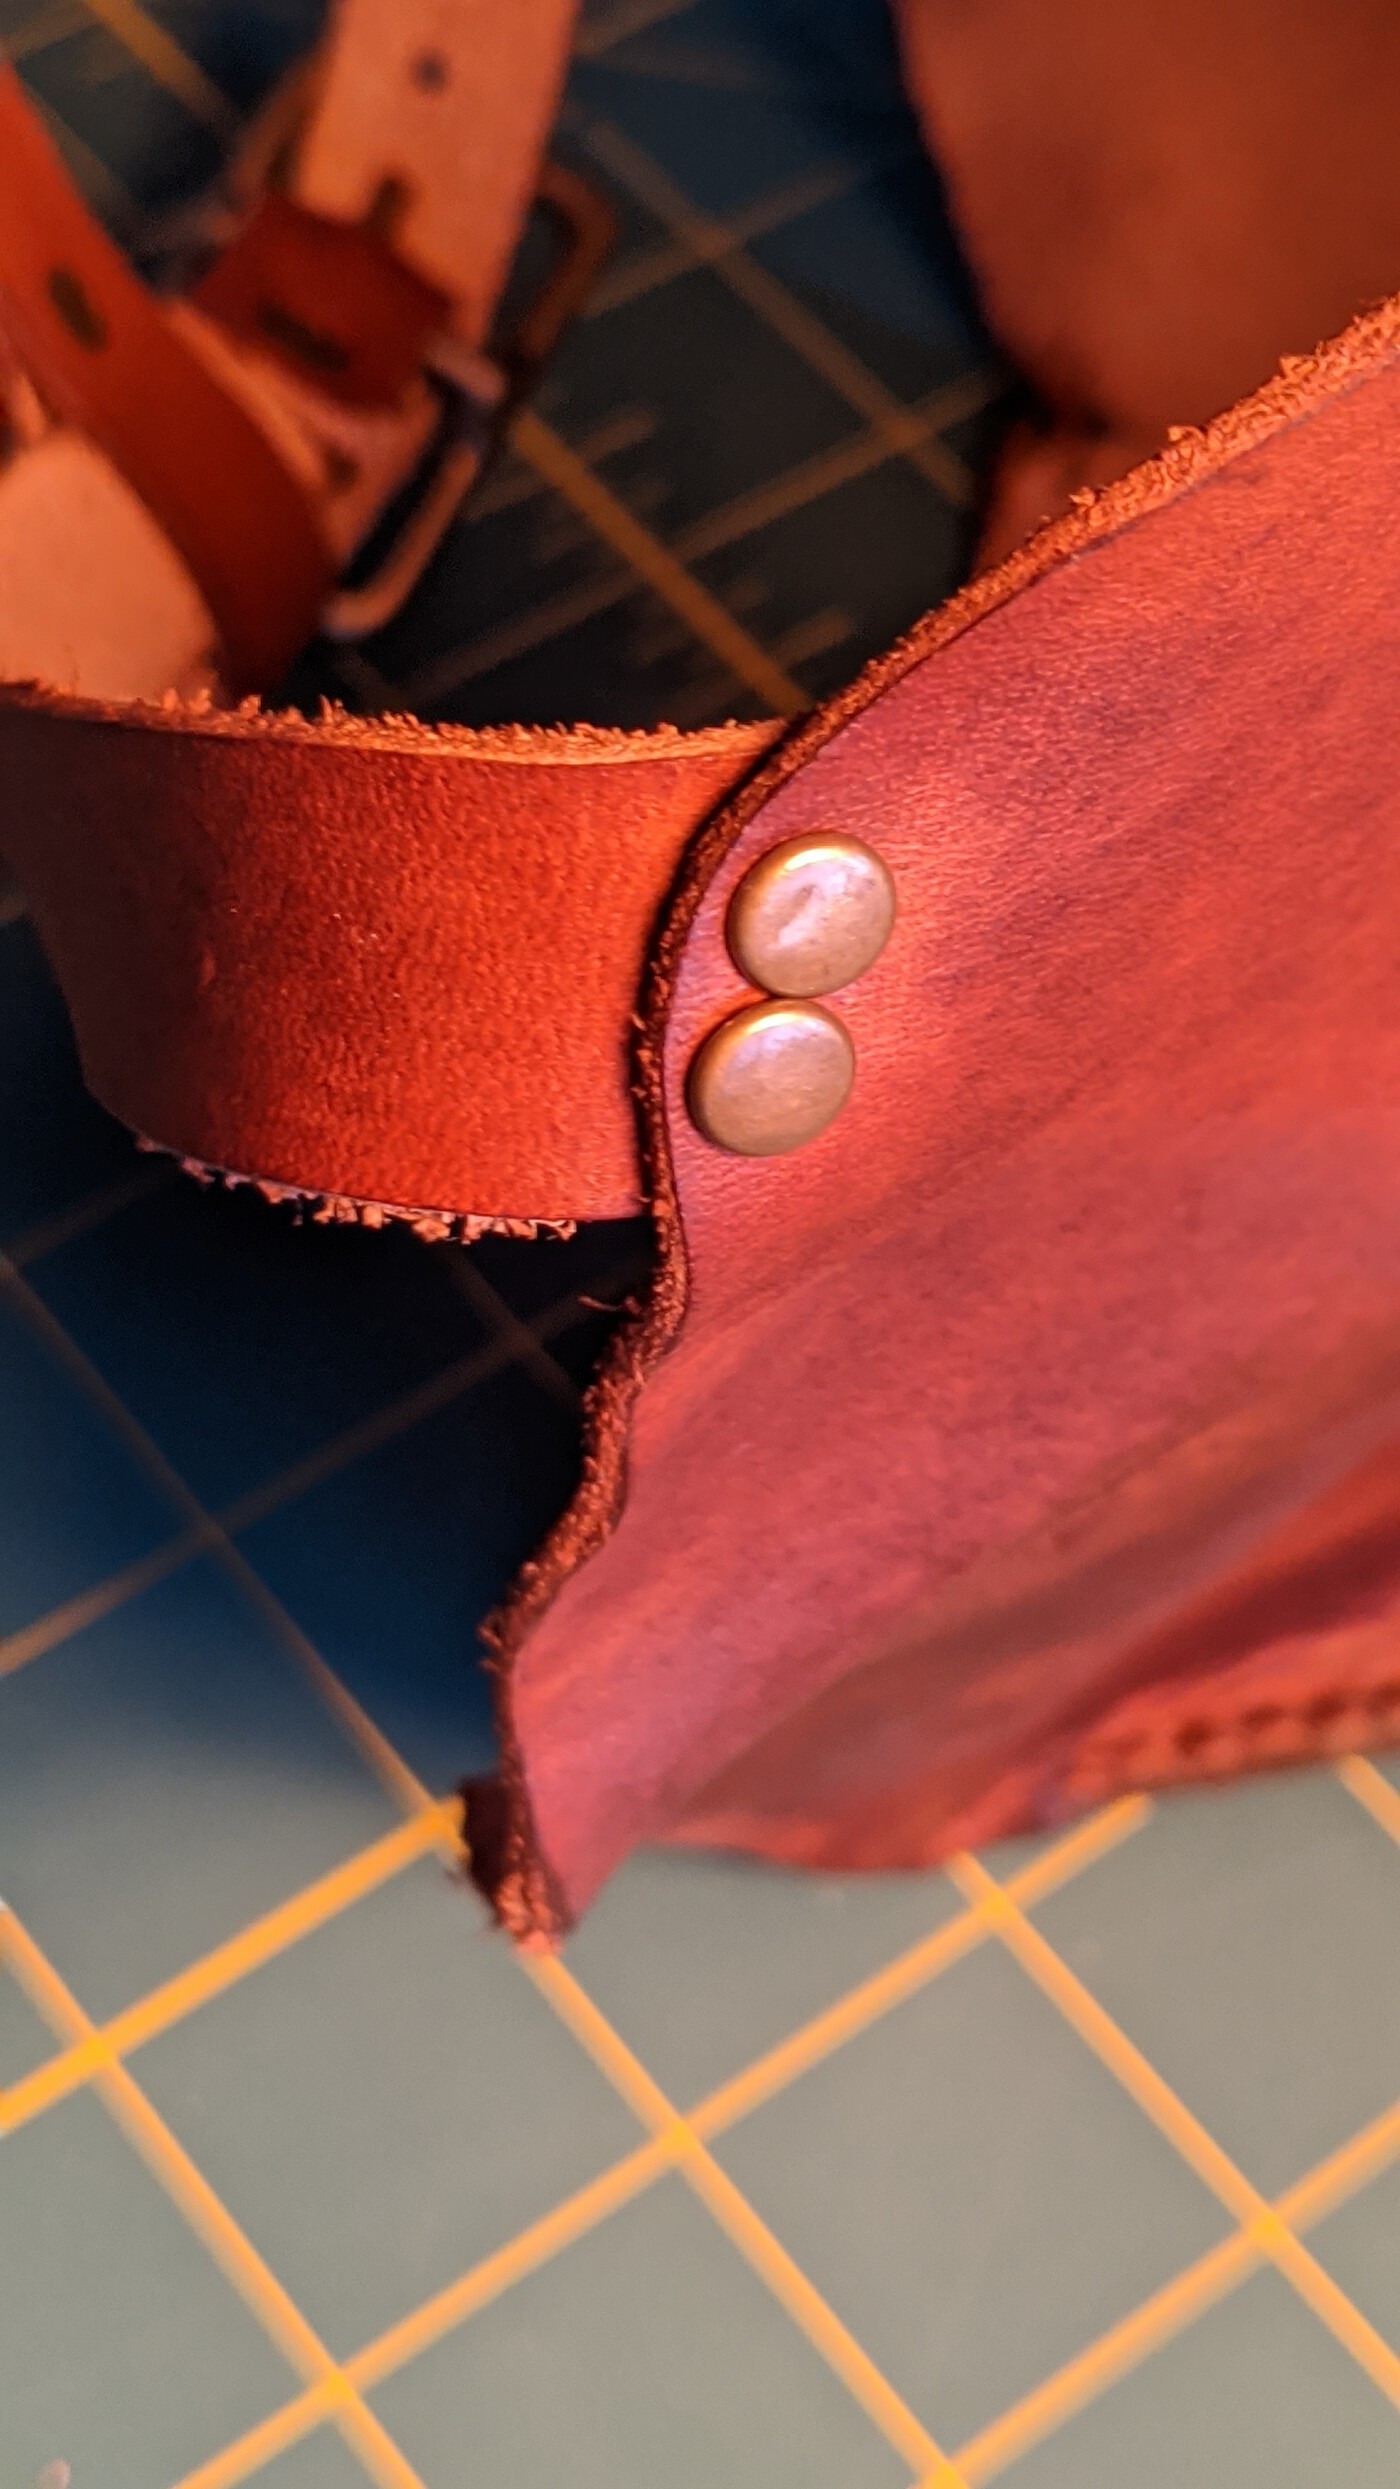
At this point, I am very close to done. Remaining steps are just finishing touches: dyeing the leather, attaching the straps properly using the rivets, trimming and finishing off the edges, and sewing in the lenses. I picked a contrasting green thread for the lenses – it looks good against the brown I think.
Shoot me pretty, give me flight
And here are some bonus shots of the finished mask.